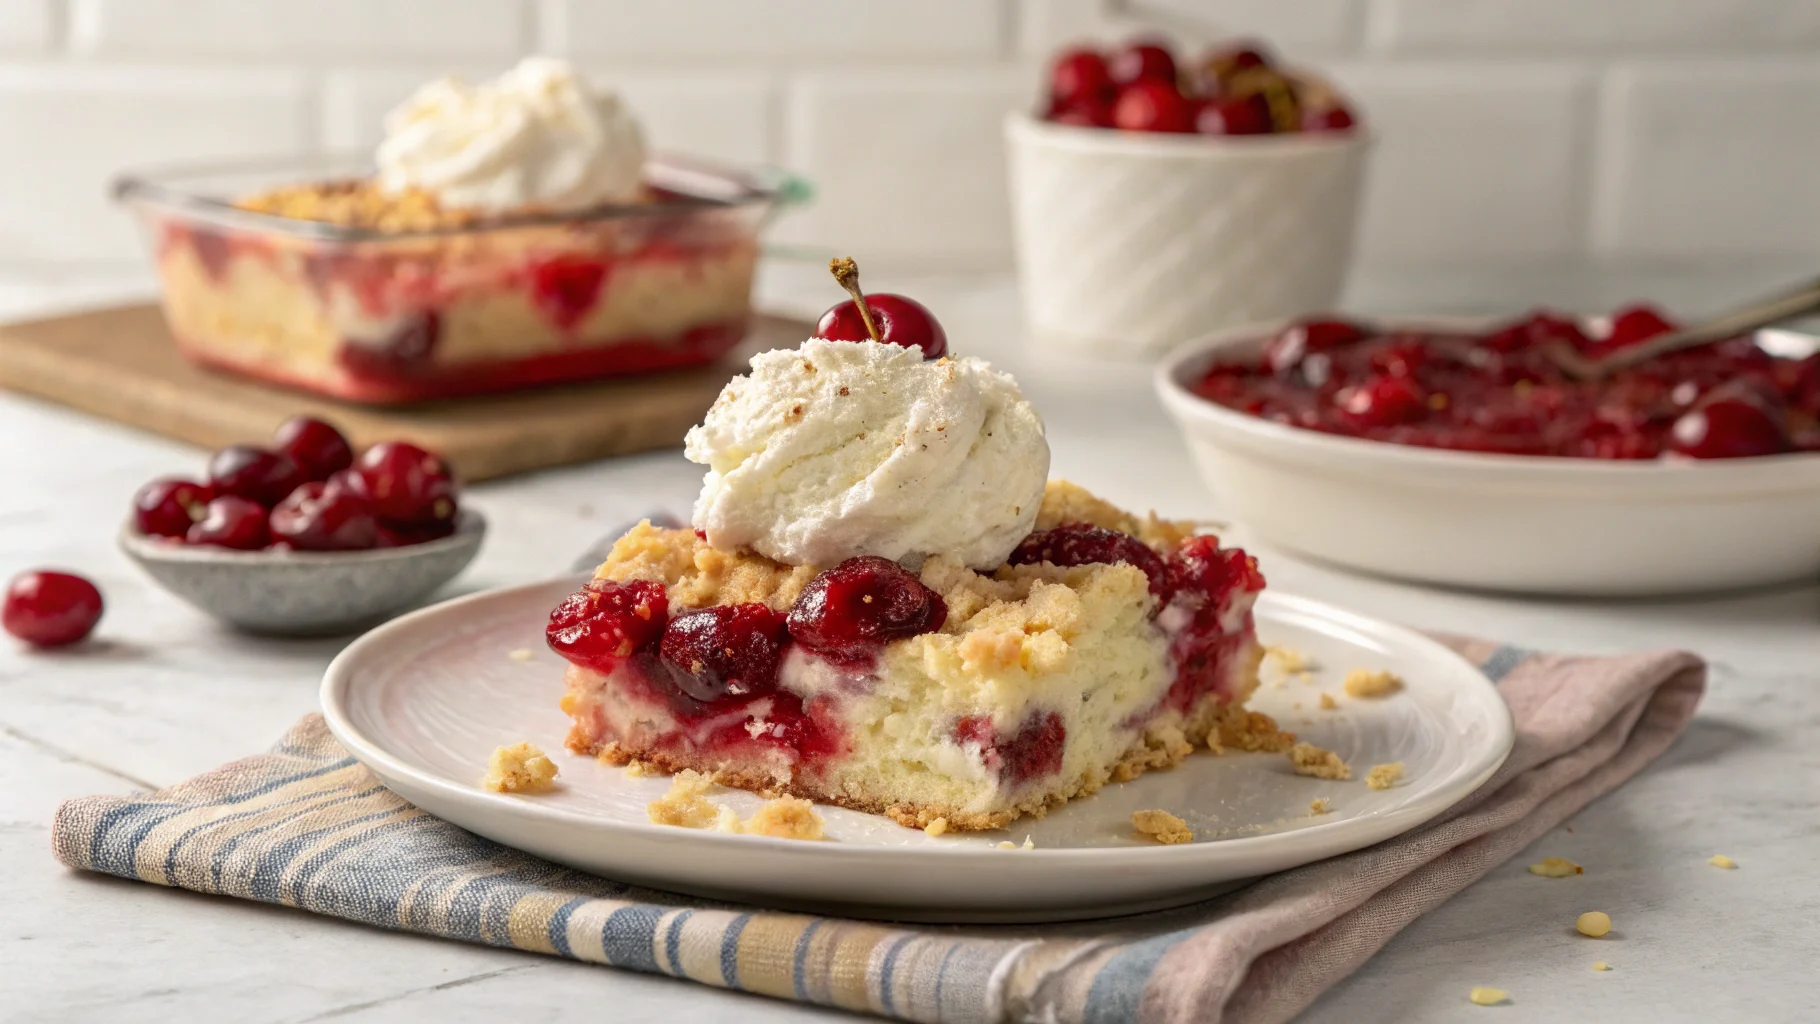
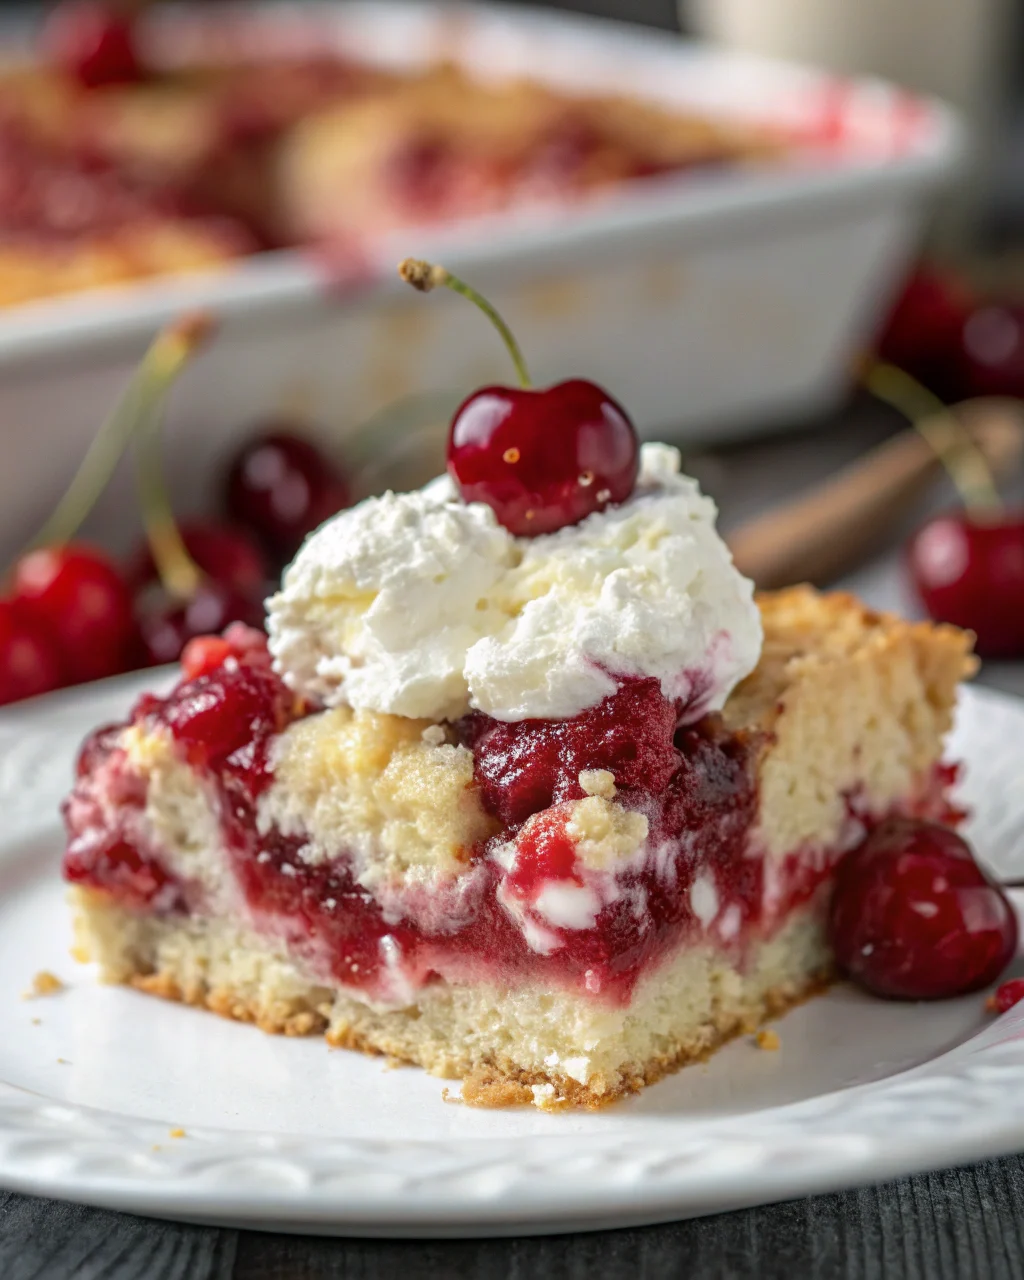
Cherry Cheesecake Dump Cake: 5-Minute Prep, Big Wow
You want a dessert that looks like you tried but took less effort than folding a fitted sheet. This Cherry Cheesecake Dump Cake is the crowd-pleaser that wins potlucks, birthdays, and random Tuesdays with equal swagger.
It’s gooey, buttery, tangy, and sweet—the dessert version of a mic drop. No mixer, no stress, no culinary degree required.
If you can open cans and melt butter, you’re already overqualified.
Why This Recipe Never Fails
This cake cheats the system by stacking reliable pantry heroes. Cherry pie filling brings juicy tartness, cream cheese adds that cheesecake tang, and yellow cake mix delivers the golden crumble on top.
Melted butter turns the dry mix into a buttery crust right in the pan—no bowls to wash. The magic is in the layering: everything bakes into distinct creamy, fruity, and crunchy pockets.
Translation: even “mistakes” taste elite.
Cherry Cheesecake Dump Cake: 5-Minute Prep, Big Wow
Course: Dessert12
servings5
minutes50
minutes380
kcalIngredients
2 cans (21 oz each) cherry pie filling
1 box (15.25–16.5 oz) yellow cake mix (white or vanilla also works)
8 oz cream cheese, softened
1/2 cup granulated sugar
1 tsp vanilla extract
1/2 cup unsalted butter, melted (plus a bit more if needed)
Pinch of salt (optional, but helps balance sweetness)
Optional toppings: whipped cream, sliced almonds, lemon zest, powdered sugar
Step-by-Step Instructions
- Preheat the oven to 350°F (175°C): Grease a 9×13-inch baking dish with butter or nonstick spray.
- Spread the cherry pie filling evenly across the bottom of the dish.
- In a bowl, beat together the cream cheese, sugar, vanilla, and a pinch of salt until smooth. Dollop and gently spread this mixture over the cherries. It doesn’t have to be perfect—swirls are great.
- Sprinkle the dry cake mix evenly over the top. Do not stir. Uniform coverage is the goal.
- Drizzle the melted butter across the dry mix, aiming to wet as much surface as possible. Any dry pockets? Add another 1–2 tablespoons of melted butter.
- Bake for 40–50 minutes until the top is golden and the edges are bubbly. The center should be set but still soft.
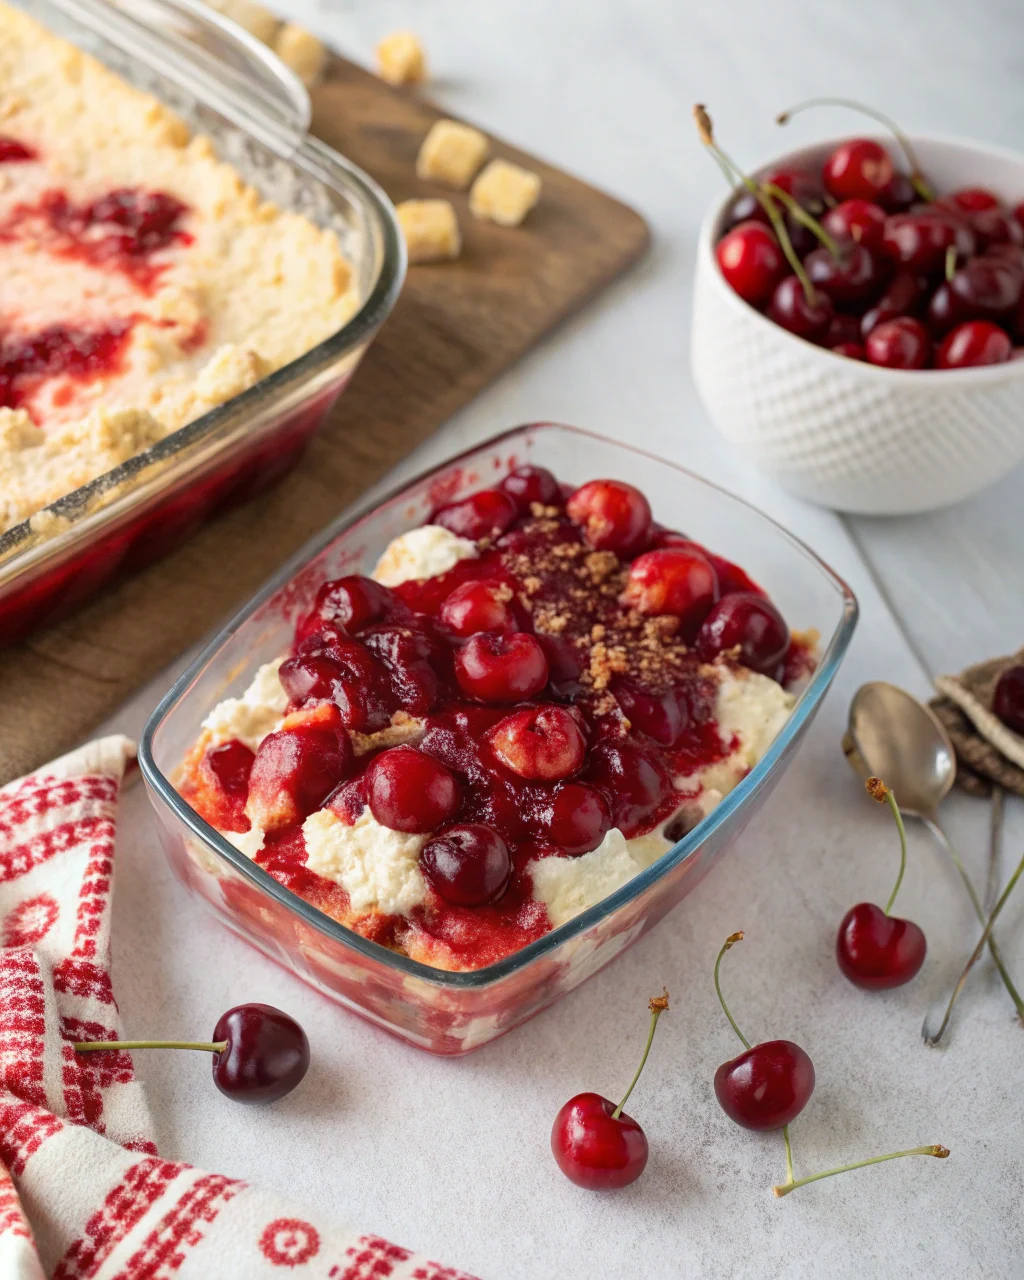
- Cool for 15–20 minutes. Serve warm with whipped cream, or chill for a firmer, cheesecake-y vibe.
Storage Tips
- Fridge: Cover and refrigerate for up to 4 days.
The flavors meld and the texture firms—arguably even better on day two.
- Freezer: Freeze in airtight containers for up to 2 months. Thaw overnight in the fridge.
- Reheat: Warm in a 300°F oven for 10–12 minutes or microwave individual portions for 20–30 seconds.
What’s Great About This
- Minimal effort, maximal payoff: Five minutes of work, bakery-level flavor.
- Built-in textures: Creamy, jammy, and crisp all in one spoonful.
How is that even fair?
- Pantry-friendly: Uses common ingredients with easy swaps.
- Scalable: Double it for a party, halve it for “just us” nights.
- Presentation-proof: Even messy slices look delicious. IMO, rustic is the move.
Nutrition Stats
Per serving (12 servings, estimate): Calories ~380, Total Fat ~17g (Sat Fat ~9g), Carbs ~55g, Sugars ~35g, Protein ~4g, Sodium ~320mg.
This is dessert, not a green smoothie—manage expectations and enjoy responsibly.
Lighten it up: Use reduced-fat cream cheese, cut sugar in the cream cheese layer to 1/3 cup, and drizzle 6 tablespoons butter plus a mist of cooking spray to cover dry spots. You’ll shave off a noticeable chunk of calories with minimal sacrifice.
Don’t Do This!
- Don’t stir the layers. Mixing defeats the “cheesecake pockets” and creates a weird batter.
- Don’t leave large dry patches of cake mix.
They bake into dusty clumps. More butter or a light spray of oil fixes it.
- Don’t overbake. If the top is deeply brown and the filling is volcanic, you’ve crossed the line.
Pull it when golden and bubbling at the edges.
- Don’t skip the salt. A pinch keeps it from tasting one-note sweet. Tiny detail, big payoff.
Mix It Up
- Lemon-kissed: Add 1 tsp lemon zest to the cream cheese layer for brightness.
- Almond bakery vibes: Swap vanilla for 1/2 tsp almond extract; top with sliced almonds in the last 10 minutes.
- Chocolate cherry dream: Use chocolate cake mix and drizzle with hot fudge when serving.
Over the top? Absolutely.
- Black Forest twist: Toss 1/2 cup mini chocolate chips over the cherries before the cake mix.
- Gluten-free: Use a gluten-free yellow cake mix and verify the pie filling is GF.
- Less sweet, more tang: Reduce sugar in the cream cheese layer to 1/3 cup and add 2 tablespoons sour cream.
- Small-batch: Halve the recipe and bake in an 8×8 pan for 30–38 minutes.
FAQ
Can I use fresh or frozen cherries instead of pie filling?
Yes, but you’ll need sweetness and thickening.
Simmer 4 cups cherries with 1/2–3/4 cup sugar and 2 tablespoons cornstarch until glossy and jammy. Cool slightly before layering.
Is there a substitute for cream cheese?
Neufchâtel (1/3 less fat cream cheese) works.
For a tangy option, blend 6 oz cream cheese with 2 oz Greek yogurt or sour cream. Mascarpone is tasty but richer and less tangy.
Can I make it dairy-free?
Use dairy-free cream cheese and vegan butter.
Choose a cake mix without milk derivatives (check labels). Texture stays similar, flavor still rocks.
How do I know it’s done?
The top should be golden with buttery crisp bits, and the edges should bubble.
A few moist spots are fine—this isn’t a dry crumb cake. If in doubt, give it 5 more minutes.
Can I prepare it ahead?
Assemble right before baking for best texture.
If you must prep, mix the cream cheese layer in advance and store it chilled; add to the pan with cherries, then top and bake when ready.
What if my cake mix is still powdery after baking?
It needed more butter or coverage. Brush or drizzle a bit more melted butter over dry patches and return to the oven for 5–8 minutes.
FYI, a light spritz of oil before baking can prevent this.
Does it need to be refrigerated?
Yes. Because of the cream cheese, refrigerate leftovers.
Reheat individual portions gently if you want that warm, gooey feel again.
Closing Notes
Cherry Cheesecake Dump Cake is the shortcut dessert that tastes like you planned it a week in advance. It’s forgiving, flashy, and completely addictive.
Keep the ingredients on standby and you’re always 45 minutes away from dessert greatness. Spoon, bowl, napkin—repeat as needed.