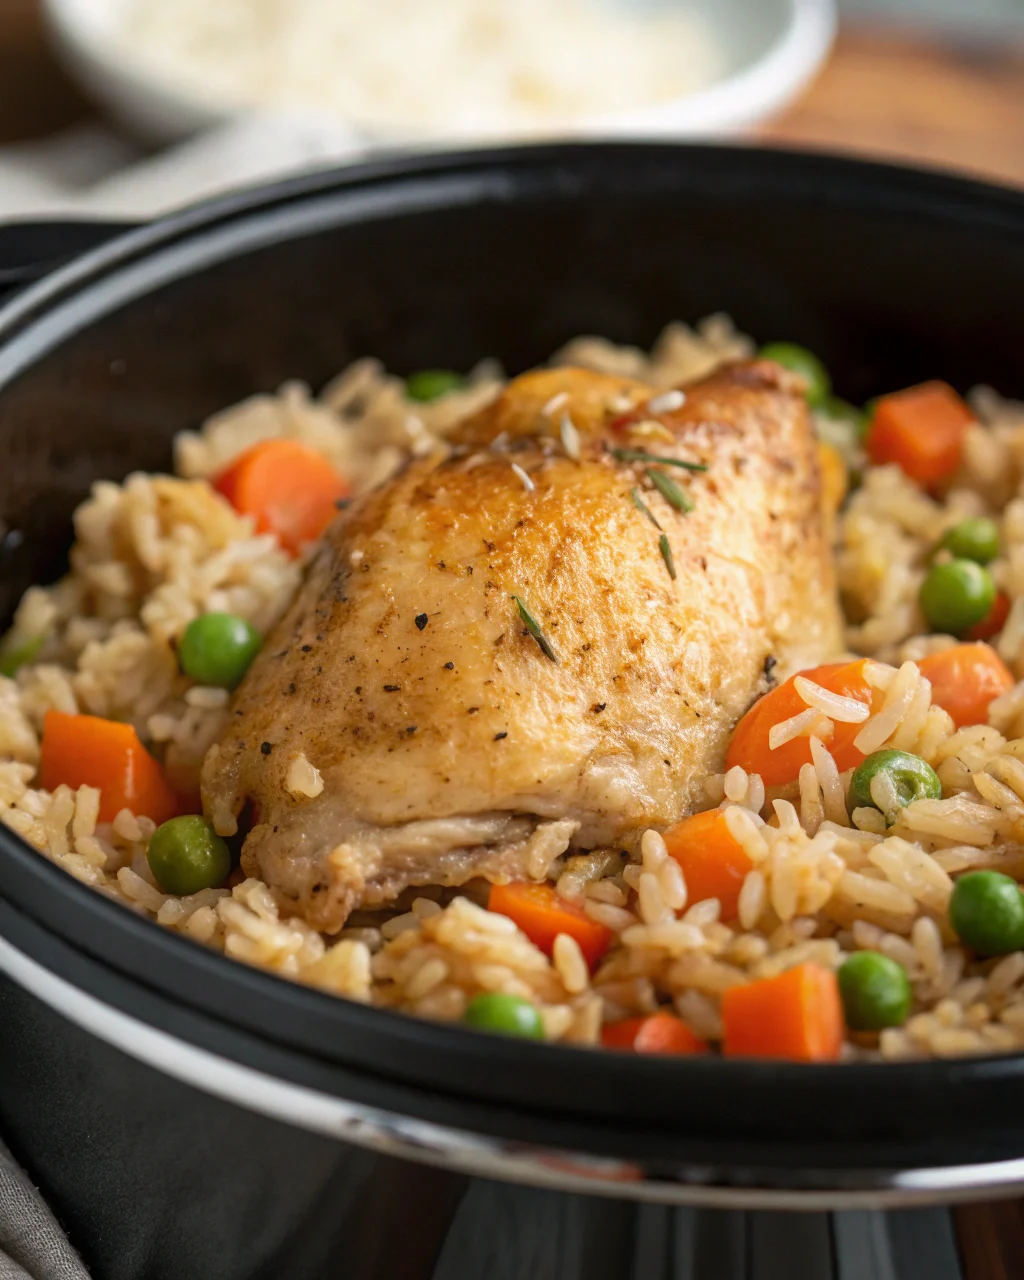
Crockpot Chicken and Rice: Weeknight Magic in One Pot
You want dinner that cooks itself, tastes like comfort, and doesn’t torch your wallet? This Crockpot Chicken and Rice is the move.
Toss it in, walk away, and come back to fluffy rice, juicy chicken, and a savory aroma that feels like a hug. No culinary degree, no complicated steps, no drama.
Just fast prep, slow cook, and plates cleared. That’s what I call ROI on dinner.
Why This Recipe Never Fails
This recipe is engineered for consistency.
The slow cooker keeps chicken moist while the rice absorbs flavor like a champ. A smart balance of broth-to-rice ratio prevents mush while still delivering that cozy, creamy texture.
Plus, pantry staples carry the flavor, so you don’t need artisanal anything. Even if you’re new to cooking, this is hard to mess up—and easy to love.

Crockpot Chicken and Rice: Weeknight Magic in One Pot
Course: Chicken, Dinner, Low-Carb6
servings10
minutes4
hours460
kcalIngredients
1.5 pounds boneless, skinless chicken thighs (more forgiving than breasts; juicy, flavorful)
1 cup long-grain white rice (rinsed; holds texture in the slow cooker)
2.5 cups low-sodium chicken broth (controls salt; adds depth)
1 medium yellow onion, diced (sweetness and body)
3 garlic cloves, minced (aroma and flavor base)
1 cup carrots, diced (color and subtle sweetness)
1 cup celery, diced (classic savory backbone)
1 cup frozen peas (stir in at the end for pop and freshness)
1 teaspoon smoked paprika (gentle warmth and color)
1 teaspoon dried thyme (herby comfort)
1 teaspoon garlic powder (layers of flavor)
1/2 teaspoon black pepper
1 to 1.25 teaspoons kosher salt (adjust to taste)
2 tablespoons unsalted butter (silky finish; optional)
1/3 cup grated Parmesan (optional but highly recommended for umami)
Juice of 1/2 lemon (brightens the dish at the end)
Fresh parsley, chopped (for garnish and freshness)
Step-by-Step Instructions
- Make the panade: In a bowl, stir breadcrumbs and milk. Let it sit 5 minutes until the crumbs swell and soften.
- Build the meatball mix: Add ground beef, ground pork, onion, egg, garlic, salt, pepper, allspice, nutmeg, and parsley. Mix gently with your hands or a fork until just combined. Don’t overwork—unless rubbery meatballs are your kink (please no).
- Roll them: Scoop into 1–1.25-inch balls (about tablespoon-size). You should get roughly 20–24. Lightly oil your hands if sticking happens.
- Brown the meatballs: Heat oil/butter in a large skillet over medium-high. Sear meatballs in batches, turning to brown on all sides, 5–7 minutes total. Transfer to a plate. They’ll finish in the sauce.
- Start the roux: Lower heat to medium. Add butter to the same pan (leave those browned bits—free flavor). Once melted, whisk in flour and cook 1–2 minutes until golden and nutty.
- Whisk the liquids: Slowly pour in beef broth, whisking constantly to prevent lumps. Add Dijon and Worcestershire. Simmer 3–4 minutes until slightly thickened.
- Creamy finish: Stir in the cream. Season with salt and a few grinds of pepper. If it looks too thick, splash in more broth; too thin, simmer another minute.
- Simmer to perfection: Nestle meatballs back into the gravy. Cover and simmer gently 7–10 minutes until cooked through (internal temp 165ºF/74ºC). Taste and adjust seasoning—pepper is your friend here.
- Serve like a pro: Spoon over mashed potatoes or buttered egg noodles. Add a dollop of lingonberry jam. Sprinkle parsley for the “I care about presentation” points.
Best Ways to Store
- Fridge: Cool completely, then store in airtight containers for up to 4 days. Splash in a tablespoon of broth or water when reheating to revive the rice.
- Freezer: Portion into freezer-safe bags or containers for up to 3 months.
Thaw overnight in the fridge before reheating on the stove over low heat, adding liquid as needed.
- Meal prep tip: Pack in single-serve containers for grab-and-go lunches. It reheats like a champ, IMO.
What’s Great About This
- Set-and-forget convenience: Minimal prep, maximum payoff.
- Budget-friendly: Everyday ingredients, lots of servings.
- Kid-approved flavors: Familiar, cozy, customizable.
- Balanced plate:</-strong> Protein, carbs, and veggies in one pot.
- Flexible: Works with swaps—see Alternatives below.
Nutrition Stats
Per serving (estimated): 460 calories; 35g protein; 48g carbs; 13g fat; 3g fiber; 900mg sodium (varies by broth and cheese).
Rich in B vitamins from chicken, plus vitamin A from carrots and some vitamin K from peas and parsley. Want lighter?
Use less butter and skip Parmesan; want higher protein? Add extra chicken.
Don’t Do This!
- Don’t use brown rice on the same timeline. It needs more liquid and time.
If you must, see Alternatives.
- Don’t open the lid constantly. Every peek can add 20–30 minutes to total cook time. Patience, chef.
- Don’t over-salt upfront. Add cheese later and adjust—Parmesan is salty.
- Don’t cut chicken into tiny pieces. They’ll dry out.
Whole thighs = juicy.
- Don’t skip rinsing the rice.</-strong> That’s how you get mush city.
Alternatives
- Chicken breasts: Swap 1.5 lbs breasts; check 30 minutes earlier to avoid dryness. Shred or cube at the end.
- Brown rice: Use 1 cup brown rice + 3 cups broth, cook on Low 6.5–7.5 hours.
Texture will be heartier.
- No-dairy version: Skip butter and Parmesan; stir in olive oil and nutritional yeast for savory vibes.
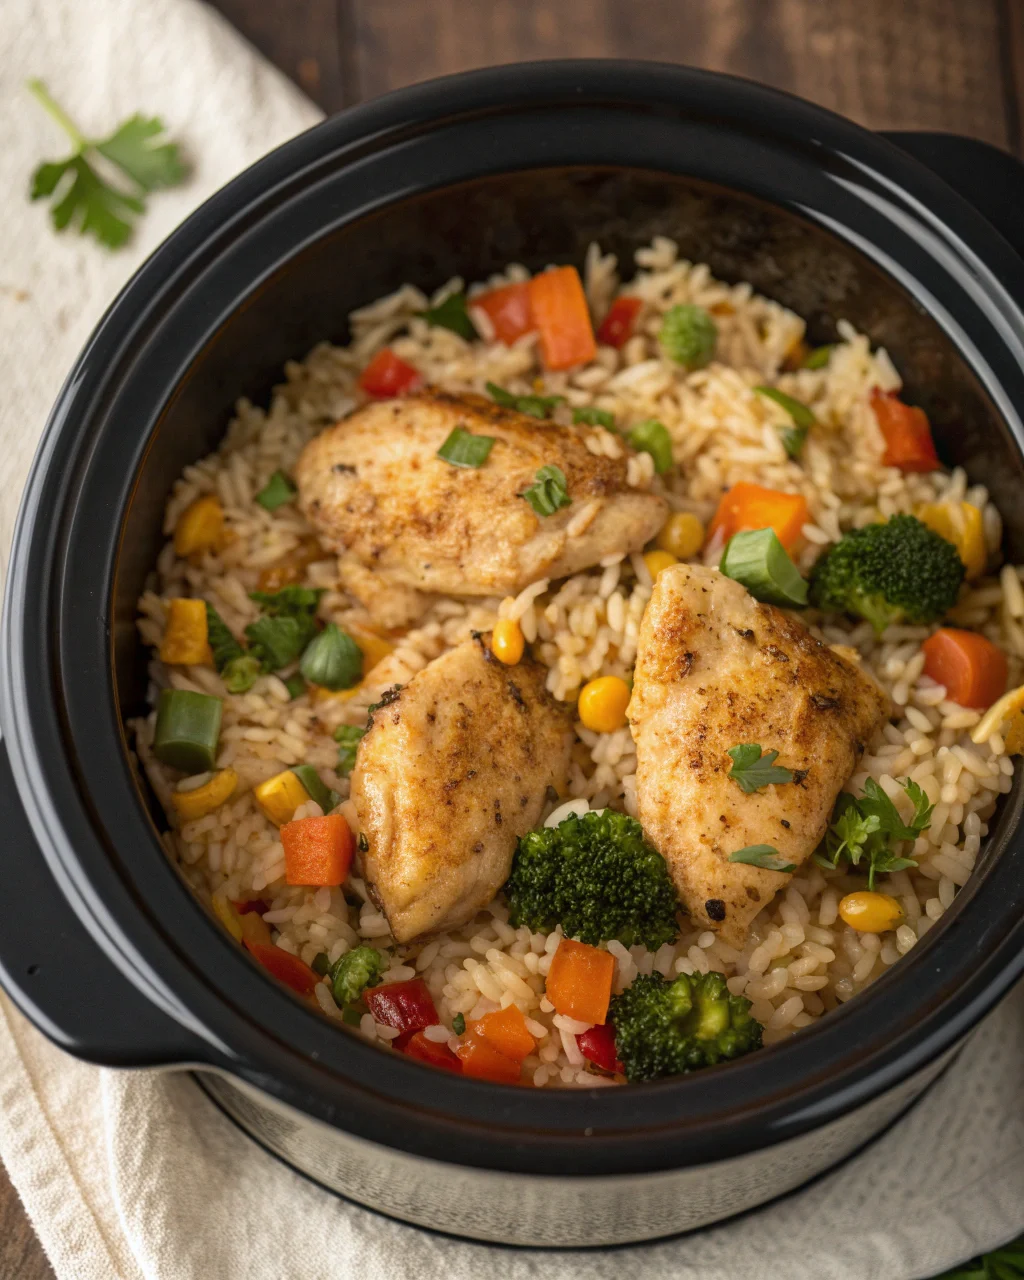
- Veg-loaded: Add 1 cup mushrooms or bell peppers at the start; spinach can be stirred in at the end to wilt.
- Tex-Mex twist: Add 1 tsp cumin, 1/2 tsp chili powder, and 1 cup corn; finish with cheddar and cilantro.
- Lemon-herb: Use zest of 1 lemon, 1 tsp Italian seasoning, and finish with extra parsley and a splash of cream.
- Gluten-free: Use certified GF broth and cheese. The rest is naturally GF.
FAQ
Can I cook this faster on the stovetop?
Yes.
Sauté onions, carrots, celery, and garlic in a Dutch oven, add rice and broth, bring to a simmer, then add chicken and cover. Cook 18–22 minutes until rice is tender and chicken hits 165°F.
Shred, finish with peas, butter, and Parmesan.
Why is my rice mushy?
Likely too much liquid, overcooking, or stirring too early. Measure broth accurately, rinse rice, and keep the lid closed.
Also, use long-grain white rice—not instant or short-grain.
Can I add cream of chicken soup?
Totally. Stir in one 10.5-oz can at the start and reduce broth by about 1/2 cup.
It’ll be creamier and richer, FYI.
How do I make it spicier?
Add 1/4–1/2 teaspoon red pepper flakes or a diced jalapeño at the start. A dash of hot sauce at the end also plays nice with the lemon and Parmesan.
Can I double the recipe?
Yes if your slow cooker is 6.5 quarts or larger.
Increase cooking time by 30–60 minutes and check rice doneness toward the end. Avoid filling past two-thirds full.
What if my slow cooker runs hot?
Use the Low setting and check early.
You can also add 2–3 tablespoons extra broth near the end if the rice looks dry but not yet tender.
Recipe Reflections
This dish hits that sweet spot of easy, hearty, and repeatable. The slow cooker turns simple ingredients into something that tastes like effort.
It’s not fussy, it forgives timing, and it scales for crowds without drama. Make it once, tweak it to your taste, and you’ve got a weeknight ace up your sleeve—no takeout temptation required.