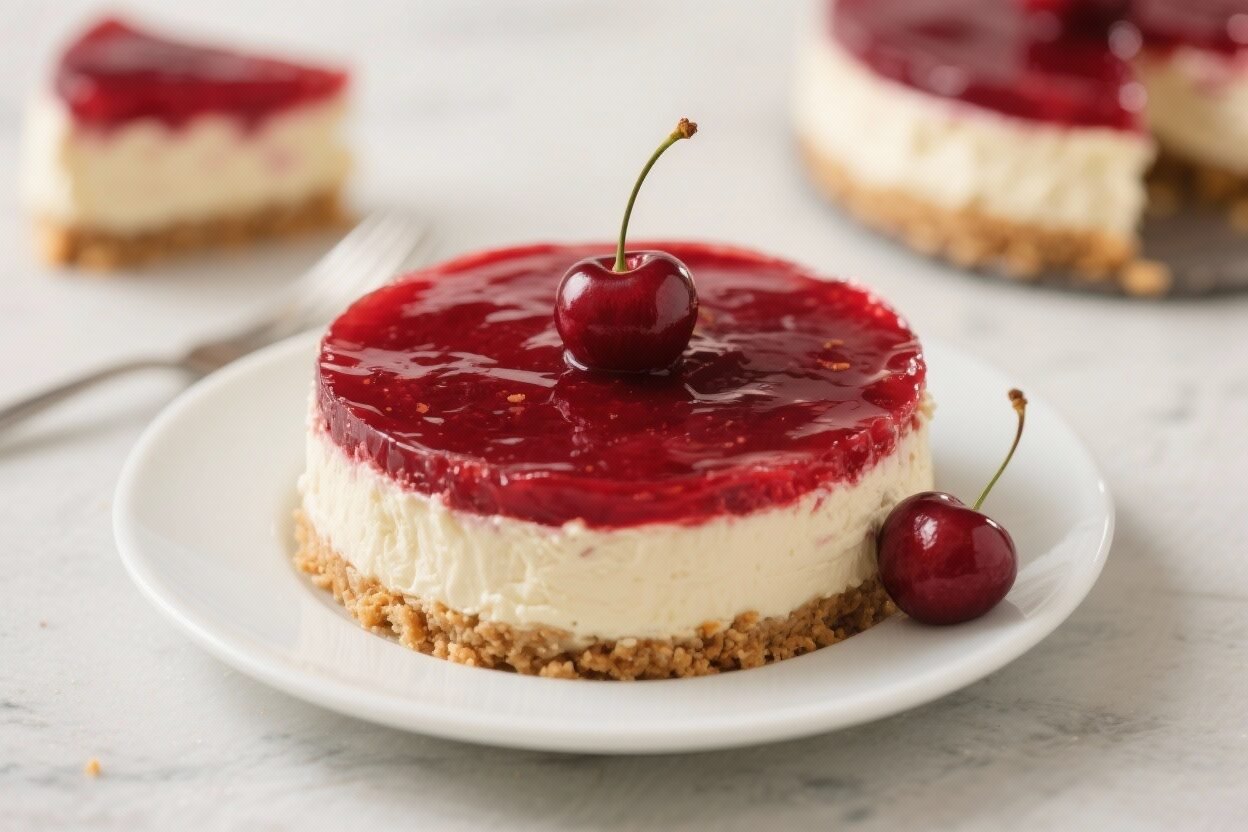
Easy No-Bake Cherry Cheesecake – Creamy, Simple, and Crowd-Pleasing
This no-bake cherry cheesecake is the kind of dessert you pull together when you want something special without turning on the oven. It’s cool, creamy, and topped with glossy cherries that make it look instantly festive. The crust is buttery and crisp, the filling is velvety, and the whole thing sets up beautifully in the fridge.
If you can stir, whip, and chill, you can make this. It’s a reliable, make-ahead dessert that never fails to impress, even on a busy weeknight.
Easy No-Bake Cherry Cheesecake – Creamy, Simple, and Crowd-Pleasing
Ingredients
Method
- Prep the pan. Lightly grease a 9-inch springform pan or line the bottom with parchment.This makes slicing and serving easier.
- Make the crust. Crush the graham crackers into fine crumbs. Stir in granulated sugar and melted butter until the mixture looks like wet sand and holds together when pressed.
- Press and chill. Firmly press the crumb mixture into the bottom of the pan, going slightly up the sides. Use a flat-bottomed glass to compact it.Chill in the fridge for at least 15 minutes while you make the filling.
- Whip the cream. In a cold bowl, beat the heavy cream to stiff peaks. Set aside in the fridge. This is your light, airy lift.
- Beat the cream cheese. In a separate bowl, beat softened cream cheese until smooth and fluffy, about 2 minutes.Scrape the bowl so there are no lumps.
- Sweeten and flavor. Add confectioners’ sugar, vanilla, lemon juice, lemon zest (if using), and a pinch of salt. Beat until silky and fully combined.
- Fold in the whipped cream. Gently fold the whipped cream into the cream cheese mixture in two batches. Keep it light to maintain volume.
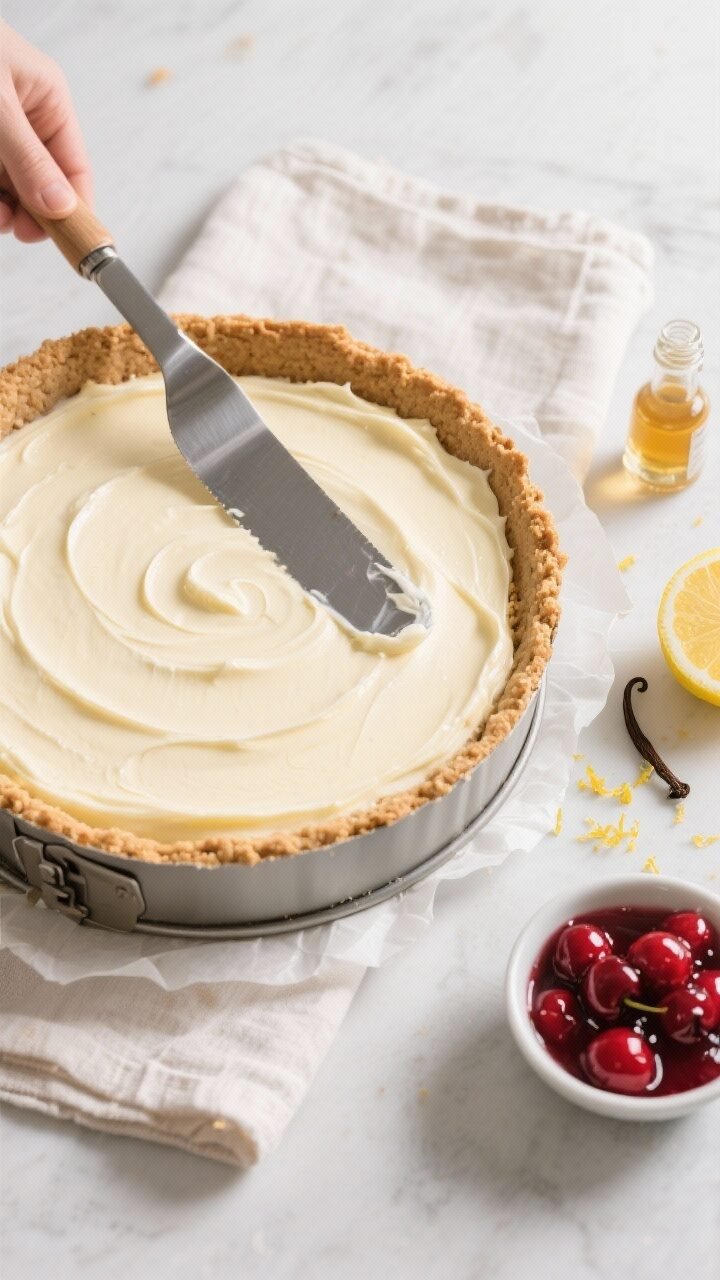
- Fill the crust. Spoon the filling into the chilled crust and smooth the top with an offset spatula.Tap the pan lightly on the counter to settle any air bubbles.
- Chill to set. Cover and refrigerate for at least 6 hours, preferably overnight. The longer chill helps it slice cleanly.
- Add the cherry topping. Right before serving, spread the cherry pie filling evenly over the cheesecake. Leave a small border if you like a neat edge.
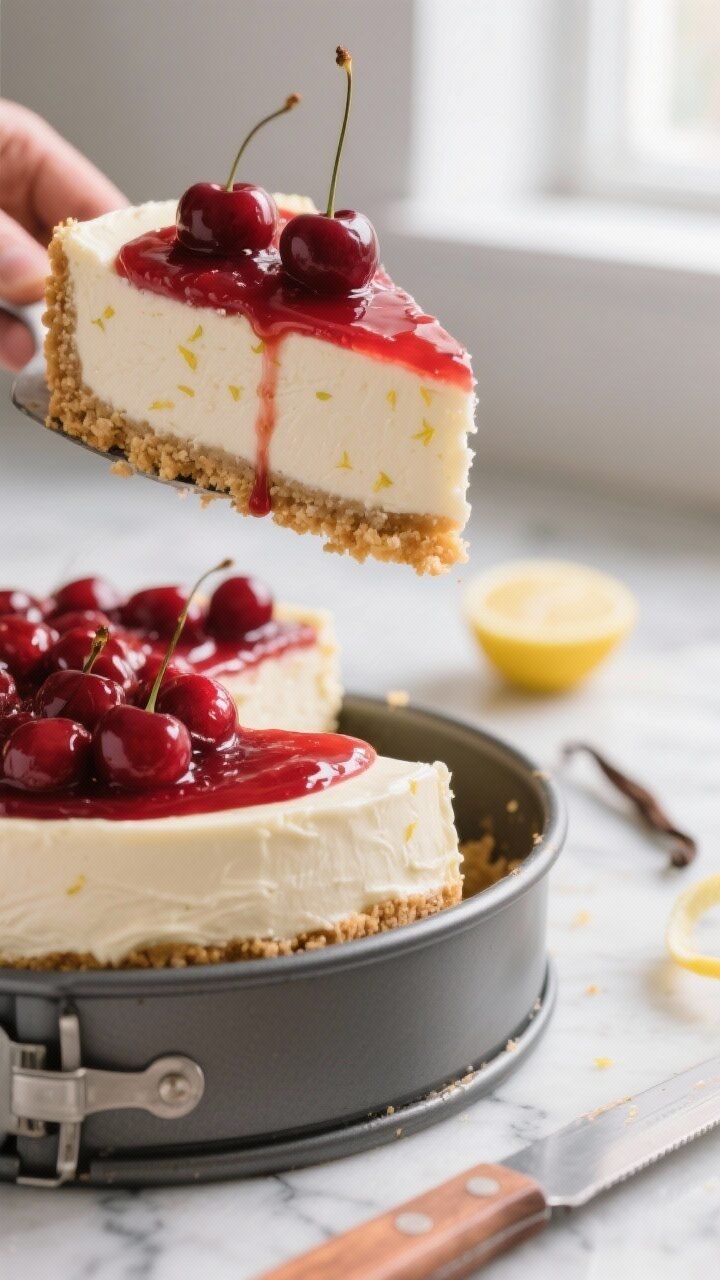
- Slice and serve. Run a warm knife around the pan edge, release the springform, and slice with a clean, warm knife, wiping between cuts.
Why This Recipe Works
This cheesecake gets its structure from a mix of cream cheese and whipped cream, so it sets firm without baking. The graham cracker crust adds texture and a hint of caramelized flavor that balances the sweetness.
A touch of lemon brightens the filling, keeping it from feeling heavy. The canned cherry topping is classic, convenient, and just tart enough to pop against the creamy base. Everything comes together fast, and the fridge does the rest.
Shopping List
- Graham crackers (about 10–12 full sheets) or 1 1/2 cups graham cracker crumbs
- Unsalted butter (6 tablespoons), melted
- Granulated sugar (2–3 tablespoons) for the crust
- Cream cheese (16 ounces), softened to room temperature
- Confectioners’ sugar (1 cup), sifted if lumpy
- Vanilla extract (2 teaspoons)
- Lemon juice (1–2 tablespoons), freshly squeezed
- Lemon zest (optional, about 1/2 teaspoon)
- Heavy whipping cream (1 cup), cold
- Pinch of salt (optional, enhances flavor)
- Canned cherry pie filling (1 can, about 21 ounces)
Instructions
- Prep the pan. Lightly grease a 9-inch springform pan or line the bottom with parchment.This makes slicing and serving easier.
- Make the crust. Crush the graham crackers into fine crumbs. Stir in granulated sugar and melted butter until the mixture looks like wet sand and holds together when pressed.
- Press and chill. Firmly press the crumb mixture into the bottom of the pan, going slightly up the sides. Use a flat-bottomed glass to compact it.Chill in the fridge for at least 15 minutes while you make the filling.
- Whip the cream. In a cold bowl, beat the heavy cream to stiff peaks. Set aside in the fridge. This is your light, airy lift.
- Beat the cream cheese. In a separate bowl, beat softened cream cheese until smooth and fluffy, about 2 minutes.Scrape the bowl so there are no lumps.
- Sweeten and flavor. Add confectioners’ sugar, vanilla, lemon juice, lemon zest (if using), and a pinch of salt. Beat until silky and fully combined.
- Fold in the whipped cream. Gently fold the whipped cream into the cream cheese mixture in two batches. Keep it light to maintain volume.
- Fill the crust. Spoon the filling into the chilled crust and smooth the top with an offset spatula.Tap the pan lightly on the counter to settle any air bubbles.
- Chill to set. Cover and refrigerate for at least 6 hours, preferably overnight. The longer chill helps it slice cleanly.
- Add the cherry topping. Right before serving, spread the cherry pie filling evenly over the cheesecake. Leave a small border if you like a neat edge.
- Slice and serve. Run a warm knife around the pan edge, release the springform, and slice with a clean, warm knife, wiping between cuts.
How to Store
Store the cheesecake covered in the fridge for up to 4 days.
If possible, add the cherry topping just before serving for the best texture. For longer storage, freeze the cheesecake without the topping. Wrap tightly in plastic and foil, and freeze for up to 2 months.
Thaw overnight in the fridge, then top with cherries.
Benefits of This Recipe
- No oven needed. Perfect for hot days or when your oven is already full.
- Make-ahead friendly. Sets in the fridge, so it’s ready when you are.
- Beginner-proof. No tricky water baths or worrying about cracks.
- Balanced flavor. Lemon and vanilla keep the filling fresh and not overly sweet.
- Consistent results. Simple steps that deliver a smooth, sliceable texture every time.
What Not to Do
- Don’t skip softening the cream cheese. Cold cream cheese leads to lumps you can’t fix later.
- Don’t overwhip the cream. Grainy cream won’t fold smoothly and can deflate the filling.
- Don’t rush the chill time. Less than 6 hours often means messy slices and a softer set.
- Don’t pour on warm topping. Keep the cherry filling cool so it doesn’t loosen the cheesecake.
- Don’t use a warm crust. Chill it first so the filling sets cleanly on top.
Variations You Can Try
- Chocolate crust. Swap graham crackers for chocolate wafer cookies or Oreos (use the crumbs plus melted butter).
- Citrus twist. Use lime juice and zest for a key-lime style cheesecake, then top with cherries or skip the topping altogether.
- Fresh cherry compote. Simmer pitted cherries with a little sugar and lemon until syrupy. Cool completely before topping.
- Yogurt boost. Replace 1/4 of the cream cheese with full-fat Greek yogurt for tang and a lighter feel.
- Mini cheesecakes. Press crust and filling into lined muffin tins. Chill 2–3 hours.Top each with a spoon of cherries.
- Gluten-free option. Use certified gluten-free graham crackers or almond flour crust (almond flour, a little sugar, and melted butter).
- Extra creamy. Add 2–3 tablespoons of sour cream to the filling for a bakery-style tang.
FAQ
Can I use whipped topping instead of heavy cream?
Yes, you can fold in about 3 cups of thawed whipped topping. The texture will be slightly sweeter and more stable, but less rich than fresh whipped cream.
How do I prevent a soggy crust?
Make sure the crust is well-compacted and fully chilled before adding the filling. If you want extra insurance, brush the crust with a thin layer of melted white chocolate and let it set before filling.
What if I don’t have a springform pan?
Use a 9-inch deep pie dish or an 8×8-inch square pan.
Line with parchment for easy lifting and clean slices.
Can I reduce the sugar?
You can reduce the confectioners’ sugar to 3/4 cup for a less sweet filling. Keep in mind the cherry topping is sweet, so balance to taste.
How long does it need to chill?
At least 6 hours, but overnight is best. A full chill gives you neat, sturdy slices and a smooth texture.
Can I make it dairy-free?
Use dairy-free cream cheese and coconut whipped cream.
Check that your crust is dairy-free and use a cherry topping without added dairy.
Why is my filling runny?
Common reasons are under-whipped cream, warm ingredients, or not enough chill time. Whip cream to stiff peaks, use room-temp cream cheese, and let it set overnight.
Is canned cherry pie filling my only option?
Not at all. Use a homemade cherry compote, a mixed berry topping, or even a simple layer of fresh cherries glazed with a little warmed jam.
Can I add gelatin for a firmer set?
Yes.
Bloom 1 teaspoon powdered gelatin in 1 tablespoon cold water, melt gently, and mix into the filling before folding in the whipped cream. This adds extra stability, especially for warm-weather events.
What’s the best way to slice cleanly?
Use a sharp knife warmed under hot water, then wiped dry. Clean and rewarm the knife between each slice to keep edges neat.
In Conclusion
This Easy No-Bake Cherry Cheesecake delivers creamy texture, bright flavor, and a picture-perfect finish with almost no effort.
It’s a dependable recipe for birthdays, holidays, or any time you want dessert without baking. Keep the steps simple, give it a good chill, and add those glossy cherries right before serving. You’ll have a classic, crowd-pleasing dessert that tastes as good as it looks.