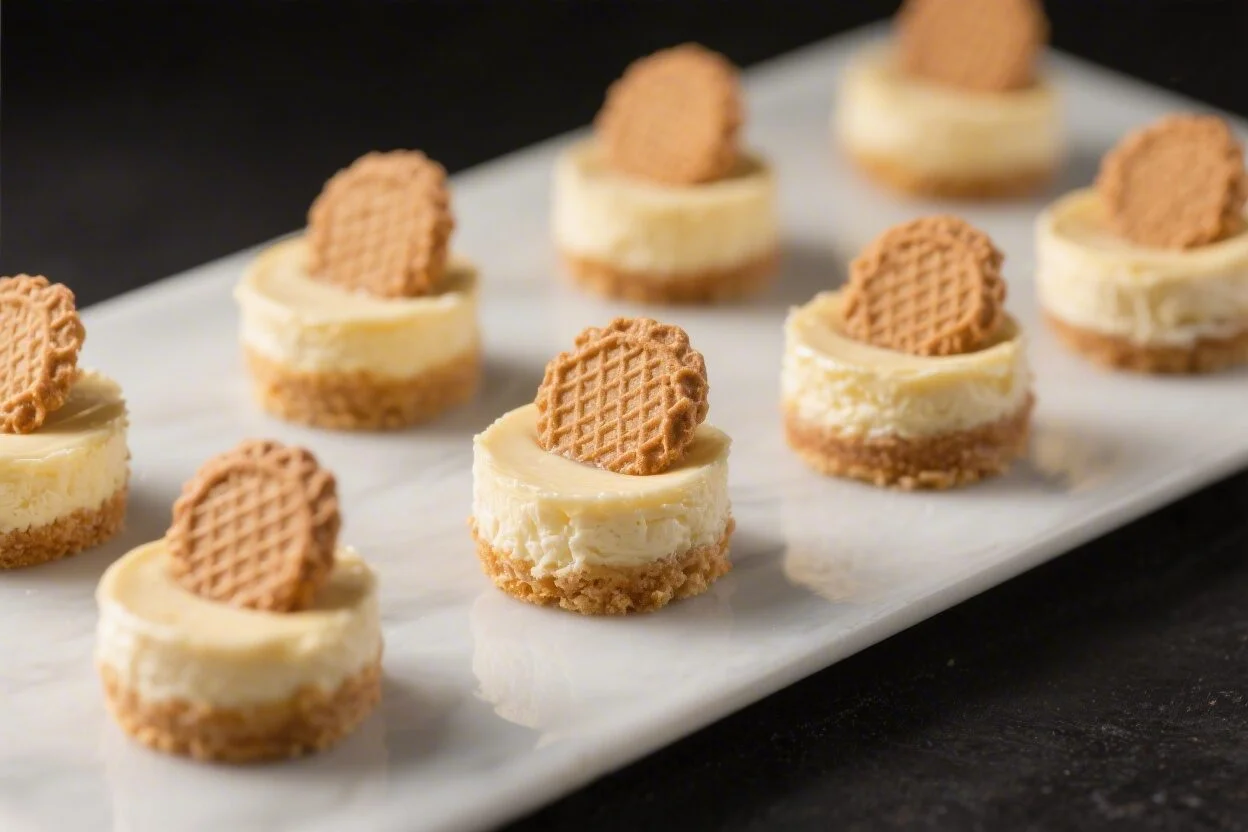
Mini Cheesecakes with Vanilla Wafers – Simple, Creamy, and Crowd-Pleasing
These mini cheesecakes come together with a vanilla wafer cookie as the crust, a smooth cream cheese filling, and any topping you like. They’re easy to bake, quick to chill, and perfect for parties or weeknight treats. No water bath, no springform pan, and no stress.
If you’re new to cheesecake, this recipe is a great place to start. If you’re experienced, you’ll love how reliable and customizable it is.
Mini Cheesecakes with Vanilla Wafers - Simple, Creamy, and Crowd-Pleasing
Ingredients
Method
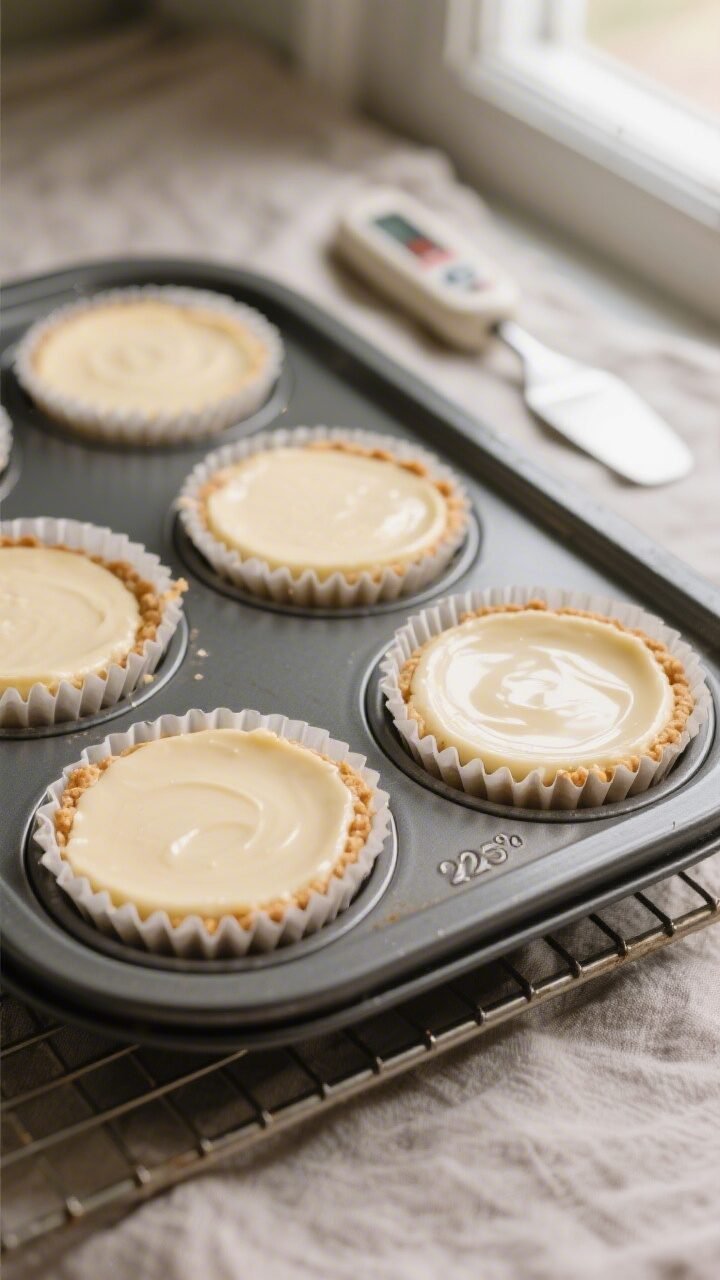
- Prep the pan: Line two standard 12-cup muffin pans with paper liners.Place one vanilla wafer in the bottom of each cup, flat side down. Preheat the oven to 325°F (165°C).
- Soften the cream cheese: Make sure the cream cheese is truly soft. It should dent easily when pressed.This prevents lumps and helps create a silky filling.
- Beat the cream cheese and sugar: In a large bowl, beat the cream cheese with the sugar on medium speed until smooth and fluffy, about 2 minutes. Scrape down the bowl and beat another 15 seconds to remove any lumps.
- Add eggs: Beat in the eggs one at a time on low speed, mixing just until combined after each. Overbeating introduces air, which can cause cracks.
- Add sour cream, vanilla, and salt: Mix on low until the batter is smooth and glossy.Scrape the bowl to be sure everything is incorporated.
- Fill the cups: Divide the batter evenly among the lined cups, filling each about 3/4 full. A large cookie scoop or 1/4-cup measure works well for portioning.
- Bake: Bake at 325°F (165°C) for 16–20 minutes. The centers should look set around the edges with a slight wobble in the middle.They should not brown deeply.
- Cool gradually: Turn off the oven, crack the door, and let the cheesecakes sit for 5 minutes. Then transfer the pan to a wire rack and cool to room temperature.
- Chill to set: Refrigerate for at least 2 hours, ideally 4 hours or overnight. This step firms the texture and improves flavor.
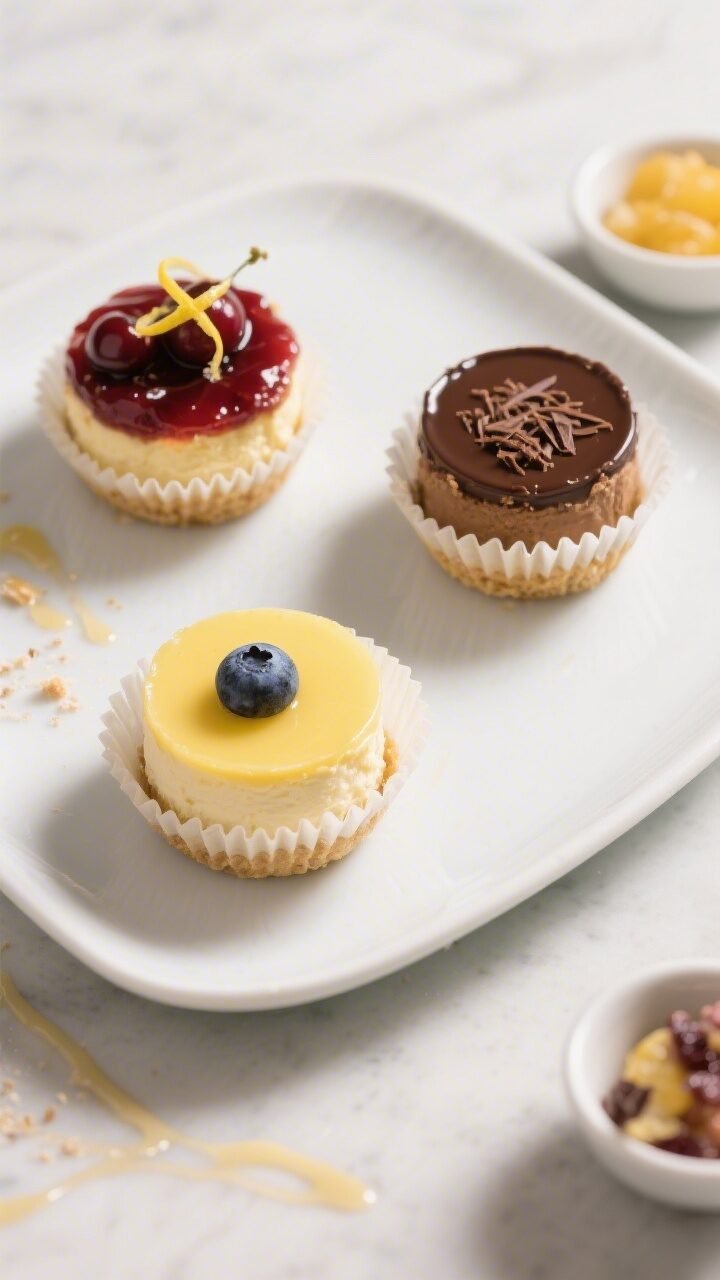
- Top and serve: Add your favorite toppings right before serving.Keep portions small and neat for the best presentation.
Why This Recipe Works
Using vanilla wafers as the crust keeps things simple and fast. There’s no need to crush cookies or melt butter.
One cookie per cup means a neat, even base every time.
The batter uses cream cheese, sugar, eggs, and sour cream for a tangy, creamy texture that sets beautifully. A standard muffin pan makes them the right size for sharing and easy portion control. Plus, mini cheesecakes bake faster and cool quicker than full-size versions, so you can enjoy them sooner.
Ingredients
- 24 vanilla wafer cookies (one per muffin cup; Nilla Wafers or similar)
- 16 oz (450 g) cream cheese, softened to room temperature
- 2/3 cup (135 g) granulated sugar
- 2 large eggs, at room temperature
- 1/2 cup (120 g) sour cream, at room temperature
- 1 tsp pure vanilla extract
- 1/8 tsp fine salt
- Optional toppings: cherry pie filling, blueberry compote, lemon curd, chocolate ganache, caramel sauce, whipped cream, or fresh berries
- Optional garnish: lemon zest, shaved chocolate, crushed nuts
Instructions
- Prep the pan: Line two standard 12-cup muffin pans with paper liners.Place one vanilla wafer in the bottom of each cup, flat side down. Preheat the oven to 325°F (165°C).
- Soften the cream cheese: Make sure the cream cheese is truly soft. It should dent easily when pressed.This prevents lumps and helps create a silky filling.
- Beat the cream cheese and sugar: In a large bowl, beat the cream cheese with the sugar on medium speed until smooth and fluffy, about 2 minutes. Scrape down the bowl and beat another 15 seconds to remove any lumps.
- Add eggs: Beat in the eggs one at a time on low speed, mixing just until combined after each. Overbeating introduces air, which can cause cracks.
- Add sour cream, vanilla, and salt: Mix on low until the batter is smooth and glossy.Scrape the bowl to be sure everything is incorporated.
- Fill the cups: Divide the batter evenly among the lined cups, filling each about 3/4 full. A large cookie scoop or 1/4-cup measure works well for portioning.
- Bake: Bake at 325°F (165°C) for 16–20 minutes. The centers should look set around the edges with a slight wobble in the middle.They should not brown deeply.
- Cool gradually: Turn off the oven, crack the door, and let the cheesecakes sit for 5 minutes. Then transfer the pan to a wire rack and cool to room temperature.
- Chill to set: Refrigerate for at least 2 hours, ideally 4 hours or overnight. This step firms the texture and improves flavor.
- Top and serve: Add your favorite toppings right before serving.Keep portions small and neat for the best presentation.
How to Store
- Refrigerate: Store covered in the fridge for up to 5 days. Keep toppings separate until serving if possible.
- Freeze: Freeze undecorated cheesecakes on a sheet until solid, then transfer to an airtight container for up to 2 months. Thaw overnight in the fridge, then add toppings.
- Transporting: Keep them cold in a cooler bag with ice packs.Add whipped cream or fresh fruit at the destination for the cleanest look.
Benefits of This Recipe
- Fast crust: One vanilla wafer per cup saves time and dishes, with a consistent crunch in every bite.
- Beginner-friendly: No water bath, no special pans. The batter is forgiving if your cream cheese is soft and mixed gently.
- Portion control: Mini size makes serving easy and helps avoid waste at gatherings.
- Endless toppings: Use whatever you have—jams, curds, chocolate, or fruit—to match the season or occasion.
- Great make-ahead: They taste better after chilling, so you can prep a day or two in advance.
Common Mistakes to Avoid
- Using cold cream cheese: This causes lumps you can’t beat out easily. Softening is key to a smooth batter.
- Overbeating the eggs: Too much air leads to puffing and cracking.Mix on low until just combined.
- Overbaking: If the centers are firm and dry, they’ll crack as they cool. Pull them when there’s a slight jiggle.
- Skipping the chill: Warm or barely cooled cheesecakes taste loose and bland. Chilling sets the structure and rounds out flavor.
- Topping too early: Wet toppings can weep into the surface.Add them close to serving for the best texture and look.
Variations You Can Try
- Lemon swirl: Add 1 tsp lemon zest to the batter. Dollop lemon curd on top of each cup before baking and swirl with a toothpick.
- Chocolate chip: Fold 1/2 cup mini chocolate chips into the batter. Top with a drizzle of ganache after chilling.
- Berry burst: Spoon 1 teaspoon of berry jam onto each filled cup and swirl lightly.Finish with fresh berries.
- Caramel pecan: After chilling, top with caramel sauce and chopped toasted pecans. A pinch of flaky salt adds balance.
- Cookie crust twist: Swap vanilla wafers for chocolate wafers, Biscoff, or thin gingersnaps for a flavor boost. Use one cookie per cup.
- Protein boost: Replace 2 tablespoons of sour cream with Greek yogurt for a slightly tangier, higher-protein bite.
- Gluten-free: Use a gluten-free vanilla wafer-style cookie.The filling is naturally gluten-free.
FAQ
Can I make these without paper liners?
You can, but liners make removal much easier. If you skip liners, grease the cups well and run a thin knife around the edges once cooled. Expect a higher chance of sticking and slightly messier edges.
Why did my cheesecakes crack?
Cracks usually come from overmixing, overbaking, or a quick temperature change.
Mix on low once the eggs go in, pull them when there’s a soft jiggle, and cool gradually with the oven door cracked for a few minutes before moving to the counter.
Can I reduce the sugar?
Yes, you can reduce to 1/2 cup without affecting texture much. Any lower and the tang will be more pronounced and the texture a bit less silky. Sweet toppings can help balance reduced sugar.
What if I only have low-fat cream cheese?
It works, but the texture will be lighter and slightly less creamy.
Avoid fat-free cream cheese—it tends to be gummy and may not set as well.
How do I know they’re done?
Look for set edges and a gentle wobble in the center when you nudge the pan. The tops should be pale and not wet. They’ll finish setting as they cool and chill.
Can I make a half batch?
Yes.
Halve all ingredients and bake in one 12-cup muffin pan. The bake time stays about the same; start checking at 15 minutes.
What toppings hold up best for parties?
Fruit compotes, lemon curd, and ganache hold their shape well. Whipped cream is best piped right before serving.
If it’s hot out, choose firmer toppings and keep the cheesecakes chilled until guests arrive.
Do I need to bring them to room temperature before serving?
They taste great cold, but 10–15 minutes at room temperature softens the texture and boosts flavor. Avoid leaving them out for more than 2 hours for food safety.
Final Thoughts
Mini Cheesecakes with Vanilla Wafers are the kind of dessert you can rely on. They’re quick to assemble, easy to customize, and always a hit.
Keep a box of vanilla wafers in the pantry and cream cheese in the fridge, and you can whip these up anytime. Whether you top them with berries, chocolate, or lemon, they deliver creamy comfort in a neat little package.