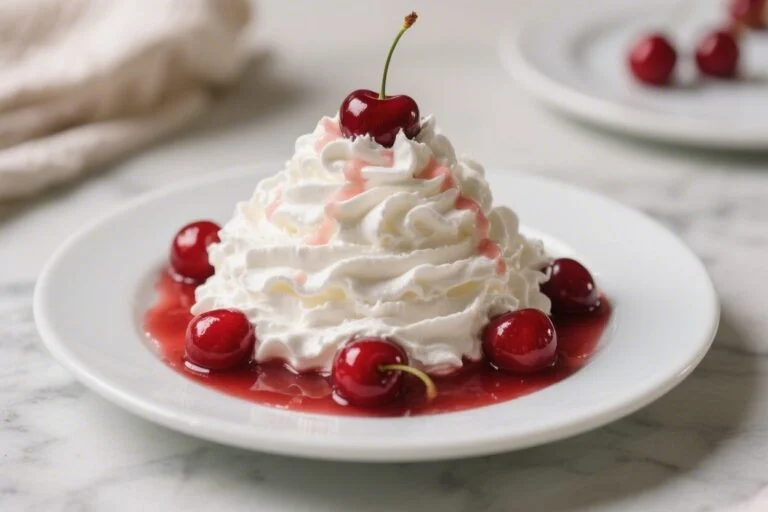
No-Bake Cherry Delight Bars – Creamy, Fruity, and Effortless
These bars taste like a summer potluck classic, and you don’t even have to turn on the oven. A buttery cookie crust, a light and creamy filling, and a glossy cherry topping come together in layers that slice beautifully. They’re easy enough for a weeknight dessert and special enough for holidays.
If you love creamy, tangy, and sweet in one bite, this recipe hits all the notes. Plus, it’s forgiving and customizable, which makes it a reliable go-to.
No-Bake Cherry Delight Bars - Creamy, Fruity, and Effortless
Ingredients
Method
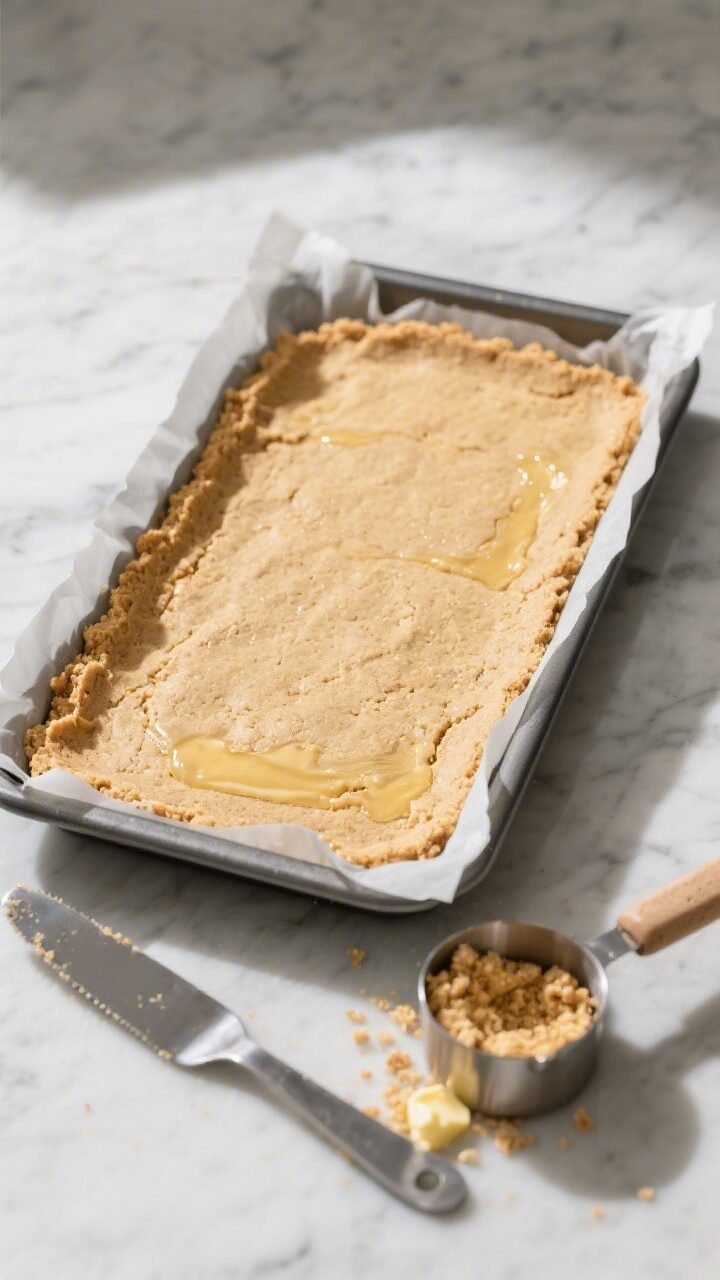
- Prep the pan: Line a 9x13-inch baking pan with parchment, leaving an overhang for easy lifting. This makes neat slices and simple cleanup.
- Make the crust: In a bowl, mix graham cracker crumbs, sugar, salt, and melted butter until the mixture resembles damp sand.It should hold together when pressed.
- Press and chill: Firmly press the crust into the lined pan in an even layer. Use the bottom of a measuring cup to compact it. Chill in the fridge for 15 minutes.
- Beat the cream cheese: In a large bowl, beat softened cream cheese with powdered sugar, salt, vanilla, and lemon juice until smooth and fluffy, 2–3 minutes.Scrape the bowl as needed.
- Add the cream: In a separate bowl, whip the heavy cream to medium-stiff peaks. Gently fold the whipped cream into the cream cheese mixture in two additions until no streaks remain. If using whipped topping, fold it in gently until combined.
- Layer the filling: Spread the creamy layer over the chilled crust.Smooth the top with an offset spatula, pushing it into the corners.
- Top with cherries: Stir almond extract into the cherry pie filling if using. Spoon evenly over the cream layer and gently spread without pressing down.
- Chill to set: Cover and refrigerate for at least 4 hours, preferably overnight. This helps the layers firm up for clean slicing.
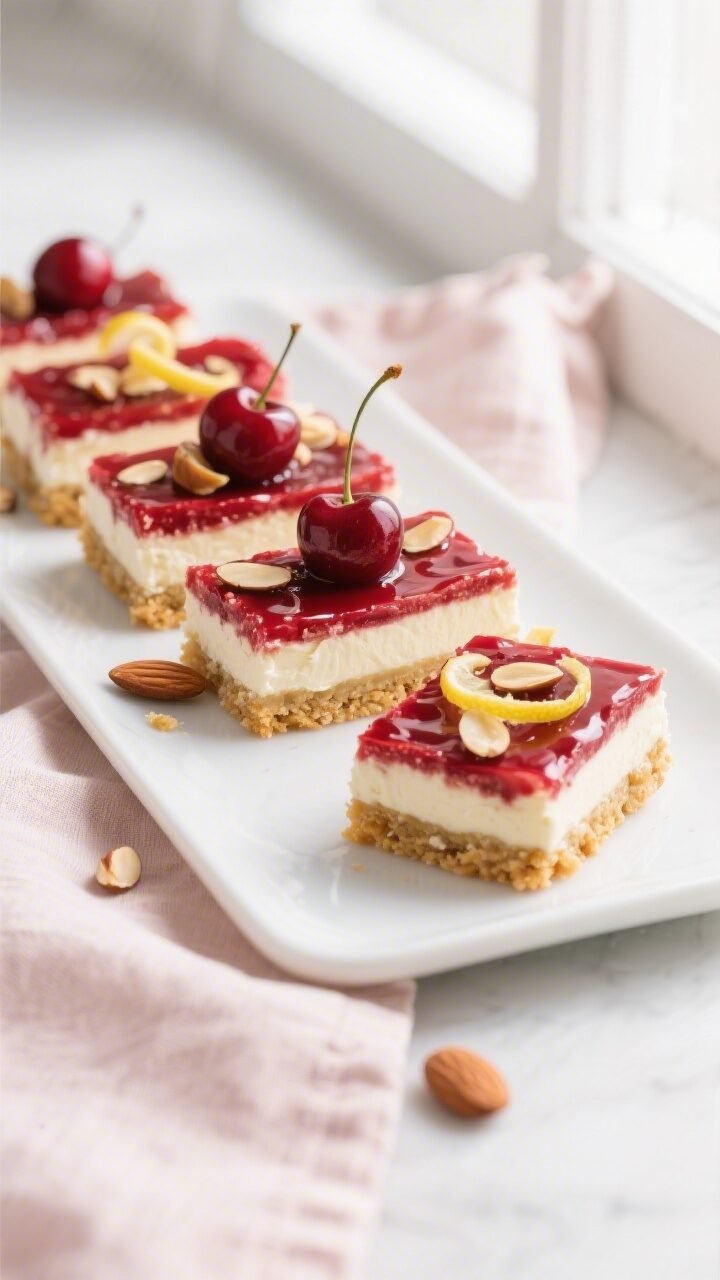
- Garnish and serve: Lift the slab from the pan using the parchment.Add lemon zest, almonds, or white chocolate, if desired. Cut into bars with a sharp knife, wiping the blade between cuts.
What Makes This Recipe So Good
- No baking required: Perfect for warm days or when you just want dessert without fuss.
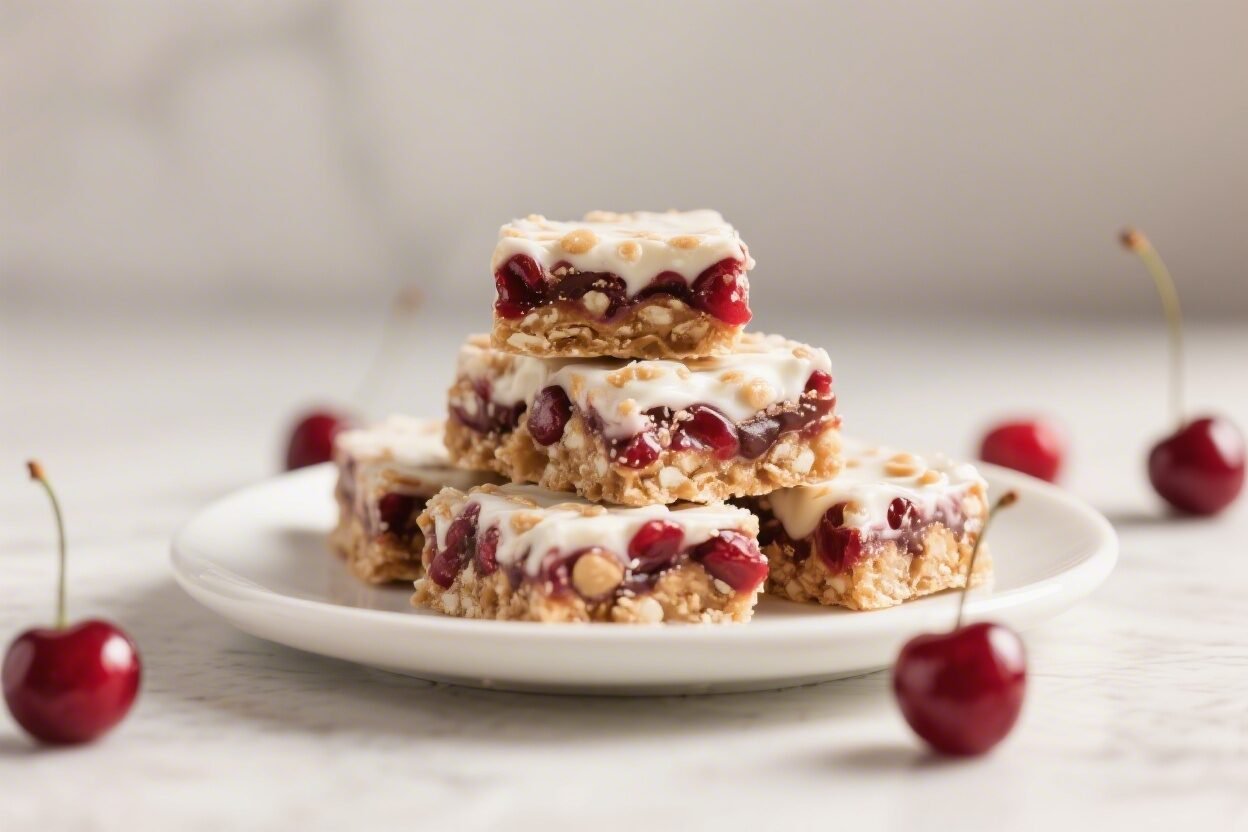
- Balanced texture: A crunchy cookie crust, a pillowy cream cheese layer, and juicy cherries on top.
- Quick to assemble: Active time is minimal, and the fridge does the rest.
- Foolproof layers: Stable enough to slice neatly, yet soft and creamy to eat.
- Make-ahead friendly: Gets better as it chills, which is ideal for entertaining.
Ingredients
- For the crust:
- 2 cups graham cracker crumbs (about 14 full sheets), or vanilla wafer crumbs
- 1/2 cup unsalted butter, melted
- 2 tablespoons granulated sugar
- Pinch of fine salt
- For the creamy layer:
- 16 ounces cream cheese, softened to room temperature
- 1 cup powdered sugar
- 1 teaspoon pure vanilla extract
- 1 cup cold heavy whipping cream (or 8 ounces frozen whipped topping, thawed)
- 1 tablespoon lemon juice (fresh, for brightness)
- Pinch of salt
- For the cherry topping:
- 1 (21-ounce) can cherry pie filling
- Optional: 1/2 teaspoon almond extract for a bakery-style flavor
- To finish:
- Fresh lemon zest, for garnish (optional)
- Toasted sliced almonds or shaved white chocolate (optional)
Step-by-Step Instructions
- Prep the pan: Line a 9×13-inch baking pan with parchment, leaving an overhang for easy lifting. This makes neat slices and simple cleanup.
- Make the crust: In a bowl, mix graham cracker crumbs, sugar, salt, and melted butter until the mixture resembles damp sand.It should hold together when pressed.
- Press and chill: Firmly press the crust into the lined pan in an even layer. Use the bottom of a measuring cup to compact it. Chill in the fridge for 15 minutes.
- Beat the cream cheese: In a large bowl, beat softened cream cheese with powdered sugar, salt, vanilla, and lemon juice until smooth and fluffy, 2–3 minutes.Scrape the bowl as needed.
- Add the cream: In a separate bowl, whip the heavy cream to medium-stiff peaks. Gently fold the whipped cream into the cream cheese mixture in two additions until no streaks remain. If using whipped topping, fold it in gently until combined.
- Layer the filling: Spread the creamy layer over the chilled crust.Smooth the top with an offset spatula, pushing it into the corners.
- Top with cherries: Stir almond extract into the cherry pie filling if using. Spoon evenly over the cream layer and gently spread without pressing down.
- Chill to set: Cover and refrigerate for at least 4 hours, preferably overnight. This helps the layers firm up for clean slicing.
- Garnish and serve: Lift the slab from the pan using the parchment.Add lemon zest, almonds, or white chocolate, if desired. Cut into bars with a sharp knife, wiping the blade between cuts.
Storage Instructions
- Refrigerate: Store bars covered in the fridge for up to 4 days. Keep them well chilled for the cleanest texture.
- Freeze: For longer storage, freeze tightly wrapped bars for up to 2 months.Thaw overnight in the fridge before serving.
- Transport tips: If traveling, keep the pan cold with ice packs. Serve quickly or keep chilled until ready.
Why This is Good for You
These bars offer a satisfying treat without heavy effort. The cream cheese provides protein and calcium, and the cherry topping brings antioxidants from the fruit.
Lemon juice adds brightness, which helps balance sweetness, so a small square feels indulgent yet not cloying. Portion control is easy with bars, and a chilled no-bake dessert can keep you from cranking the oven on hot days.
Common Mistakes to Avoid
- Skipping room temperature cream cheese: Cold cream cheese clumps and makes a lumpy filling. Let it soften fully for a smooth texture.
- Under-whipping the cream: Too soft, and the filling won’t set well.Aim for medium-stiff peaks that hold shape but aren’t grainy.
- Rushing the chill time: If you slice too soon, layers will slide. Give the bars at least 4 hours, ideally overnight.
- Not compacting the crust: A loosely packed crust crumbles. Press firmly, especially in the corners.
- Overloading the topping: Too much pie filling can make slices messy.Stick to one can for balance and structure.
Alternatives
- Different crusts: Try vanilla wafers, shortbread cookies, chocolate wafer cookies, or digestive biscuits. Adjust sugar to taste if the cookies are very sweet.
- Flavor twist in the filling: Swap vanilla for almond extract, add a splash of amaretto (1 tablespoon), or fold in finely grated lemon zest.
- Other fruit toppings:</-strong> Blueberry or strawberry pie filling work well. For a fresher option, macerate fresh berries with a little sugar and lemon, then spoon on just before serving.
- Lighter version: Use Neufchâtel (reduced-fat cream cheese) and light whipped topping.Bars will be a bit softer but still tasty.
- Gluten-free:</-strong> Use certified gluten-free graham crackers or almond flour crust (2 cups almond flour, 1/3 cup butter, 2 tablespoons sugar, pinch of salt).
- Individual cups: Build layers in small jars or cups for portable desserts. Great for parties and picnics.
FAQ
Can I make these bars a day ahead?
Yes, and that’s actually best. The flavors meld and the layers set, giving you cleaner cuts and better texture.
What if I don’t have heavy cream?
You can use whipped topping in equal measure.
If you only have half-and-half or milk, skip whipping and use whipped topping instead, since milk products won’t whip to stable peaks.
How do I keep the crust from sticking?
Line the pan with parchment and leave an overhang. Also, press the crust firmly and chill it before adding the filling. A quick spritz of nonstick spray under the parchment can help it stay put.
Can I reduce the sweetness?
Reduce powdered sugar in the filling to 3/4 cup and add an extra teaspoon of lemon juice.
You can also choose a low-sugar cherry topping or use lightly sweetened fresh cherries.
How do I get super clean slices?
Chill overnight, then use a sharp knife dipped in hot water and wiped dry between cuts. Lift the slab from the pan and cut on a board for the straightest edges.
Is there a dairy-free option?
Yes. Use a dairy-free cream cheese and a whipped coconut topping.
For the crust, swap butter for melted coconut oil or a vegan butter. Chill a bit longer for a firm set.
In Conclusion
No-Bake Cherry Delight Bars deliver maximum reward with minimal effort. The simple layers are flexible, forgiving, and crowd-pleasing, whether you’re hosting or bringing dessert to share.
Keep the ingredients on hand, and you’re always about a few easy steps away from something luscious and bright. Once you try them, they’ll earn a permanent spot in your dessert rotation.