No-Knead Pizza Dough: Lazy Effort, Crazy Good Crust
You want pizza that slaps—without a mixer, a gym membership, or kneading until your wrists cry? This dough does the heavy lifting while you do literally anything else.
Five minutes of prep, a slow overnight rise, and boom: chewy, blistered, pizzeria-level crust.
It’s the kind of hack that makes you feel like you cheated, because you did. And yet, results so good you’ll start judging restaurants.
Fair warning: friends will ask for “your recipe.” Decide now if you’re charging.
The Special Touch in This Recipe
This no-knead version relies on time, not sweat.
A tiny amount of yeast and a long, cool rest builds deep flavor and airy structure. The dough hydrates fully on its own, creating gluten network magic without the elbow grease. Plus, a little olive oil and a touch of sugar help browning and tenderness.
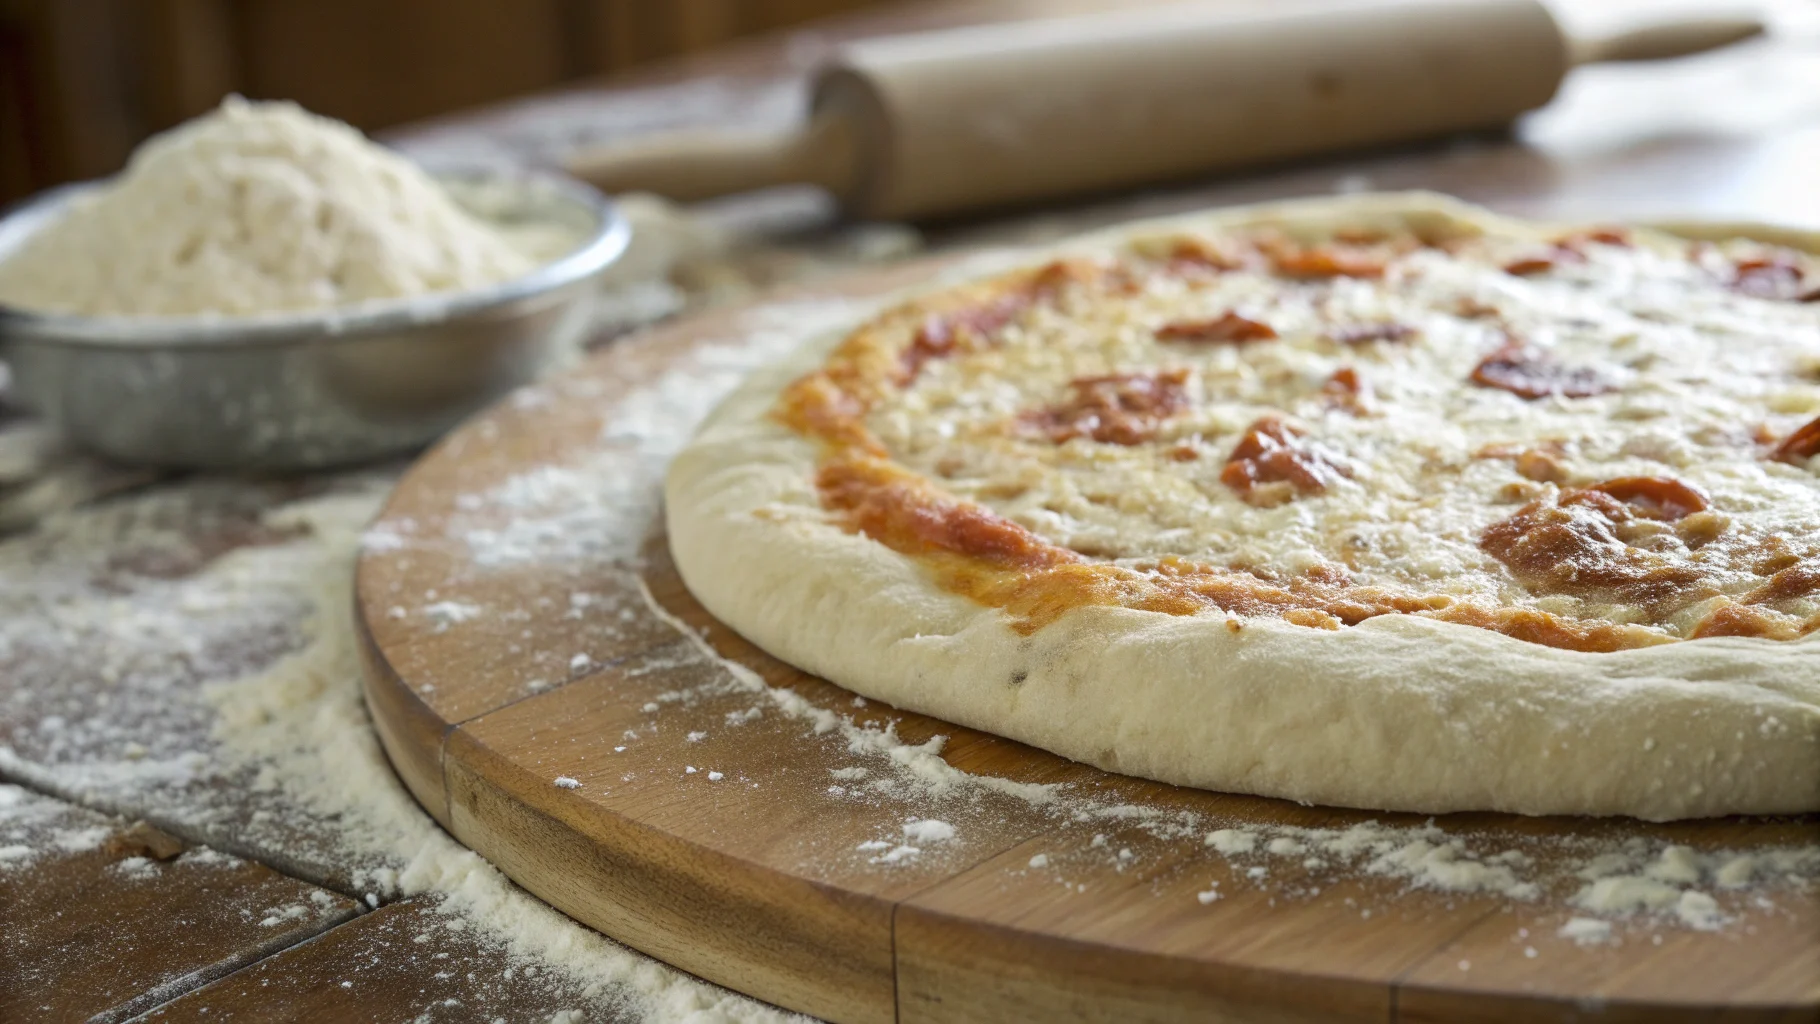
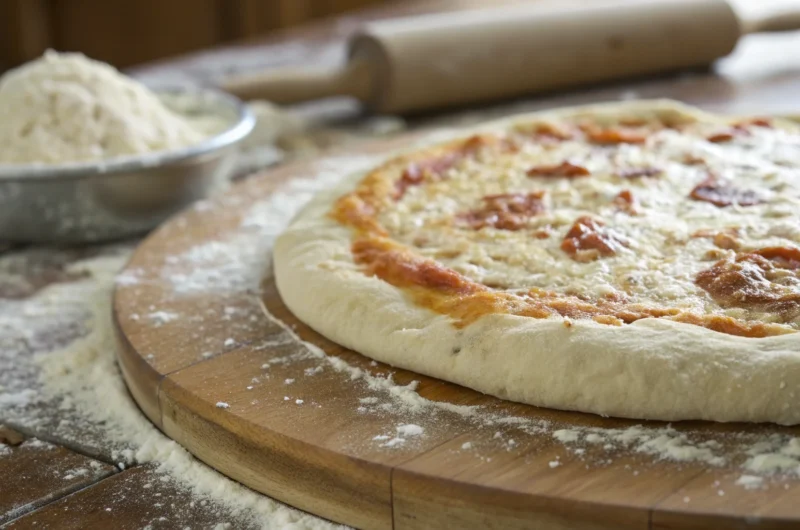
The result? Crisp edges, chewy center, and those gorgeous leopard spots you pretend you don’t care about.
Servings, Prep time, Cooking time, Calories
- Servings: 2 large 12–14 inch pizzas or 4 personal pies
- Prep Time: 10 minutes active, 12–24 hours inactive
- Cooking Time: 6–8 minutes per pizza at high heat
- Calories: ~220–250 per 1/6 of a 12-inch pizza crust (toppings not included)
No-Knead Pizza Dough: Lazy Effort, Crazy Good Crust
Course: Dinner4 personal
servings10
minutes6
minutes250
kcalIngredients
Bread flour – 500 g (about 4 cups), for chew and structure; all-purpose works, but bread flour wins.
Water – 370–390 g (1.6 cups), lukewarm; higher hydration equals better holes.
Instant yeast – 1/4 teaspoon; tiny amount, huge payoff over time.
Fine sea salt – 10 g (1 3/4 teaspoons); flavor and gluten control.
Olive oil – 1 tablespoon; tenderness and browning.
Sugar or honey – 1 teaspoon; boosts browning and fermentation.
Semolina or cornmeal – for dusting the peel.
Step-by-Step Instructions
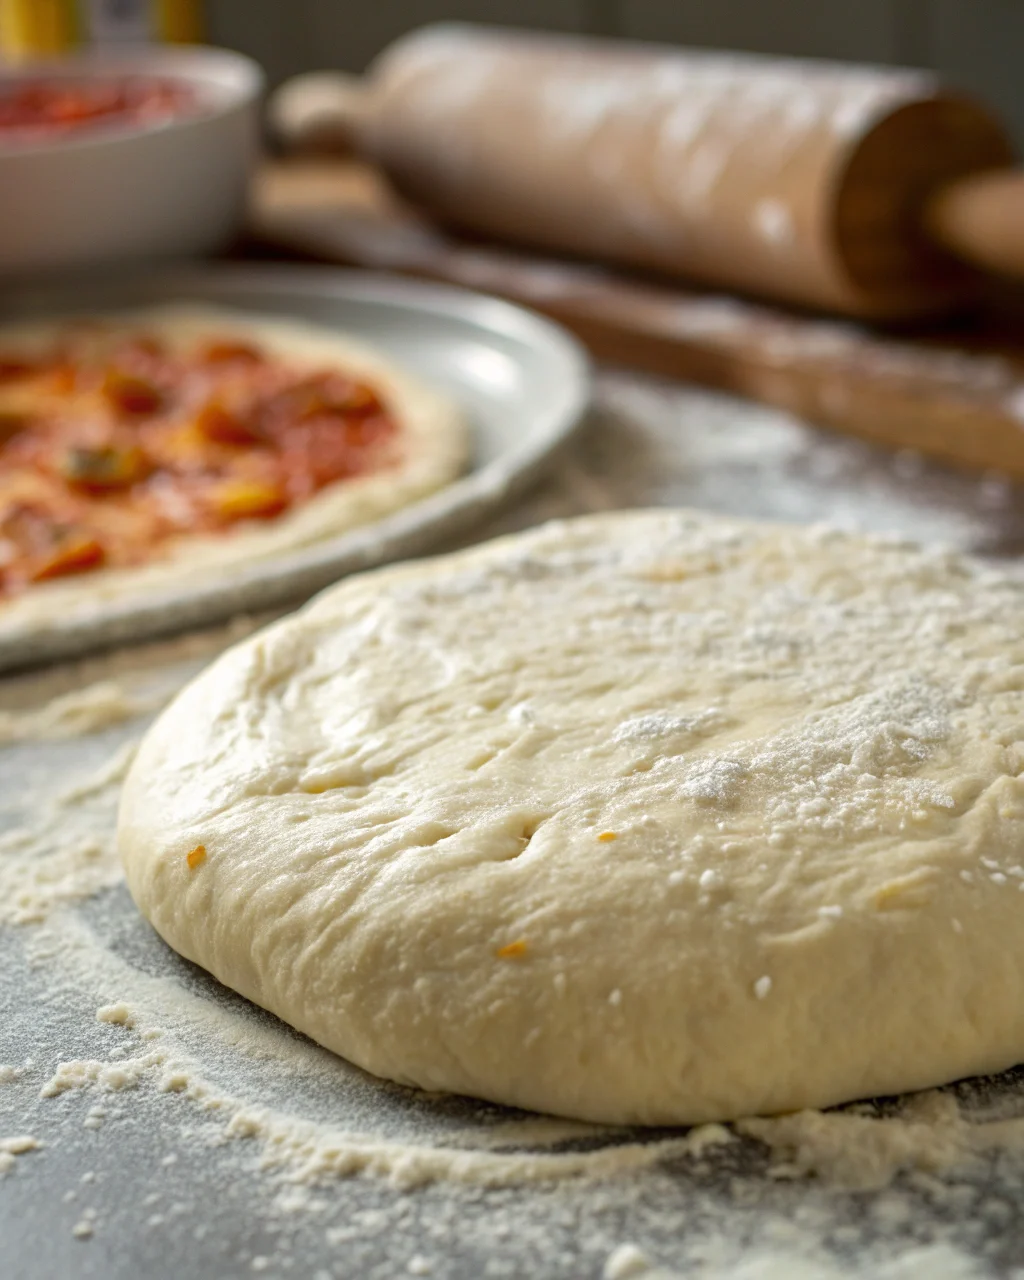
- Mix, don’t knead. In a large bowl, whisk flour, salt, and yeast. Add water, olive oil, and sugar. Stir with a spoon until shaggy and no dry patches remain. It will look messy. That’s correct.
- Rest and rise. Cover the bowl tightly (lid or plastic wrap). Let it sit at room temp for 12–18 hours, up to 24 if cooler. You want a bubbly, doubled dough that jiggles like it knows it’s special.
- Chill option (flavor boost). After the room-temp rise, refrigerate 4–72 hours. Cold fermentation = next-level flavor and better handling. Remove from fridge 60 minutes before shaping.
- Divide and pre-shape. Flour your hands and a work surface. Turn out the dough gently. Divide into 2–4 pieces. Tuck edges under to form tight balls. Rest under a towel for 20–30 minutes.
- Preheat like you mean it. Place a pizza stone or steel on the top-third rack. Preheat to 500–550ºF (260–290ºC) for at least 45 minutes. Broiler on high for the final 10 minutes if you’re chasing char.
- Shape without squeezing. On a floured surface, press the dough from center outward, leaving a puffy rim. Lift and let gravity stretch. Avoid rolling pins—they crush gas bubbles you worked so hard to build.
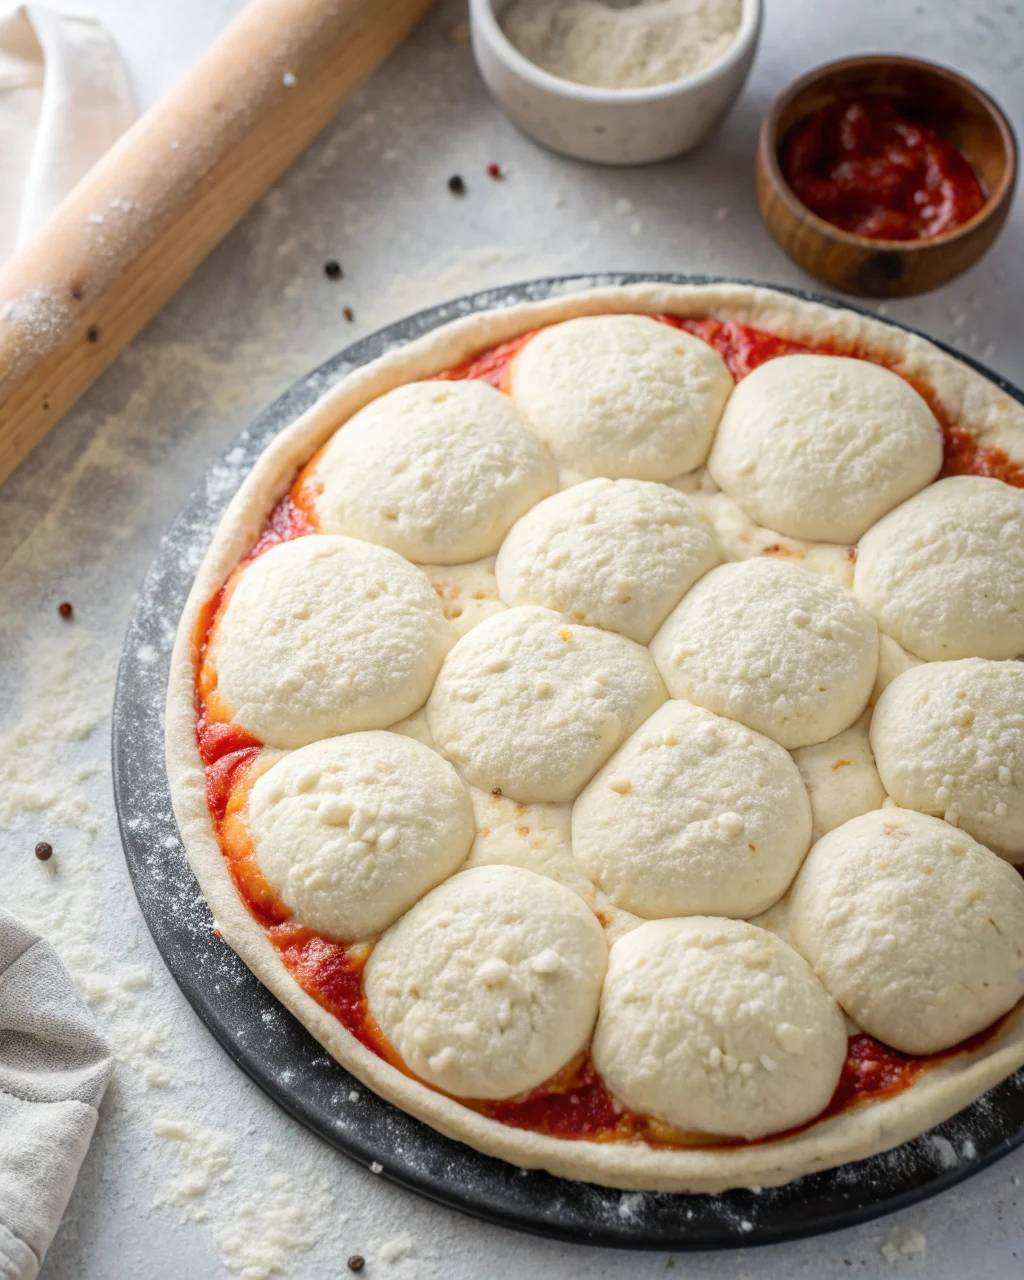
- Top wisely. Transfer to a lightly floured peel (semolina helps). Add a thin layer of sauce, cheese, and toppings. Less is more; soggy pizza is not the vibe.
- Bake hot and fast. Slide onto the stone/steel. Bake 6–8 minutes until the crust is blistered and cheese is bubbling. Optional: finish under broiler 30–60 seconds for leopard spots. Don’t blink.
- Rest, slice, devour. Let it sit 2 minutes to set the cheese. Slice, serve, pretend you kneaded for hours—your secret’s safe.
Smart Storage Guide
- Short-term: Dough balls keep 3 days in the fridge, lightly oiled in sealed containers.
Let warm 60–90 minutes before shaping.
- Freeze: After dividing, oil and bag each ball. Freeze up to 3 months. Thaw in the fridge overnight, then bring to room temp.
- Par-bake crusts: Stretch, dock lightly with a fork, and bake 3–4 minutes.
Cool, wrap, and freeze. Top and finish bake straight from frozen.
- Leftover baked pizza: Wrap and refrigerate 3–4 days. Reheat in a skillet with a lid or 450°F oven for crisp revival.
Microwave? Only if you hate texture.
Wholesome Benefits
- Better digestibility: Long fermentation breaks down some starches and gluten bonds, making the dough gentler on the gut for many people.
- Lower yeast load: Tiny yeast, big flavor. Less yeast means slower rise and fewer off flavors.
- Clean ingredient list: Flour, water, salt, oil, yeast.
No weird preservatives or dough conditioners you can’t pronounce.
- Customization: Control sodium, oil, and whole grain content. It’s your dough, not a factory’s.
Nutrition Stats
Per 1/6 of a 12-inch crust (approx.): 220–250 calories; 8–9 g protein; 2–4 g fat; 40–45 g carbs; 2 g fiber (with partial whole wheat); 430–520 mg sodium (varies with salt). Add toppings wisely: cheese and cured meats can double sodium and fat fast, FYI.
Don’t Do This!
- Don’t over-flour the dough: Sticky is normal.
Too much bench flour dries it out and kills oven spring.
- Don’t overload toppings: Heavy sauce and wet mozzarella = puddle city. Blot fresh mozz and go light.
- Don’t under-preheat: A lukewarm stone equals pale, sad crust. Heat it at least 45 minutes—non-negotiable.
- Don’t punch down aggressively: Gentle handling preserves gas bubbles.
You’re shaping, not wrestling.
- Don’t skip salt: It controls fermentation and makes flavor happen. Bland pizza is a crime.
Creative Alternatives
- 50/50 blend: Swap half the bread flour for all-purpose for a softer chew.
- Whole wheat upgrade: Replace 20–30% of flour with fine whole wheat; add 1–2 tablespoons extra water.
- Garlic-herb dough: Add 1 teaspoon garlic powder and 2 teaspoons dried oregano/basil to the dry mix.
- Poolish vibe: Stir 100 g flour + 100 g water + a pinch of yeast; rest 8–12 hours, then mix into the dough for nutty complexity.
- Gluten-free path: Use a high-quality 1:1 gluten-free flour with psyllium husk; hydration may differ. Expect a more tender, less elastic dough.
- Cast-iron method: Oil a skillet, press in dough, top, and bake at 500°F.
Finish on the stovetop for bottom crisp. Detroit? Up the oil and cheese on the edges.
What hydration works best?
Between 70–78% hydration (water weight as a percentage of flour) is the sweet spot for airy, open crumb.
Start at 74% if you’re new; go higher as your shaping confidence grows.
Can I use active dry yeast?
Yes. Use the same amount, but dissolve it in a portion of the lukewarm water with the sugar first and rest 5–10 minutes until foamy. Then proceed as usual.
How long can I cold-ferment the dough?
Up to 72 hours for peak flavor and structure.
Past that, it can over-acidify and weaken. If it smells sharp or slackens excessively, bake it as focaccia instead—still delicious, IMO.
Do I need a pizza stone or steel?
No, but they help a lot. Without one, preheat an inverted heavy sheet pan and bake on that.
Or use a cast-iron skillet for a killer crust.
Why is my dough tearing?
It’s under-hydrated, under-rested, or you’re stretching too aggressively. Let it relax 10 minutes, dust lightly, and try again with gentle outward pressing.
Can I make this same-day?
Yes—use 1 teaspoon instant yeast and rise at warm room temp for 2–3 hours, then shape and bake. Flavor won’t be as complex, but the crust will still smack.
What temperature should the water be?
Lukewarm, around 80–90°F (27–32°C).
Too hot can over-speed fermentation; too cold slows it down. You’re aiming for a relaxed, steady rise.
End Notes
This no-knead pizza dough turns time into texture—and that’s the whole game. Keep the ingredients simple, the handling gentle, and the oven blazing.
Once you taste the blistered crust and chewy crumb, you’ll never go back to panic-kneading. Save your energy for choosing toppings and defending the pineapple debate. Your move, chef.