Peanut Butter Pizookie: Gooey, Giant Cookie Bliss
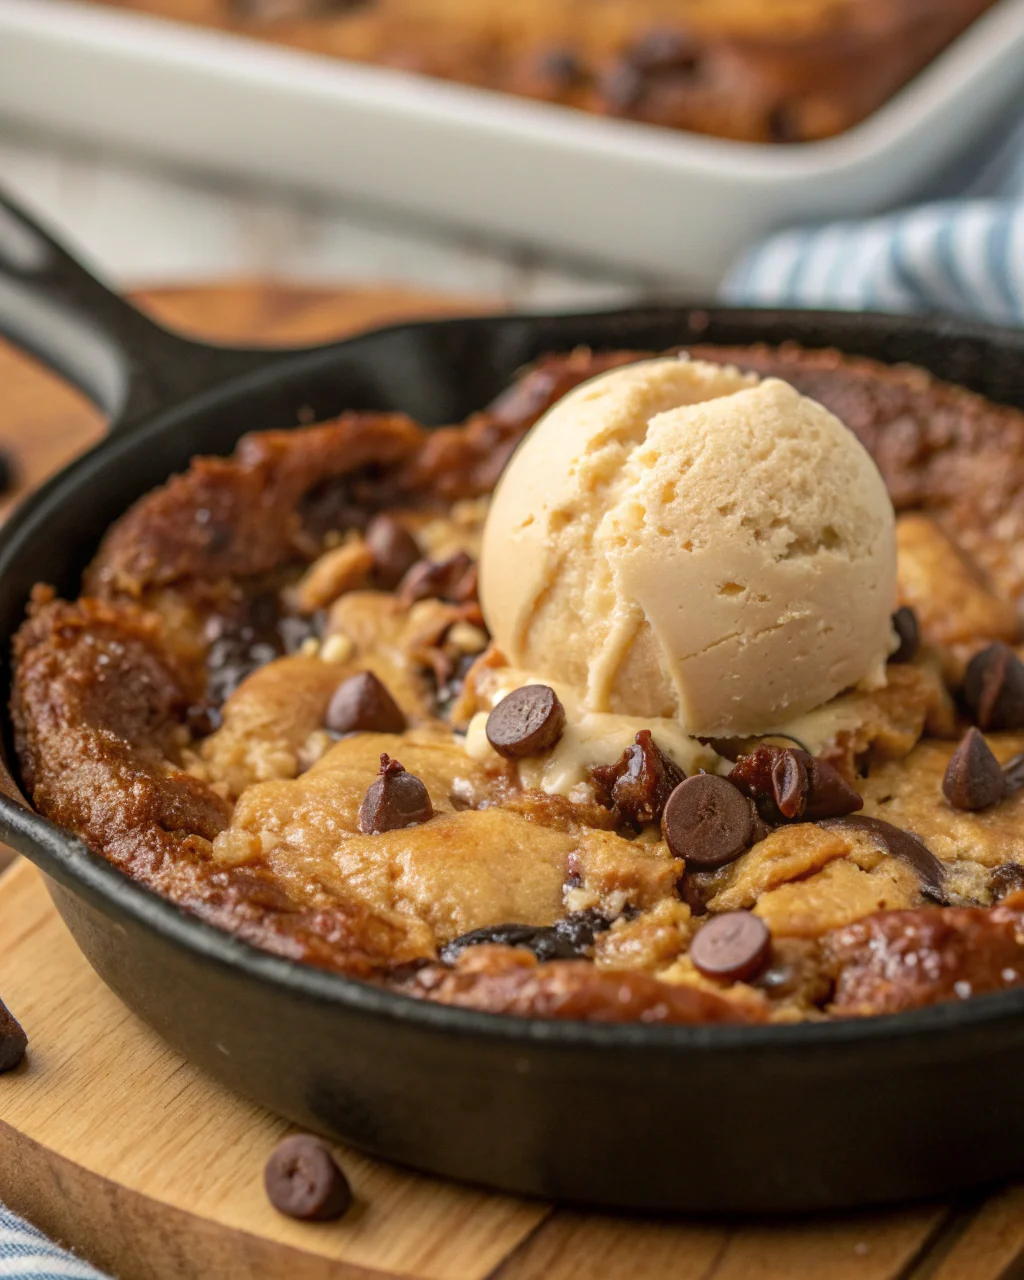
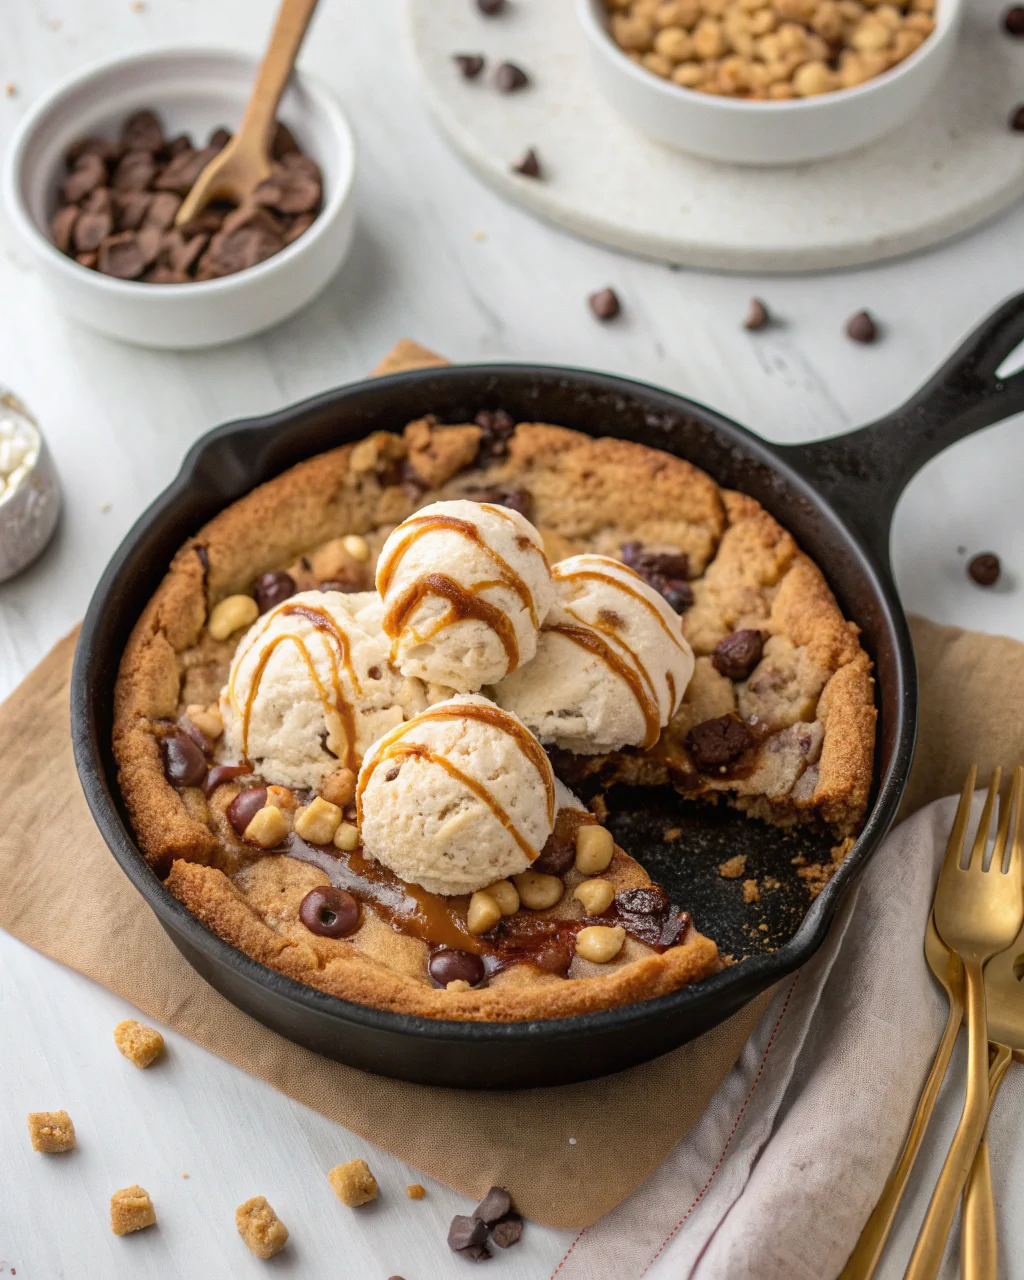
Imagine a skillet-sized cookie that fights back when your spoon hits it—warm, gooey, peanut-buttery bliss melting into a scoop of ice cream. That’s not dessert; that’s a mic drop. This Peanut Butter Pizookie delivers big flavor with small effort, and yes, your kitchen will smell like a bakery flexing.
It’s the kind of treat that makes guests go quiet for a second. Then they ask for seconds.
What Makes This Recipe Awesome
This isn’t a regular cookie; it’s a thick, slightly underbaked slab of nostalgia. The edges get a little crispy while the middle stays soft and fudgy.
Think peanut butter cup energy without the wrapper. It’s one bowl, pantry staples, and zero stress. Serve it warm with ice cream, and watch it disappear in real time.
Servings, Prep time, Cooking time, Calories
- Servings: 6–8
- Prep Time: 10 minutes
- Cook Time: 16–20 minutes
- Total Time: About 30 minutes
- Calories: ~420 per serving (with chocolate chips; no ice cream)
All You’ll Need
- 1/2 cup (1 stick) unsalted butter, melted and slightly cooled
- 3/4 cup creamy peanut butter (no-stir style works best)
- 3/4 cup light brown sugar, packed
- 1/4 cup granulated sugar
- 1 large egg + 1 egg yolk, room temp
- 2 teaspoons vanilla extract
- 1 cup all-purpose flour
- 1/2 teaspoon baking soda
- 1/4 teaspoon baking powder
- 1/2 teaspoon fine salt
- 3/4 cup semisweet chocolate chips (or chunks)
- Optional: 1/2 cup chopped roasted peanuts for crunch
- For serving: Vanilla ice cream, flaky sea salt, warm fudge or caramel
Let’s Get Cooking – Instructions
- Preheat to 350°F (175°C).
Lightly butter a 10-inch cast-iron skillet or 9-inch oven-safe pan.
- In a mixing bowl, whisk melted butter, peanut butter, brown sugar, and granulated sugar until glossy and smooth.
- Whisk in the egg, egg yolk, and vanilla until fully combined. No streaks, no stress.
- In a second bowl, stir flour, baking soda, baking powder, and salt. Fold the dry mix into the wet until just combined.
Don’t overmix—this isn’t a CrossFit WOD.
- Fold in chocolate chips (and peanuts, if using). The dough will be thick and scoopable.
- Spread evenly into the skillet. Smooth the top and stud with a few extra chips for that “bakery display” look.
- Bake 16–20 minutes, until puffed with lightly set edges and a soft center.
The middle should still jiggle slightly; it will set as it cools.
- Cool 5–10 minutes. Sprinkle flaky salt, scoop ice cream over the top, and serve warm. Spoons in, ego out.
How Long Does It Keep?
Best eaten warm within 30 minutes—this is a “live experience.” Leftovers can be covered at room temp for 1 day or refrigerated up to 3 days.
Reheat slices in the skillet or oven at 300°F for 8–10 minutes, or microwave in 15–20 second bursts. The texture won’t be exactly day-one, but it’ll still win hearts.
Why This is Good for You
It’s dessert, not a kale salad, but there are small wins. Peanut butter brings protein and healthy fats to keep you fuller than a sugar-only treat. Dark chocolate chips offer antioxidants, and the controlled portion (keyword: controlled) helps manage cravings without a binge. Also, mental health points—joy counts, IMO.
Nutrition Stats
- Per serving (1/8 of skillet, no ice cream):
- Calories: ~420
- Protein: ~8g
- Fat: ~24g (sat fat ~9g)
- Carbs: ~45g
- Fiber: ~2g
- Sugar: ~30g
- Sodium: ~220mg
Values vary with brands, add-ins, and how aggressive you get with the chocolate chips (we see you).
Preventing Common Errors
- Overbaking: Pull it when the edges are set and the center is still soft.
It’ll firm up as it cools. Dry pizookie = sadness.
- Greasy texture: Let melted butter cool slightly before mixing, and use standard creamy peanut butter. Natural peanut butter can split unless you whisk it very smooth.
- Dense, tough crumb: Don’t overmix after adding flour.
Fold just until combined.
- Uneven baking: Use a light to medium-colored skillet or pan. Dark pans brown faster; reduce bake time by 1–2 minutes if using one.
- Crumbly dough: If your peanut butter is dry or your flour packed, add 1–2 teaspoons milk to bring it together.
Variations You Can Try
- PB Cup Madness: Press chopped peanut butter cups over the top before baking.
- Salted Caramel Swirl: Dollop 3–4 tablespoons caramel over the dough and swirl lightly.
- Double Chocolate: Swap 2 tablespoons flour for cocoa powder and use dark chocolate chunks.
- Gluten-Free: Use a 1:1 gluten-free baking flour with xanthan gum; check doneness at 15–18 minutes.
- Dairy-Free: Use vegan butter or refined coconut oil and dairy-free chips. Texture stays legit.
- Cookie Monster: Add M&M’s or crushed pretzels for sweet-salty crunch.
- High-Protein Boost: Sub 2 tablespoons flour with vanilla whey; watch bake time—protein dries out faster.
FAQ
Can I make this without a cast-iron skillet?
Yes.
Use a 9-inch cake pan or springform lined with parchment. The bake time is similar; start checking at 15 minutes.
Can I prep the dough ahead?
You can mix the dough and refrigerate up to 24 hours. Press into the skillet and bake cold, adding 2–3 extra minutes.
The chill deepens flavor—win-win.
What if I only have natural peanut butter?
Use the thick, well-stirred portion and reduce melted butter by 1 tablespoon. Natural oils can make the dough looser, so don’t overmix.
How do I make it extra gooey?
Pull it at the earliest doneness window (16 minutes), and add an extra egg yolk for more richness. Also, don’t skip the 5–10 minute rest before serving.
Can I make it smaller?
Yes.
Halve the recipe and bake in a 6–7 inch skillet or small pan for 12–15 minutes. Perfect date-night move, FYI.
Do I have to use chocolate chips?
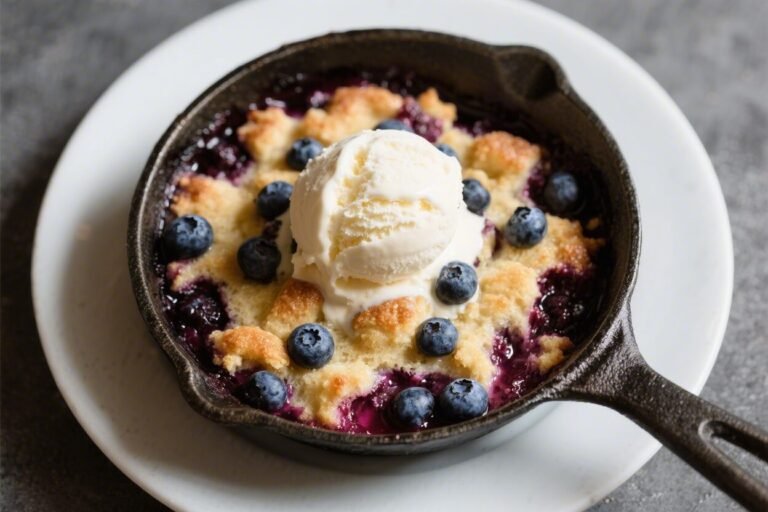
Nope. Try white chocolate, butterscotch chips, or chopped toffee.
Even a swirl of jam for PB&J vibes works shockingly well.
The Bottom Line
The Peanut Butter Pizookie is the dessert equivalent of a standing ovation—simple ingredients, big reaction. It’s warm, melty, and engineered for sharing (or not, we’re not judging). Keep the recipe handy, because once you serve it, people will ask.
And yes, ice cream on top is mandatory, not optional.