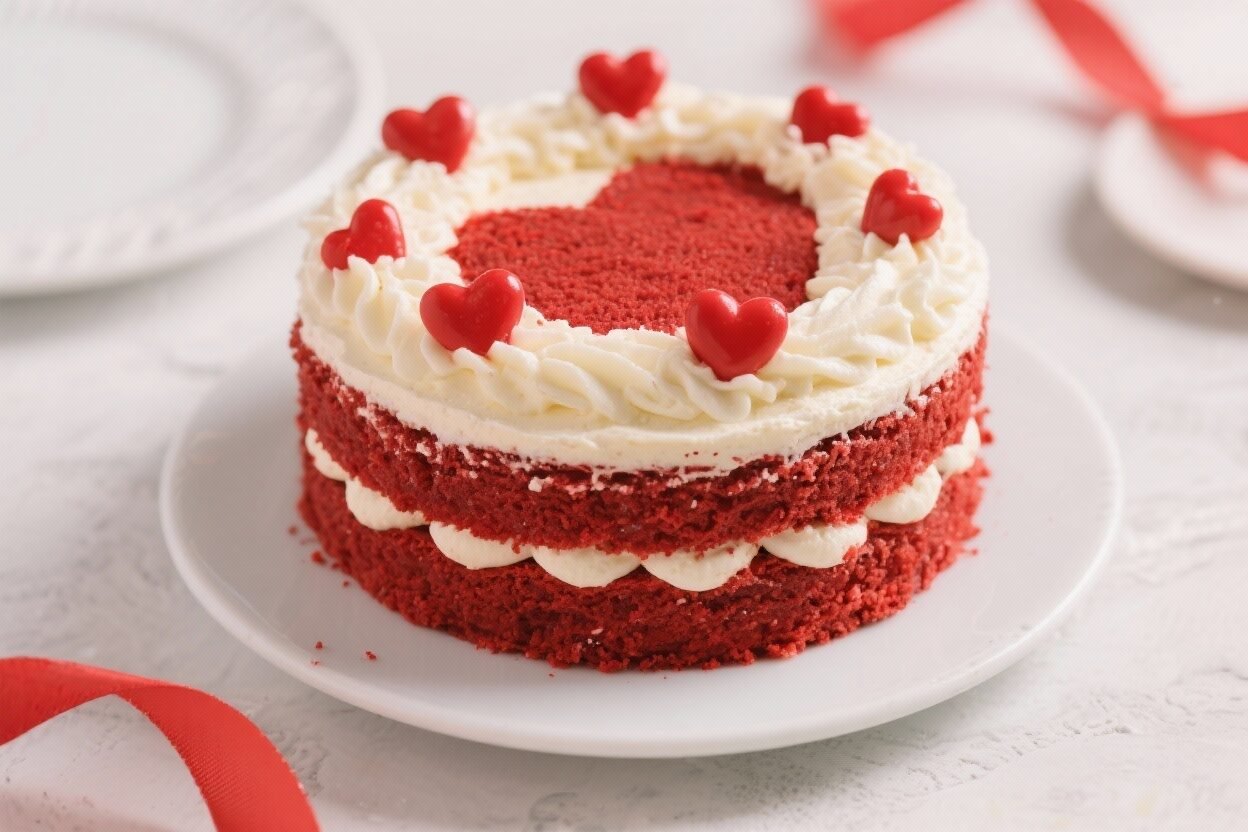
Red Velvet Valentine’s Day Cake – A Soft, Sweet Celebration
Red velvet feels special without trying too hard. It’s tender, velvety, and just the right amount of chocolatey, with a beautiful ruby crumb that suits Valentine’s Day perfectly. This cake brings together classic red velvet layers and a tangy cream cheese frosting that melts into every bite.
It’s simple enough for a home baker, but impressive on the table. If you’re celebrating with someone you love—or just treating yourself—this cake delivers all the cozy, feel-good vibes.
Red Velvet Valentine's Day Cake - A Soft, Sweet Celebration
Ingredients
Method
- Prep your pans and oven: Preheat to 350°F (175°C). Grease and line two 8-inch round cake pans with parchment circles.Lightly flour the sides.
- Whisk dry ingredients: In a medium bowl, whisk 2 1/2 cups all-purpose flour, 1 1/2 cups granulated sugar, 2 tablespoons unsweetened cocoa powder, 1 teaspoon baking soda, and 1 teaspoon salt.
- Combine wet ingredients: In a large bowl, whisk 1 cup buttermilk, 3/4 cup neutral oil, 2 large eggs, 2 teaspoons vanilla extract, 1 teaspoon white vinegar, and 1 to 1 1/2 tablespoons red gel food coloring. Adjust color as needed—batter should be bright red because it will darken slightly as it bakes.
- Bring it together: Add the dry ingredients to the wet in two additions, whisking gently until just combined. Do not overmix.The batter should be smooth and pourable.
- Fill the pans: Divide batter evenly between the prepared pans. Tap each pan lightly on the counter to release any big air bubbles.
- Bake: Bake 25–30 minutes, or until a toothpick comes out with a few moist crumbs. The tops should spring back when lightly pressed.
- Cool completely: Let cakes cool in the pans for 10 minutes, then turn out onto a wire rack, remove parchment, and cool fully.Chilling layers for 30–45 minutes before frosting makes assembly easier.
- Make the frosting: Beat 12 ounces cream cheese and 3/4 cup unsalted butter on medium speed until smooth and fluffy, about 2–3 minutes. Add 3 1/2 to 4 cups powdered sugar, 1 teaspoon vanilla, and a pinch of salt. Beat on low to combine, then on medium until creamy and spreadable.If too soft, chill for 10–15 minutes.
- Assemble: Place one cake layer on a serving plate. Spread a generous layer of frosting over the top. Set the second layer on top and press gently.
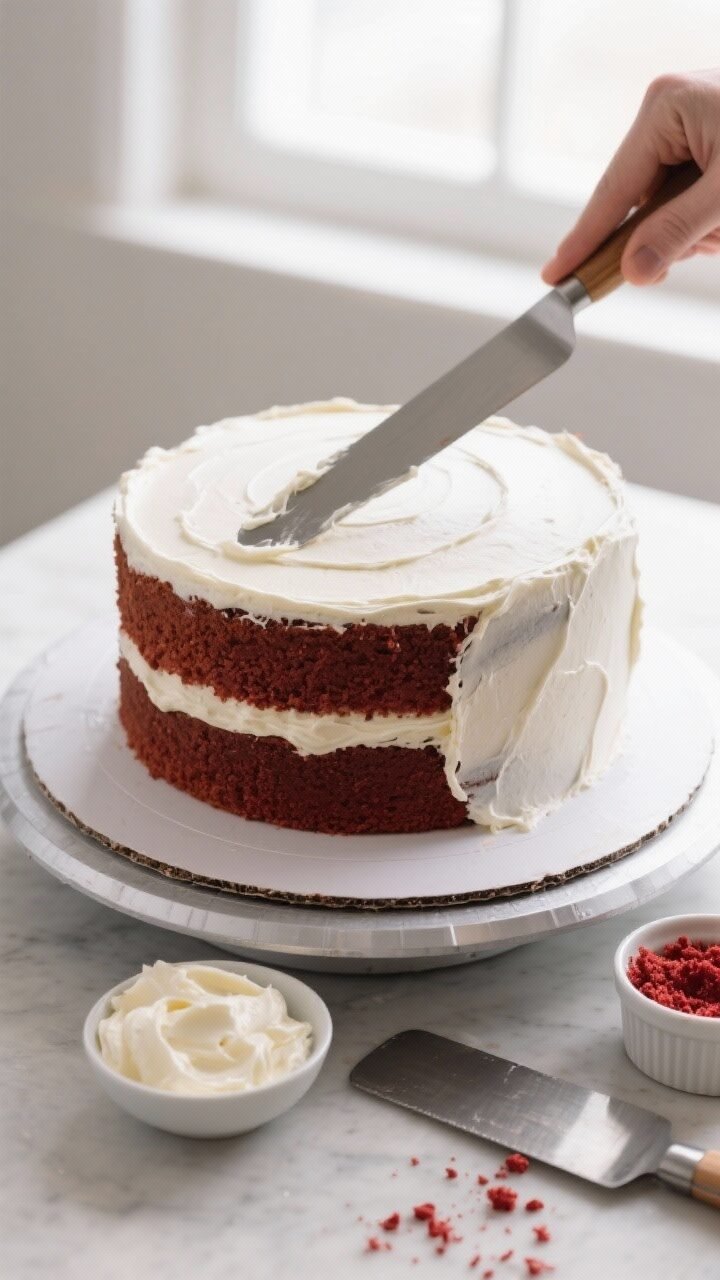
- Crumb coat: Spread a thin layer of frosting over the entire cake to seal in crumbs.Chill for 20–30 minutes.
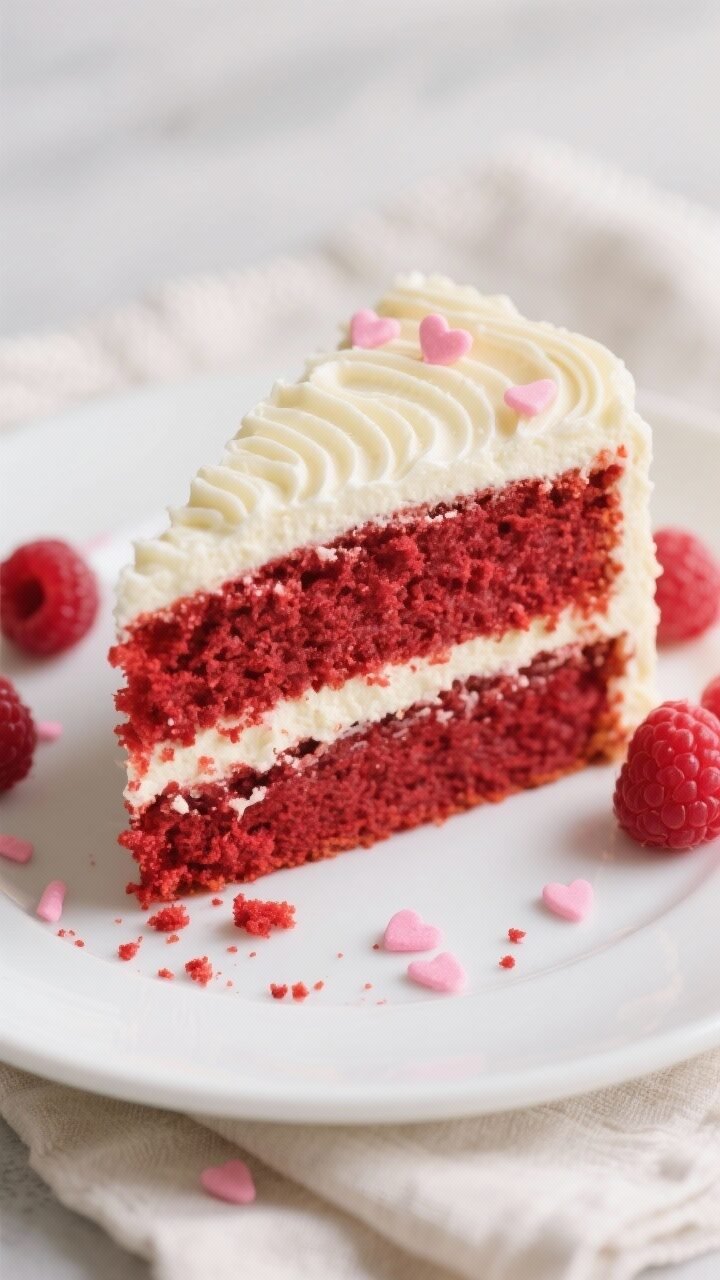
- Finish frosting: Add a final, thicker coat and smooth with an offset spatula. For a simple finish, swirl the top and add sprinkles or a few fresh berries.
- Slice and serve: For clean slices, warm a knife in hot water, wipe dry, and cut. Enjoy slightly chilled or at room temperature.
What Makes This Recipe So Good
- Classic flavor balance: A hint of cocoa and just enough tang from buttermilk and vinegar make it taste like true red velvet, not just a dyed chocolate cake.
- Tender, moist crumb: Oil and buttermilk keep the cake soft for days without drying out.
- Foolproof frosting: The cream cheese frosting is silky, not too sweet, and easy to spread for a smooth finish.
- Perfect for layering: The batter bakes evenly, so stacking and frosting is a breeze—even for beginners.
- Holiday-ready look: Vibrant red layers with creamy white frosting look festive without any complicated decorating.
What You’ll Need
- All-purpose flour: For structure and a tender crumb.
- Granulated sugar: Sweetens and helps with moisture.
- Unsweetened cocoa powder: Just 2–3 tablespoons for that signature hint of chocolate.
- Baking soda and salt: Reliable lift and balanced flavor.
- Buttermilk: Adds tang and keeps the cake moist.
- Neutral oil (canola or vegetable): Ensures a soft, velvety texture.
- Large eggs: Bind everything and add richness.
- Vanilla extract: For warmth and depth.
- White vinegar: Reacts with baking soda for a light, fluffy crumb.
- Red gel food coloring: For a deep, vibrant color without watering down the batter.
Cream Cheese Frosting
- Cream cheese (full-fat, block style): Softened.
- Unsalted butter: Softened, for a smooth, stable frosting.
- Powdered sugar: Sifts easily and gives a silky finish.
- Vanilla extract: Rounds out the flavor.
- Pinch of salt: Balances sweetness.
Instructions
- Prep your pans and oven: Preheat to 350°F (175°C). Grease and line two 8-inch round cake pans with parchment circles.Lightly flour the sides.
- Whisk dry ingredients: In a medium bowl, whisk 2 1/2 cups all-purpose flour, 1 1/2 cups granulated sugar, 2 tablespoons unsweetened cocoa powder, 1 teaspoon baking soda, and 1 teaspoon salt.
- Combine wet ingredients: In a large bowl, whisk 1 cup buttermilk, 3/4 cup neutral oil, 2 large eggs, 2 teaspoons vanilla extract, 1 teaspoon white vinegar, and 1 to 1 1/2 tablespoons red gel food coloring. Adjust color as needed—batter should be bright red because it will darken slightly as it bakes.
- Bring it together: Add the dry ingredients to the wet in two additions, whisking gently until just combined. Do not overmix.The batter should be smooth and pourable.
- Fill the pans: Divide batter evenly between the prepared pans. Tap each pan lightly on the counter to release any big air bubbles.
- Bake: Bake 25–30 minutes, or until a toothpick comes out with a few moist crumbs. The tops should spring back when lightly pressed.
- Cool completely: Let cakes cool in the pans for 10 minutes, then turn out onto a wire rack, remove parchment, and cool fully.Chilling layers for 30–45 minutes before frosting makes assembly easier.
- Make the frosting: Beat 12 ounces cream cheese and 3/4 cup unsalted butter on medium speed until smooth and fluffy, about 2–3 minutes. Add 3 1/2 to 4 cups powdered sugar, 1 teaspoon vanilla, and a pinch of salt. Beat on low to combine, then on medium until creamy and spreadable.If too soft, chill for 10–15 minutes.
- Assemble: Place one cake layer on a serving plate. Spread a generous layer of frosting over the top. Set the second layer on top and press gently.
- Crumb coat: Spread a thin layer of frosting over the entire cake to seal in crumbs.Chill for 20–30 minutes.
- Finish frosting: Add a final, thicker coat and smooth with an offset spatula. For a simple finish, swirl the top and add sprinkles or a few fresh berries.
- Slice and serve: For clean slices, warm a knife in hot water, wipe dry, and cut. Enjoy slightly chilled or at room temperature.
How to Store
- Refrigerate: Because of the cream cheese frosting, keep the cake covered in the fridge for up to 4 days.
- Freeze: Wrap unfrosted layers tightly in plastic and freeze up to 2 months.Thaw in the fridge overnight, then frost.
- Leftover slices: Store in an airtight container. Let sit at room temperature for 20–30 minutes before serving for the best texture.
Benefits of This Recipe
- Beginner-friendly: No fancy techniques, and the batter mixes by hand or with a basic mixer.
- Make-ahead friendly: Cake layers can be baked in advance and chilled or frozen.
- Balanced sweetness: The tangy frosting keeps the cake from feeling heavy or overly sweet.
- Looks impressive: You get a bakery-style cake with minimal decorating skills.
Pitfalls to Watch Out For
- Overmixing the batter: This can create a dense cake. Mix just until the dry streaks disappear.
- Using too much cocoa: Red velvet should have only a hint of chocolate.Too much cocoa dulls the red color and changes the flavor.
- Overbaking: This dries out the cake. Start checking at 25 minutes and remove when the center just sets.
- Too-warm frosting: Soft frosting slides around. If it feels loose, chill it briefly before assembling.
- Liquid food coloring: It can thin the batter.Use gel for a deep color without altering texture.
Variations You Can Try
- Heart-shaped cake: Bake the batter in a 9-inch heart pan, or cut a heart from two 8-inch layers using a template.
- Cupcakes: Bake in a lined muffin tin at 350°F (175°C) for 18–20 minutes. This recipe makes about 20–24 cupcakes.
- White chocolate accent: Add a thin layer of melted white chocolate between layers for a sweet contrast.
- Berry surprise: Spread a thin layer of strawberry or raspberry jam between the cake and frosting in the middle.
- Gluten-free version: Use a 1:1 gluten-free baking flour with xanthan gum. Let the batter rest 10 minutes before baking.
- Less food coloring: For a more natural hue, use 2 teaspoons gel and accept a deeper, burgundy-toned cake.
FAQ
Can I make this cake without buttermilk?
Yes.
Mix 1 cup whole milk with 1 tablespoon white vinegar or lemon juice and let it sit for 5 minutes. It won’t be quite as rich as real buttermilk, but it works well.
Why do red velvet recipes use vinegar?
Vinegar reacts with baking soda and the cocoa’s natural acidity to create a lighter texture and that classic tang. It helps the cake rise and keeps the crumb tender.
What kind of cream cheese should I use?
Use full-fat, block-style cream cheese.
Tub-style varieties are softer and can make the frosting runny.
How do I get a deep red color?
Use a quality red gel food coloring. Start with 1 tablespoon and add a little more if needed. Gels are concentrated, so you get vivid color without thinning the batter.
Can I bake this as a sheet cake?
Absolutely.
Use a 9×13-inch pan and bake for about 30–35 minutes, checking for doneness with a toothpick.
How do I fix frosting that’s too sweet?
Add a pinch or two more salt and a squeeze of lemon juice. You can also beat in 2–3 tablespoons of cream cheese to balance it.
My cake domed in the center—what should I do?
Once cooled slightly, level the top with a serrated knife. Save the crumbs to decorate the sides or top of the cake.
Final Thoughts
This Red Velvet Valentine’s Day Cake is classic, cozy, and just plain good.
The layers are soft and flavorful, and the cream cheese frosting ties everything together with a smooth, tangy finish. Whether you’re baking for a date night, a family dinner, or a quiet night in, this cake feels like a celebration. Keep it simple, keep it tender, and enjoy every slice.