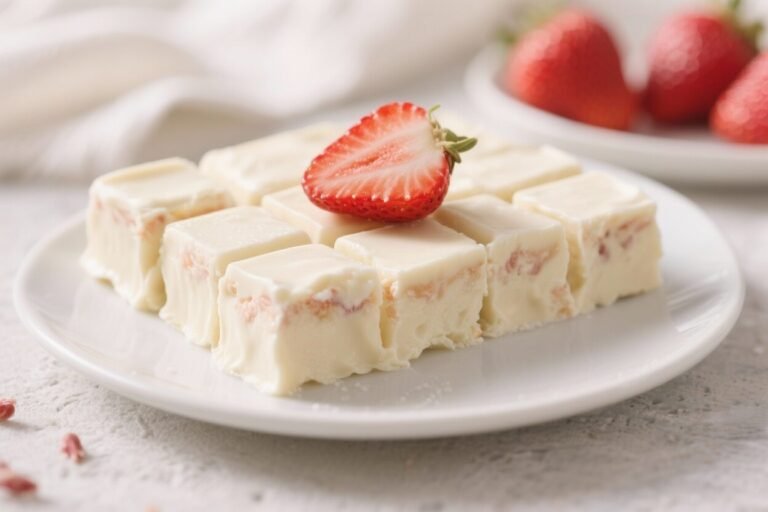
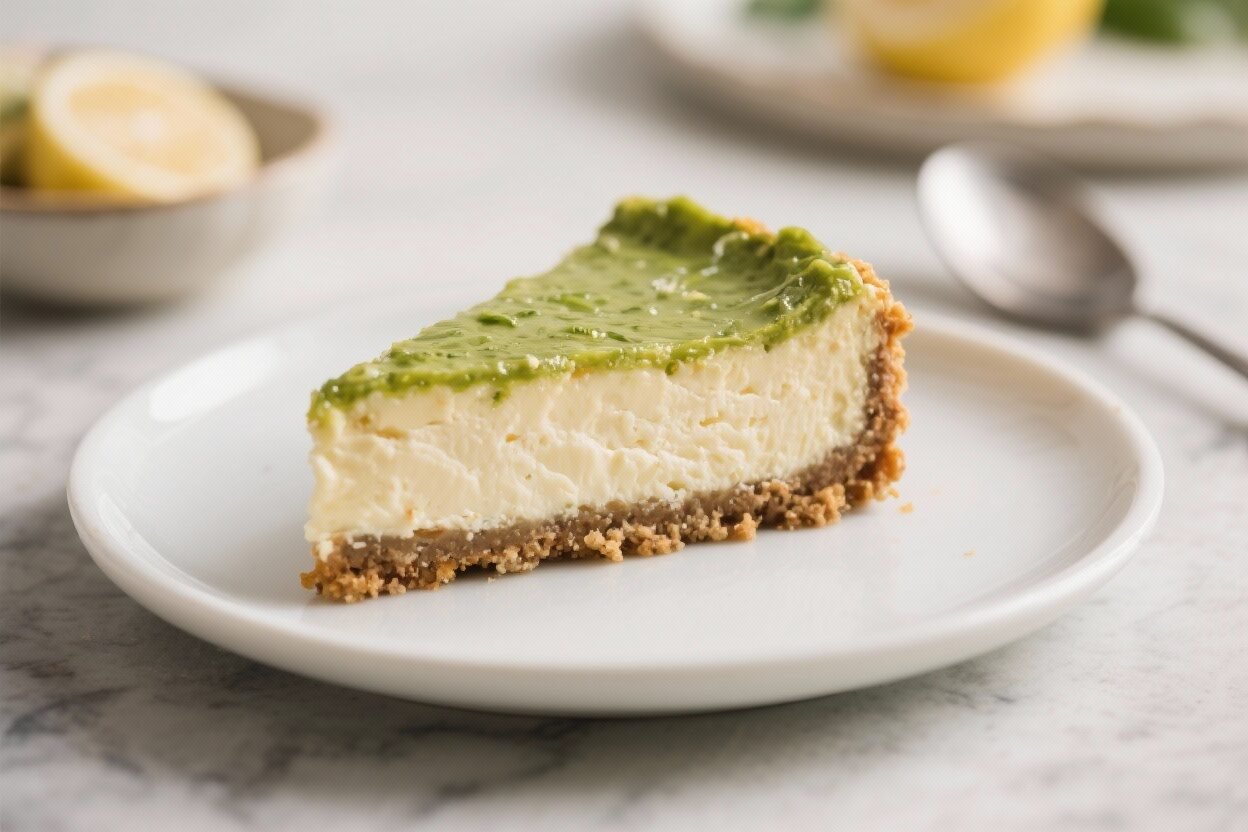
Keto-Friendly Cheesecake – Creamy, Low-Carb, and Simple
Cheesecake should be rich, silky, and satisfying—and you don’t need sugar or a traditional crust to get there. This keto-friendly version brings all the classic cheesecake flavor with a fraction of the carbs. It’s the kind of dessert that feels special but is easy enough for a weekday treat.
Whether you’re new to low-carb baking or a seasoned pro, this recipe will make you wonder why you ever made it any other way.
Keto-Friendly Cheesecake – Creamy, Low-Carb, and Simple
Ingredients
Method
- Prep the oven and pan. Heat the oven to 325°F (163°C). Line the bottom of a 9-inch springform pan with parchment and lightly grease the sides. If using a water bath, wrap the outside of the pan with two layers of foil to prevent leaks.
- Make the crust. In a bowl, mix almond flour, granulated sweetener, and salt.Stir in melted butter and vanilla until the mixture feels like damp sand. Press evenly into the pan, building a slight edge up the sides.
- Par-bake the crust. Bake for 10–12 minutes until lightly golden and set. Let it cool while you make the filling.
- Beat the cream cheese. In a large bowl, beat softened cream cheese on medium speed for 1–2 minutes until smooth and lump-free.Scrape the bowl.
- Add sweetener and salt. Mix in the powdered sweetener and salt on low, then increase to medium until fully combined. Keep the mixer speed moderate to avoid whipping in too much air.
- Blend in sour cream, vanilla, and lemon juice. Mix until silky. Scrape the bowl again so everything is uniform.
- Add the eggs. Beat in the eggs one at a time on low speed, just until combined.Do not overmix. The batter should be smooth and pourable.
- Fill the pan. Pour the batter over the crust and smooth the top with a spatula. Tap the pan gently on the counter to release any large air bubbles.
- Set up the bake. If using a water bath, place the foil-wrapped pan in a large roasting pan and pour hot water around it to reach halfway up the sides.Otherwise, place a separate pan of hot water on the lower rack to add moisture to the oven.
- Bake gently. Bake for 55–70 minutes. The edges should be set and the center should still wobble slightly when you nudge the pan. Do not overbake.
- Cool slowly. Turn off the oven, crack the door, and let the cheesecake rest inside for 45 minutes.Then remove from the oven and let it come to room temperature.
- Chill to set. Cover and refrigerate at least 6 hours, preferably overnight. This step finalizes the texture and makes slicing cleaner.
- Serve. Run a thin knife around the edge, release the springform, and slice with a warm, clean knife. Add toppings if you like, and enjoy.
What Makes This Recipe So Good

- Rich and creamy texture: The combination of cream cheese and sour cream creates that classic velvety bite.
- Low in carbs, big on flavor: Almond flour crust and a keto sweetener keep the carbs low without sacrificing taste.
- Balanced sweetness: Erythritol or allulose gives a clean, sugar-like sweetness with no weird aftertaste when used correctly.
- Foolproof method: A gentle bake and a simple cooling technique help prevent cracks.
- Customizable: You can tweak the crust, add a swirl, or top with berries without blowing your carb budget.
What You’ll Need
- For the crust:
- 1 1/2 cups fine almond flour
- 3 tablespoons granulated erythritol or allulose
- 1/4 teaspoon fine sea salt
- 5 tablespoons unsalted butter, melted
- 1/2 teaspoon vanilla extract
- For the filling:
- 24 ounces (3 blocks) full-fat cream cheese, softened
- 3/4 cup powdered erythritol or allulose (powdered blends dissolve better)
- 3 large eggs, room temperature
- 1 cup full-fat sour cream, room temperature
- 2 teaspoons vanilla extract
- 1 tablespoon lemon juice
- 1/4 teaspoon fine sea salt
- Optional toppings (keto-friendly):
- Fresh raspberries or strawberries (in moderation)
- Sugar-free berry sauce
- Shaved 85–90% dark chocolate
- Whipped cream (unsweetened or lightly sweetened with keto sweetener)
- Equipment:
- 9-inch springform pan
- Stand mixer or hand mixer
- Large roasting pan (for a gentle water bath, optional but recommended)
- Foil to wrap the pan if using a water bath
Step-by-Step Instructions

- Prep the oven and pan. Heat the oven to 325°F (163°C). Line the bottom of a 9-inch springform pan with parchment and lightly grease the sides. If using a water bath, wrap the outside of the pan with two layers of foil to prevent leaks.
- Make the crust. In a bowl, mix almond flour, granulated sweetener, and salt.Stir in melted butter and vanilla until the mixture feels like damp sand. Press evenly into the pan, building a slight edge up the sides.
- Par-bake the crust. Bake for 10–12 minutes until lightly golden and set. Let it cool while you make the filling.
- Beat the cream cheese. In a large bowl, beat softened cream cheese on medium speed for 1–2 minutes until smooth and lump-free.Scrape the bowl.
- Add sweetener and salt. Mix in the powdered sweetener and salt on low, then increase to medium until fully combined. Keep the mixer speed moderate to avoid whipping in too much air.
- Blend in sour cream, vanilla, and lemon juice. Mix until silky. Scrape the bowl again so everything is uniform.
- Add the eggs. Beat in the eggs one at a time on low speed, just until combined.Do not overmix. The batter should be smooth and pourable.
- Fill the pan. Pour the batter over the crust and smooth the top with a spatula. Tap the pan gently on the counter to release any large air bubbles.
- Set up the bake. If using a water bath, place the foil-wrapped pan in a large roasting pan and pour hot water around it to reach halfway up the sides.Otherwise, place a separate pan of hot water on the lower rack to add moisture to the oven.
- Bake gently. Bake for 55–70 minutes. The edges should be set and the center should still wobble slightly when you nudge the pan. Do not overbake.
- Cool slowly. Turn off the oven, crack the door, and let the cheesecake rest inside for 45 minutes.Then remove from the oven and let it come to room temperature.
- Chill to set. Cover and refrigerate at least 6 hours, preferably overnight. This step finalizes the texture and makes slicing cleaner.
- Serve. Run a thin knife around the edge, release the springform, and slice with a warm, clean knife. Add toppings if you like, and enjoy.
Keeping It Fresh
Refrigeration: Store the cheesecake covered in the fridge for up to 5 days.
Keep it in the springform base or on a flat plate and cover loosely to avoid condensation on the surface.
Freezing: Freeze slices on a baking sheet until firm, then wrap individually and place in a freezer bag for up to 2 months. Thaw overnight in the fridge for best texture.
Serving tip: Cheesecake tastes best slightly chilled, not icy-cold. Let slices sit at room temperature for 10–15 minutes before serving.
Why This is Good for You
- Low-carb and keto-friendly: Almond flour and sugar-free sweeteners keep net carbs down.
- High in satisfying fats: The fat content helps with satiety, making smaller portions feel more satisfying.
- No gluten: Almond flour crust is naturally gluten-free.
- Steady energy: Without the sugar spike, you’re less likely to crash after dessert.
What Not to Do
- Don’t overbeat the batter after adding eggs. Too much air leads to cracks and a spongy texture.
- Don’t skip the cooling steps. Rapid temperature changes cause the top to split.
- Don’t overbake. A slight jiggle in the center is correct.It will set as it cools.
- Don’t use cold ingredients. Cold cream cheese clumps and won’t blend smoothly.
- Don’t use a coarse almond meal for the crust. It can taste gritty; fine almond flour works best.
Variations You Can Try
- Lemon Cheesecake: Add 1–2 extra tablespoons lemon juice and 1 teaspoon lemon zest. Top with a few raspberries.
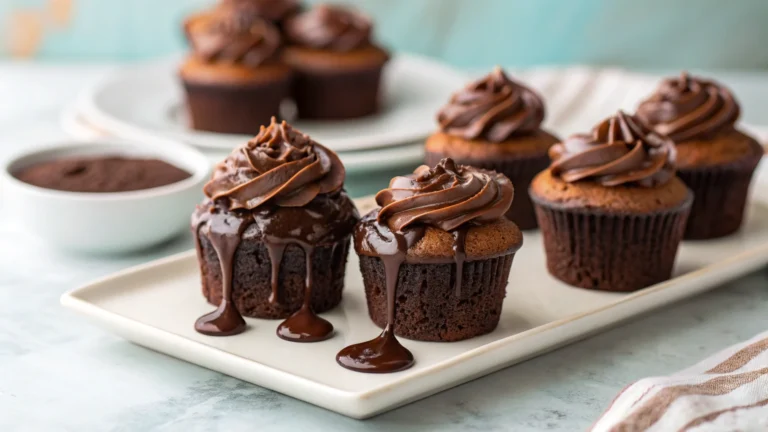
- Chocolate Swirl: Melt 2 ounces 90% dark chocolate with a splash of cream and swirl into the top before baking.
- Pecan Crust: Replace half the almond flour with finely ground pecans for a toasty, praline-like flavor.
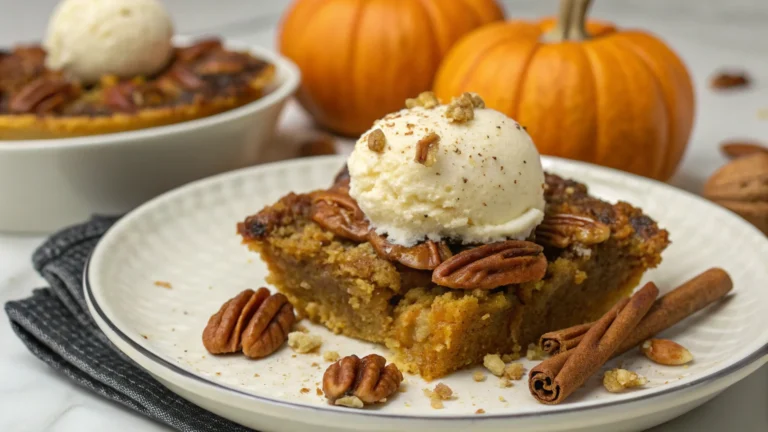
- Pumpkin Spice:</-strong> Mix 1/2 cup pumpkin puree and 1 teaspoon pumpkin spice into the filling; bake a few minutes longer.
- Mini Cheesecakes: Use a lined muffin tin with parchment liners. Bake 18–22 minutes and chill as usual.
FAQ
Which sweetener works best?
Powdered erythritol or allulose blends work well because they dissolve smoothly.
Allulose tends to give the softest texture and least cooling effect. If using monk fruit, choose a blend that measures like sugar.
How do I prevent cracks on top?
Use room-temperature ingredients, avoid overmixing after adding eggs, bake gently, and cool slowly. A water bath or a pan of hot water in the oven helps keep humidity steady, which reduces cracking.
Can I make this without a crust?
Yes.
Butter the pan, line the bottom with parchment, and pour the filling directly in. Bake the same way. The result is extra creamy and even lower in carbs.
Is this safe for people with gluten intolerance?
Yes, the recipe is naturally gluten-free as written.
Always check labels on sweeteners and vanilla to ensure there are no added starches or gluten-containing fillers.
Why is my cheesecake grainy?
Graininess usually comes from cold cream cheese or undissolved sweetener. Make sure dairy is at room temperature and use a powdered sweetener. Blend until smooth before adding eggs.
How do I know when it’s done?
The edges should be set and the center should wobble slightly like gelatin.
If the whole cake is firm and puffed, it’s likely overbaked. Start checking at 55 minutes.
Can I use Greek yogurt instead of sour cream?
Full-fat Greek yogurt works in a pinch, but sour cream gives a silkier texture and richer flavor. If using yogurt, choose the thickest, full-fat option and strain if it’s watery.
What’s the best way to slice cleanly?
Use a long, sharp knife warmed in hot water and wiped dry between cuts.
This prevents drag and keeps the surface smooth.
Wrapping Up
This keto-friendly cheesecake delivers the classic experience—creamy, rich, and indulgent—without the sugar crash. With a simple almond flour crust, a smooth filling, and an easy cooling method, it’s reliable and crowd-pleasing. Keep it classic or try a variation that fits your mood.
Either way, you’ll have a dessert that feels special and still supports your low-carb goals.