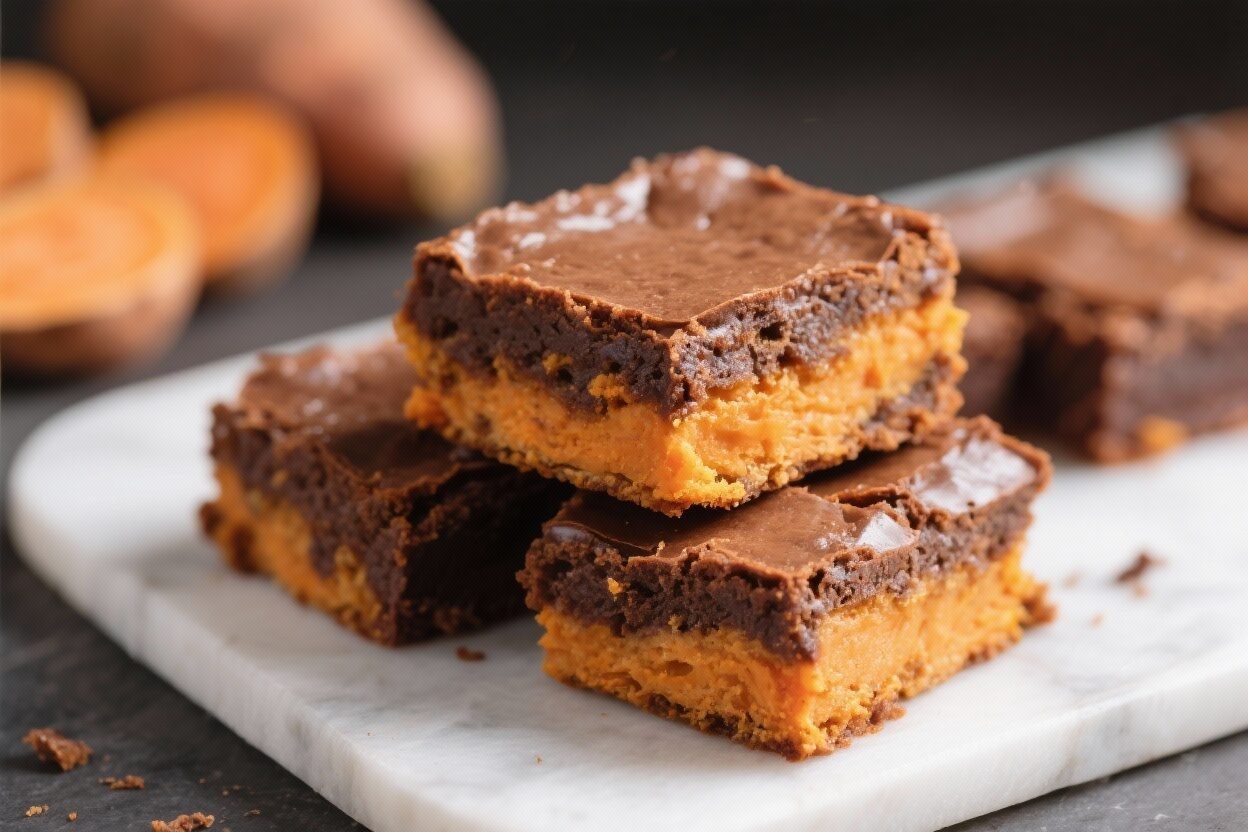
Sweet Potato Brownies – Fudgy, Rich, and Surprisingly Easy
Sweet potato brownies are one of those recipes that feel a little magic. You get deep chocolate flavor, a fudgy center, and a glossy top—without a long list of complicated ingredients. The sweet potato adds natural sweetness and moisture, making the brownies soft and rich without being overly heavy.
If you’ve never baked with sweet potatoes before, this is a great place to start. It’s simple, reliable, and a crowd-pleaser, even for people who don’t usually like “healthy-ish” desserts.
Sweet Potato Brownies - Fudgy, Rich, and Surprisingly Easy
Ingredients
Method
- Prepare the sweet potato: Bake, microwave, or steam a sweet potato until very tender. Scoop out the flesh and mash until smooth.Let it cool to room temperature. You’ll need 1 cup of mashed sweet potato.
- Prep the pan and oven: Heat the oven to 350°F (175°C). Line an 8-inch square pan with parchment paper, leaving overhang for easy lifting.Lightly grease the parchment.
- Mix the wet ingredients: In a large bowl, whisk together the mashed sweet potato, melted butter, granulated sugar, brown sugar, eggs, and vanilla until glossy and well combined.
- Sift the dry ingredients: In a separate bowl, whisk the cocoa powder, flour, baking powder, and salt. Sifting or whisking breaks up lumps for a smoother batter.
- Combine: Add the dry ingredients to the wet. Stir with a spatula until just combined and no dry streaks remain.Fold in chocolate chips if using. Do not overmix.
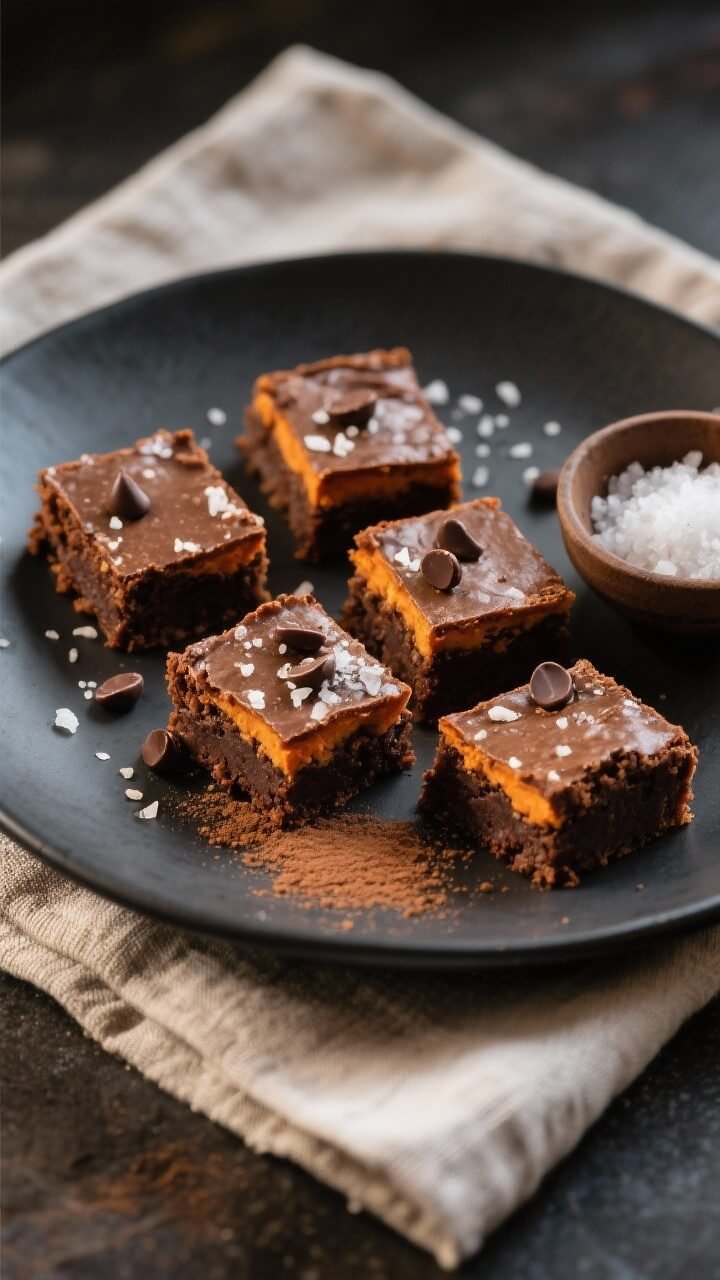
- Spread and level: Transfer the batter to the prepared pan. Smooth the top with a spatula.Sprinkle flaky salt if you like that sweet-salty finish.
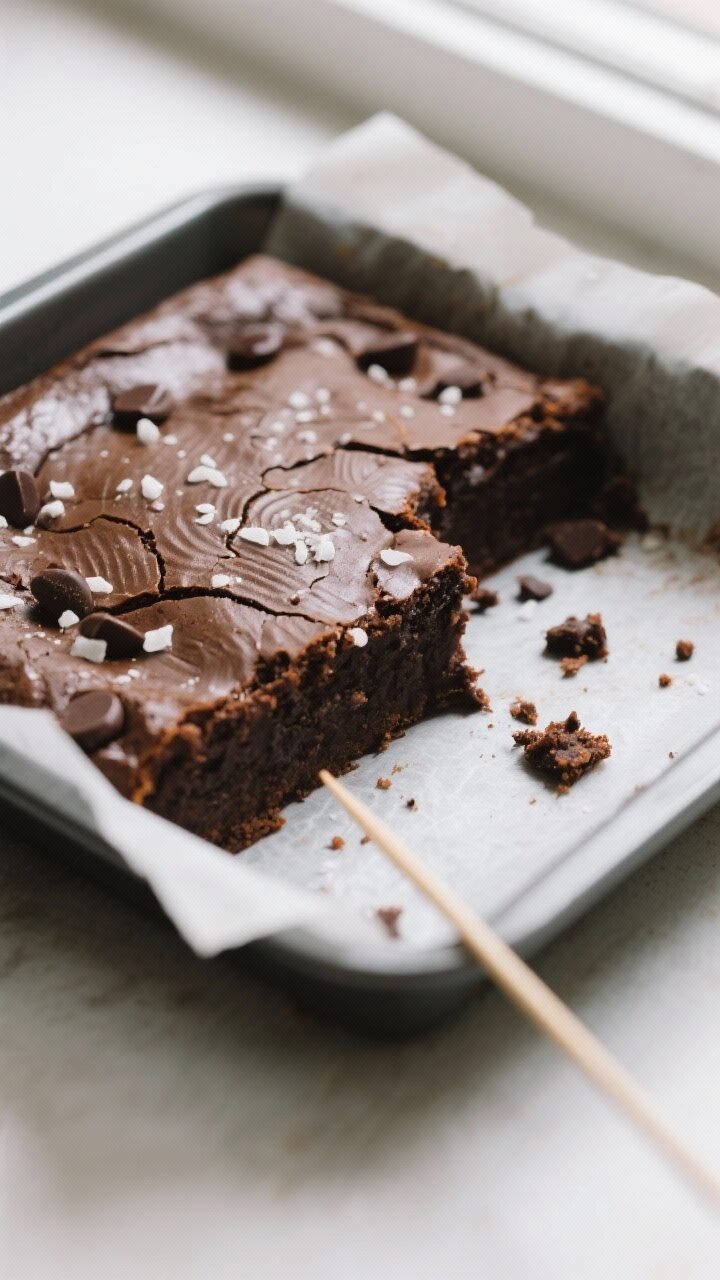
- Bake: Bake for 22–28 minutes, until the edges look set and a toothpick inserted in the center comes out with a few moist crumbs, not wet batter. Err on the side of slightly underbaked for fudgier brownies.
- Cool completely: Let the brownies cool in the pan for at least 30–45 minutes. Lift out using the parchment and slice with a sharp knife, wiping the blade between cuts for clean edges.
What Makes This Recipe So Good
- Fudgy texture: Mashed sweet potato creates moist, dense brownies with a rich, soft bite.
- Balanced sweetness: Natural sugars from the sweet potato mean you can use less refined sugar without losing flavor.
- Simple pantry ingredients: No specialty flours or complicated steps—just basics you likely have on hand.
- Better-for-you twist: More fiber and nutrients than classic brownies, with the same satisfying chocolate taste.
- Flexible: Works with regular flour or a gluten-free blend, and you can adjust sweetness or add-ins.
What You’ll Need
- 1 cup mashed sweet potato (from about 1 large sweet potato; cooked and cooled)
- 1/2 cup unsalted butter (or coconut oil), melted and slightly cooled
- 3/4 cup granulated sugar (or coconut sugar)
- 1/4 cup brown sugar (light or dark)
- 2 large eggs, room temperature
- 1 teaspoon vanilla extract
- 1/2 cup unsweetened cocoa powder
- 3/4 cup all-purpose flour (or a 1:1 gluten-free baking blend)
- 1/2 teaspoon baking powder
- 1/2 teaspoon fine sea salt
- 1/2 cup chocolate chips or chopped dark chocolate (optional but recommended)
- Flaky salt for topping (optional)
Step-by-Step Instructions
- Prepare the sweet potato: Bake, microwave, or steam a sweet potato until very tender. Scoop out the flesh and mash until smooth.Let it cool to room temperature. You’ll need 1 cup of mashed sweet potato.
- Prep the pan and oven: Heat the oven to 350°F (175°C). Line an 8-inch square pan with parchment paper, leaving overhang for easy lifting.Lightly grease the parchment.
- Mix the wet ingredients: In a large bowl, whisk together the mashed sweet potato, melted butter, granulated sugar, brown sugar, eggs, and vanilla until glossy and well combined.
- Sift the dry ingredients: In a separate bowl, whisk the cocoa powder, flour, baking powder, and salt. Sifting or whisking breaks up lumps for a smoother batter.
- Combine: Add the dry ingredients to the wet. Stir with a spatula until just combined and no dry streaks remain.Fold in chocolate chips if using. Do not overmix.
- Spread and level: Transfer the batter to the prepared pan. Smooth the top with a spatula.Sprinkle flaky salt if you like that sweet-salty finish.
- Bake: Bake for 22–28 minutes, until the edges look set and a toothpick inserted in the center comes out with a few moist crumbs, not wet batter. Err on the side of slightly underbaked for fudgier brownies.
- Cool completely: Let the brownies cool in the pan for at least 30–45 minutes. Lift out using the parchment and slice with a sharp knife, wiping the blade between cuts for clean edges.
How to Store
- Room temperature: Store in an airtight container for 2–3 days.They stay moist thanks to the sweet potato.
- Refrigerator: Keeps up to 5 days. Chill for firmer, chewier brownies. Bring to room temperature before serving if you prefer a softer texture.
- Freezer: Wrap individual squares tightly and freeze for up to 2 months.Thaw overnight in the fridge or at room temperature for 1–2 hours.
Benefits of This Recipe
- More nutrients: Sweet potatoes add vitamin A, fiber, and potassium compared to a standard brownie.
- Moisture without heaviness: The mashed sweet potato keeps the crumb fudgy without needing tons of oil or butter.
- Adaptable sweetness: You can slightly reduce the sugar and still get great flavor and texture.
- Kid-friendly: Familiar brownie taste with a subtle, naturally sweet twist.
- Make-ahead friendly: Texture often improves the next day as flavors meld.
What Not to Do
- Don’t add hot sweet potato or butter: Heat can scramble the eggs and make the batter greasy. Let both cool slightly before mixing.
- Don’t overmix: Overworking the batter leads to tough brownies. Fold just until combined.
- Don’t overbake: Dry brownies are hard to rescue.Pull them when the center still has moist crumbs on a tester.
- Don’t skip the parchment sling: It makes removal and clean slicing much easier.
- Don’t pack the flour: Spoon and level for accuracy. Too much flour makes cakey, dry brownies.
Alternatives
- Dairy-free: Use melted coconut oil or a neutral oil instead of butter, and dairy-free chocolate chips.
- Refined sugar–light: Use all coconut sugar or swap part of the sugar for maple syrup (reduce melted butter by 1 tablespoon if using 2–3 tablespoons maple).
- Gluten-free: Replace flour with a 1:1 gluten-free baking blend. Avoid almond flour here; it changes the structure too much.
- Extra chocolate: Add 2 tablespoons espresso or strong coffee to intensify cocoa flavor, or swirl in 2–3 tablespoons warm chocolate-hazelnut spread.
- Nutty crunch: Fold in 1/2 cup chopped walnuts or pecans for texture.
- Spiced: Add 1/2 teaspoon cinnamon and a pinch of cayenne for a subtle warmth that complements the sweet potato.
FAQ
Can I use canned sweet potato puree?
Yes, as long as it’s plain and not sweetened.
Drain off any excess liquid if it seems runny, and measure 1 cup. Pumpkin puree also works, but the flavor will be lighter and the texture slightly less fudgy.
How do I know when the brownies are done?
Look for set edges and a center that no longer looks glossy. A toothpick should come out with moist crumbs, not wet batter.
Start checking at 22 minutes because ovens vary.
Do these taste like sweet potatoes?
Not really. The sweet potato adds moisture and subtle sweetness, but the dominant flavor is chocolate. Most people can’t guess the secret ingredient.
Can I make these without eggs?
You can try two flax eggs (2 tablespoons ground flaxseed + 5 tablespoons water, rested 10 minutes).
The brownies will be slightly denser but still tasty. Bake time may vary by a couple of minutes.
Why did my brownies turn cakey?
Common causes are too much flour, overbaking, or overmixing. Spoon-and-level the flour, pull them when slightly underdone, and mix just until combined.
What’s the best way to reheat a brownie?
Warm a square in the microwave for 10–15 seconds to soften and revive that fudgy texture.
Add a few chocolate chips on top before heating for a melty finish.
Wrapping Up
Sweet potato brownies are proof that simple ingredients can deliver big flavor. They’re rich, chocolatey, and easy enough for a weeknight treat, yet special enough for sharing. With a few smart tweaks, you can make them gluten-free, dairy-free, or extra indulgent.
Keep a batch on hand for snacks, dessert, or a little afternoon pick-me-up—you’ll be glad you did.