Thin-Crust Italian Pizza Dough – Simple, Crisp, and Flavorful
If you dream of a pizza that crackles at the edges and stays light in the middle, this thin-crust Italian pizza dough is your new go-to. It’s simple, reliable, and made with basic ingredients you probably already have. The flavor is clean and mildly nutty, with a gentle chew that doesn’t overwhelm your toppings.
You’ll get a crisp base that bakes fast and tastes like it came from a neighborhood pizzeria. Whether you’re new to dough or a seasoned home baker, this method delivers consistent results without fuss.
Thin-Crust Italian Pizza Dough – Simple, Crisp, and Flavorful
Ingredients
Method
- Mix the dough. In a large bowl, whisk flour and salt. In a separate cup, combine water and yeast.If using active dry yeast, let it sit 5 minutes until slightly foamy. Pour the liquid into the flour, add olive oil, and mix with a spoon or your hand until no dry spots remain. The dough will be slightly tacky.
- Rest and knead lightly. Let the dough sit for 10 minutes, then knead by hand for 2–3 minutes until smooth.Avoid adding too much flour. The dough should feel soft and elastic, not stiff.
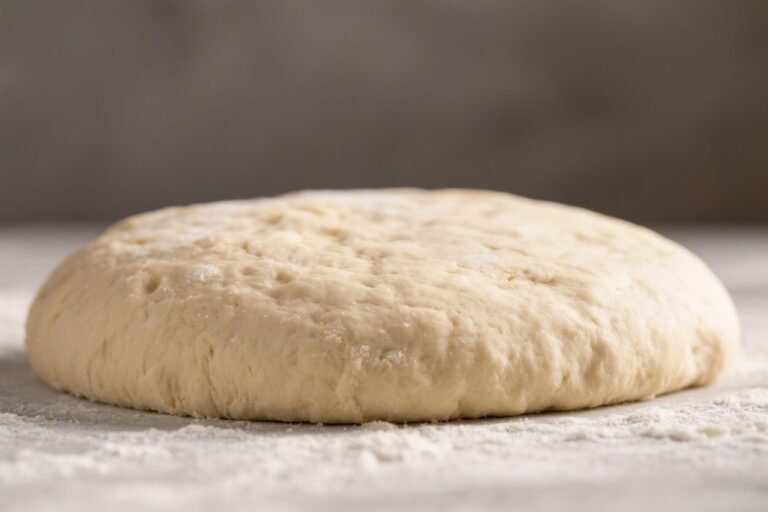
- First rise. Place the dough in a lightly oiled bowl. Cover and let it rise at room temperature until roughly doubled, about 1–2 hours, depending on your kitchen temperature.
- Divide and ball. Turn the dough out and divide into 3 equal pieces for 10–12 inch thin pizzas.Shape each piece into a tight ball by tucking the edges under and rotating against the counter.
- Cold ferment (recommended). Place each ball in a lightly oiled container, cover, and refrigerate 12–72 hours. This slow rest develops flavor and improves browning. If short on time, rest the balls at room temperature for 45–60 minutes and continue.
- Warm up the dough. Remove dough balls from the fridge 60–90 minutes before baking so they can relax and come to room temperature.This makes stretching easier and prevents snap-back.
- Preheat the oven. Place a pizza stone or steel on the top third rack. Preheat to the highest setting your oven allows (500–550°F/260–290°C) for at least 45 minutes. Hot surface equals crisp crust.
- Prepare the peel or pan. Dust a peel with semolina or flour.If you don’t have a peel, build your pizza on a piece of parchment set over an inverted sheet pan for an easy slide.
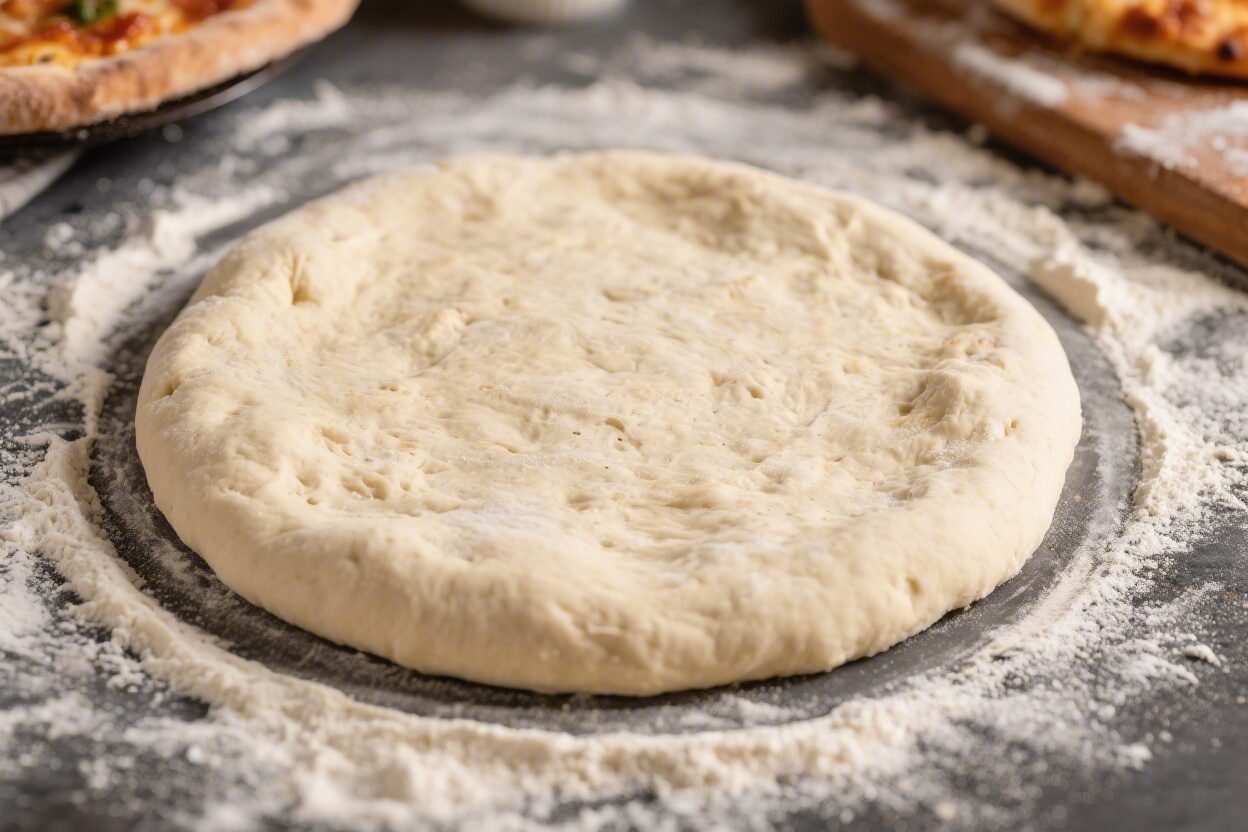
- Shape the crust. Lightly flour the counter. Press a dough ball into a 6-inch round, leaving a slightly thicker edge. Lift and stretch over your knuckles, rotating, letting gravity do the work, until 10–12 inches wide and very thin in the center.Avoid using a rolling pin; it crushes the air pockets.
- Top lightly. Transfer to your prepared peel or parchment. Add a thin layer of sauce, then cheese and toppings. Keep it minimal—this style shines with restraint.
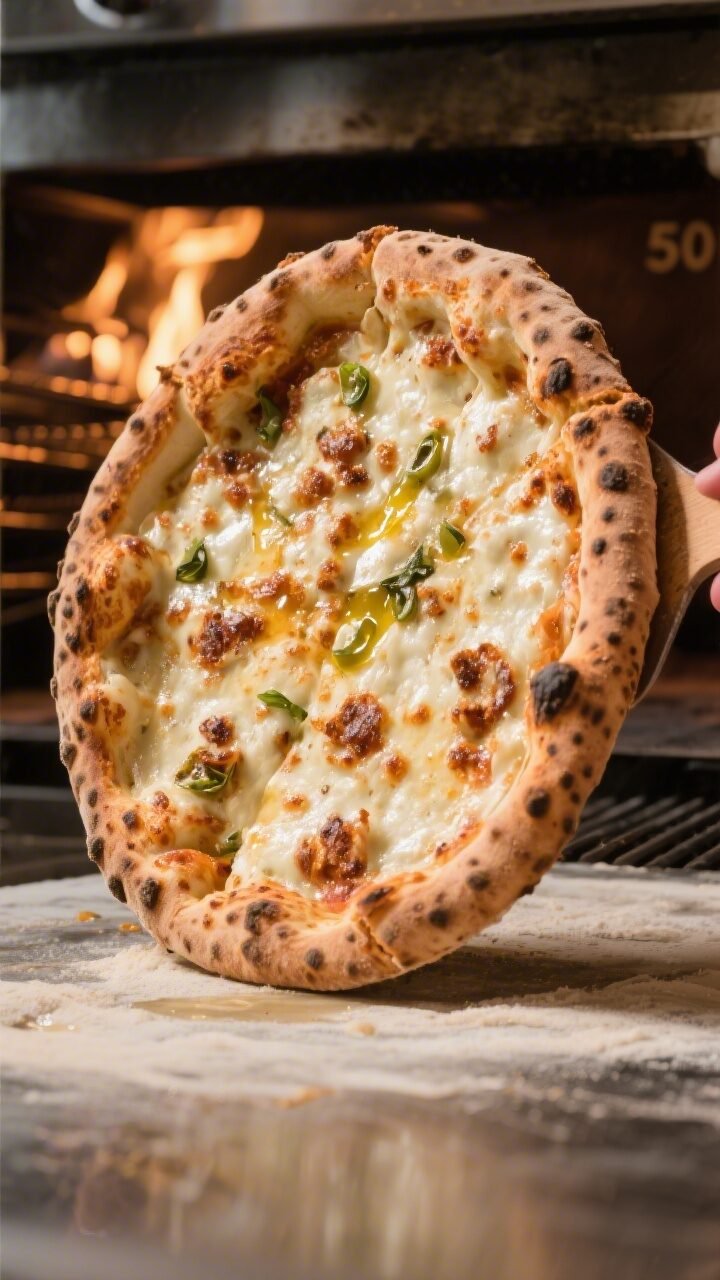
- Bake hot and fast. Slide the pizza onto the stone/steel.Bake 6–8 minutes, rotating once, until the crust is blistered and browned on the edges and the bottom is crisp. If you like extra char, broil for 30–60 seconds at the end.
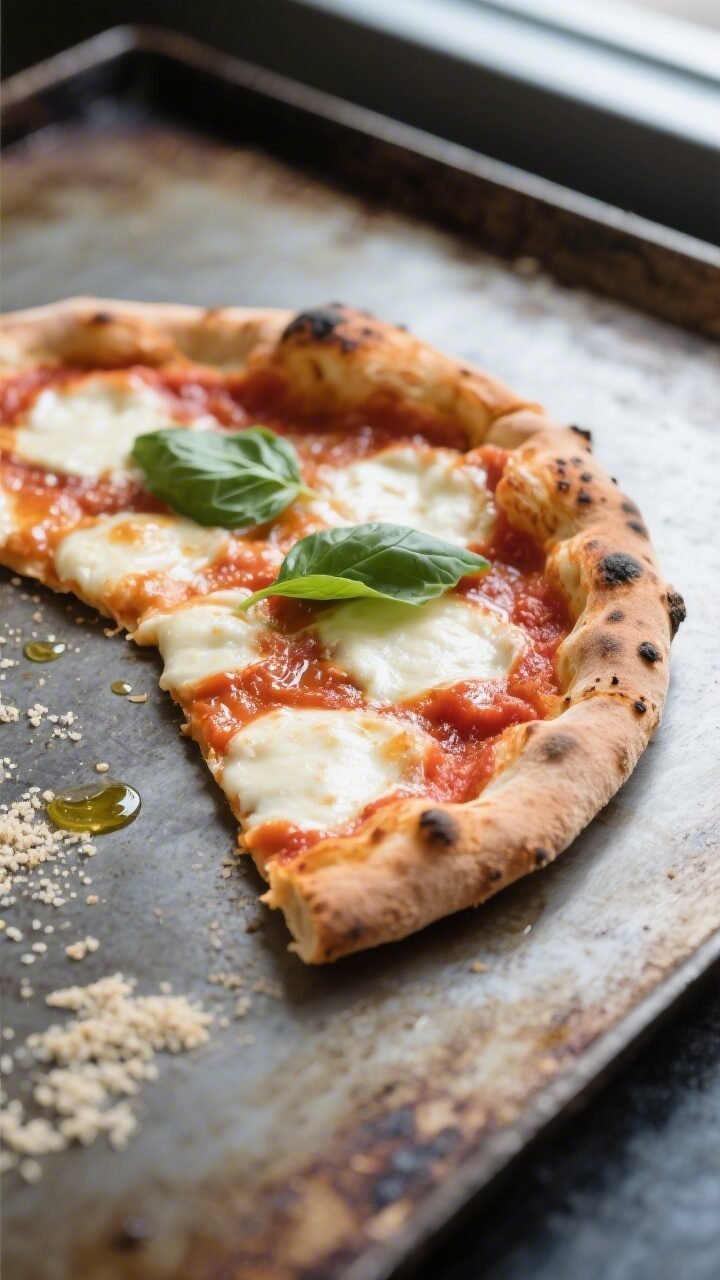
- Finish and serve. Transfer to a board. Brush the rim with a touch of olive oil, add fresh basil or a light dusting of grated Parmigiano-Reggiano, slice, and serve immediately.
What Makes This Recipe So Good
- Classic texture: Thin, crisp edges with a tender center that doesn’t sag under toppings.
- Slow-rise flavor: A longer rise builds depth, gentle acidity, and better browning.
- Everyday ingredients: Just flour, water, yeast, salt, and a little olive oil.
- Flexible timing: Make it the same day or rest it in the fridge for up to three days for extra flavor.
- Easy to shape: The dough relaxes well and stretches thin without tearing.
What You’ll Need
- 3 1/2 cups (440 g) bread flour or tipo “00” flour for a silkier crust
- 1 1/3 cups (315 ml) cool water (about 70°F/21°C)
- 2 teaspoons (7 g) fine sea salt
- 1 teaspoon (3 g) instant or active dry yeast
- 1 tablespoon (15 ml) extra-virgin olive oil (plus more for the bowl)
- Semolina or flour for dusting your peel or pan
Equipment: Mixing bowl, kitchen scale (recommended), dough scraper, plastic wrap or lid, pizza stone or steel (preferred) or an inverted sheet pan, and a pizza peel or parchment paper.
Instructions
- Mix the dough. In a large bowl, whisk flour and salt. In a separate cup, combine water and yeast.If using active dry yeast, let it sit 5 minutes until slightly foamy. Pour the liquid into the flour, add olive oil, and mix with a spoon or your hand until no dry spots remain. The dough will be slightly tacky.
- Rest and knead lightly. Let the dough sit for 10 minutes, then knead by hand for 2–3 minutes until smooth.Avoid adding too much flour. The dough should feel soft and elastic, not stiff.
- First rise. Place the dough in a lightly oiled bowl. Cover and let it rise at room temperature until roughly doubled, about 1–2 hours, depending on your kitchen temperature.
- Divide and ball. Turn the dough out and divide into 3 equal pieces for 10–12 inch thin pizzas.Shape each piece into a tight ball by tucking the edges under and rotating against the counter.
- Cold ferment (recommended). Place each ball in a lightly oiled container, cover, and refrigerate 12–72 hours. This slow rest develops flavor and improves browning. If short on time, rest the balls at room temperature for 45–60 minutes and continue.
- Warm up the dough. Remove dough balls from the fridge 60–90 minutes before baking so they can relax and come to room temperature.This makes stretching easier and prevents snap-back.
- Preheat the oven. Place a pizza stone or steel on the top third rack. Preheat to the highest setting your oven allows (500–550°F/260–290°C) for at least 45 minutes. Hot surface equals crisp crust.
- Prepare the peel or pan. Dust a peel with semolina or flour.If you don’t have a peel, build your pizza on a piece of parchment set over an inverted sheet pan for an easy slide.
- Shape the crust. Lightly flour the counter. Press a dough ball into a 6-inch round, leaving a slightly thicker edge. Lift and stretch over your knuckles, rotating, letting gravity do the work, until 10–12 inches wide and very thin in the center.Avoid using a rolling pin; it crushes the air pockets.
- Top lightly. Transfer to your prepared peel or parchment. Add a thin layer of sauce, then cheese and toppings. Keep it minimal—this style shines with restraint.
- Bake hot and fast. Slide the pizza onto the stone/steel.Bake 6–8 minutes, rotating once, until the crust is blistered and browned on the edges and the bottom is crisp. If you like extra char, broil for 30–60 seconds at the end.
- Finish and serve. Transfer to a board. Brush the rim with a touch of olive oil, add fresh basil or a light dusting of grated Parmigiano-Reggiano, slice, and serve immediately.
Keeping It Fresh
- Short-term: Dough balls keep in the fridge up to 3 days.Lightly oil, cover airtight, and burp any trapped gas once a day.
- Freeze: Freeze dough balls after the first rise and balling. Wrap tightly and freeze up to 3 months. Thaw overnight in the fridge, then bring to room temp 60–90 minutes before shaping.
- Leftover baked pizza: Store slices in an airtight container for 2–3 days.Reheat on a hot skillet or 450°F oven for 5–7 minutes to restore crispness. Avoid the microwave if you care about crunch.
Benefits of This Recipe
- Balanced hydration: The water level keeps the dough easy to handle while still baking up thin and crisp.
- Reliable rise: Works with both instant and active dry yeast, so you can use what you have.
- Restaurant-style results: A pizza steel/stone and high heat mimic the conditions of a pizzeria oven.
- Flavor-first approach: Cold fermenting deepens taste without extra ingredients or complexity.
Pitfalls to Watch Out For
- Over-flouring the dough: Too much bench flour makes the crust tough. Use just enough to prevent sticking.
- Overloading toppings: Heavy sauce or cheese makes thin crust soggy.Keep it light and even.
- Underheating the oven: A lukewarm oven yields pale, chewy pizza. Preheat thoroughly and use the top rack.
- Rolling pin issues: A pin forces out gas and weakens structure. Hand-stretch for a better texture.
- Skipping the rest: Shaping cold, tight dough leads to tears.Let the dough relax before stretching.
Recipe Variations
- Garlic and herb dough: Add 1 teaspoon dried oregano and 1 grated garlic clove to the flour for a fragrant crust.
- Sourdough blend: Replace 1/2 cup (120 g) of the water and 1/2 cup (70 g) of the flour with 1 cup (120 g) active sourdough starter. Reduce yeast to a pinch and extend the cold ferment to 48–72 hours.
- Semi-whole wheat: Swap 1 cup (120 g) of the white flour with finely milled whole wheat. Add 1–2 teaspoons extra water if needed to keep the dough supple.
- Olive oil crisp: For a crisper base in a home oven, brush the stretched dough lightly with olive oil before saucing.
- Pan method: No stone?Use a heavy sheet pan preheated in the oven. Build the pizza on parchment and slide it onto the hot pan.
FAQ
Can I make this dough the same day?
Yes. Let it rise until doubled, divide and ball, then rest 45–60 minutes at room temperature before shaping.
The flavor will be milder than a cold ferment but still delicious.
What flour is best for thin-crust pizza?
Bread flour or tipo “00” both work well. Bread flour gives a bit more chew and browning, while “00” produces a silkier bite. You can also blend them 50/50.
Do I need sugar in the dough?
No.
With a good preheat, the natural sugars in the flour are enough for browning. Sugar can cause premature darkening without improving texture.
Why does my dough shrink back when I stretch it?
It’s too cold or too tight. Let the dough rest until it feels relaxed and slightly puffy.
If it resists, walk away for 10 minutes, then try again.
How thin should I stretch the dough?
Aim for paper-thin in the center with a 1/2-inch rim. You should almost see light through the middle, but it shouldn’t tear when lifted.
Can I par-bake the crust?
You can, but it’s not ideal for this style. If you must, bake the naked crust 3–4 minutes, then top and finish.
Keep it brief to avoid drying it out.
What’s the best cheese for a classic result?
Low-moisture mozzarella for reliable melt and minimal weeping. Add a few pieces of fresh mozzarella after baking if you want that creamy accent.
How do I prevent sticking when launching the pizza?
Use a light layer of semolina or flour on the peel and work quickly. If you’re nervous, build on parchment; slide the parchment onto the stone and remove it halfway through baking.
Wrapping Up
Thin-crust Italian pizza dough doesn’t need complicated steps or special gear—just patience, good heat, and a light hand.
With a slow rise and proper shaping, you’ll get a crust that’s crisp, airy, and full of character. Keep the toppings simple, the oven hot, and the dough relaxed. Once you get the feel for it, you’ll be turning out pizzeria-quality pies on any weeknight.