Traditional Sourdough Focaccia – Crispy, Chewy, and Full of Flavor
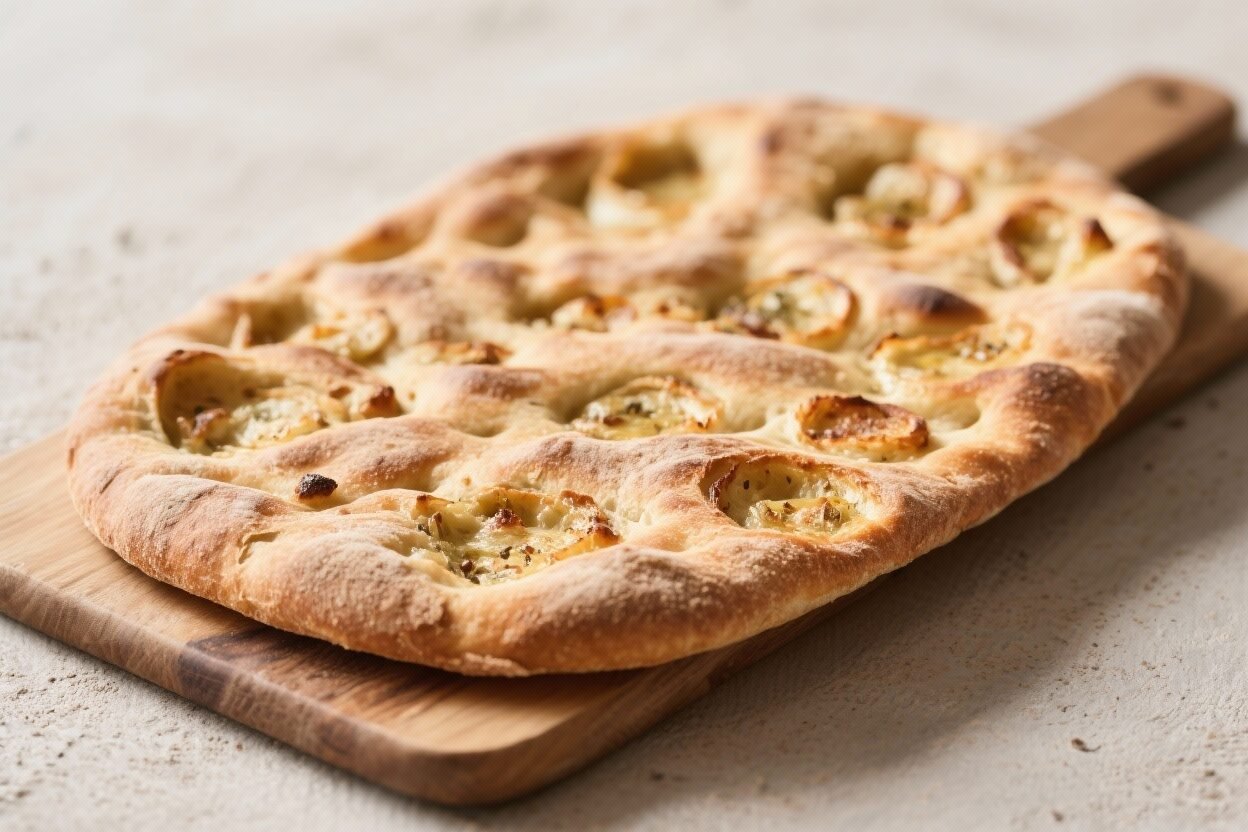
Sourdough focaccia is the kind of bread that makes your kitchen smell like a small bakery. It’s rustic, deeply flavorful, and shockingly simple once you get the rhythm. The edges get crisp and golden, the inside stays soft and chewy, and the olive oil gives it a luxurious finish.
If you have an active sourdough starter, you’re halfway there. With a little time and patience, you’ll have a beautiful sheet of bread that’s perfect for sharing—or not.
Traditional Sourdough Focaccia - Crispy, Chewy, and Full of Flavor
Ingredients
Method
- Feed your starter: Make sure your starter is active and bubbly.It should double in size within 4–6 hours of feeding. Use it at peak or just before it starts to fall.
- Mix the dough (autolyse): In a large bowl, combine the flour and 350 g of the water until no dry bits remain. Cover and rest for 30–45 minutes.This jumpstarts gluten development.
- Add starter and salt: Add the active starter and 10–12 g salt. Mix by hand or with a dough hook on low until cohesive. If the dough feels stiff, add the remaining water a little at a time.The dough should be soft and slightly sticky.
- Bulk fermentation with folds: Drizzle a little olive oil into the bowl. Over the next 2–3 hours at room temperature (around 72°F/22°C), perform 3–4 sets of stretch-and-folds every 30 minutes. To do this, wet your hand, grab one edge of the dough, stretch it up, and fold it over itself.Rotate the bowl and repeat 3–4 times per set.
- Let it rise: After the last fold, cover and let the dough rise until puffy and roughly doubled. This can take 3–5 more hours depending on temperature and starter strength. Look for bubbles and a light, jiggly feel.
- Pan prep: Generously oil a rimmed sheet pan (about 9x13 inches for thicker focaccia, or a larger sheet for thinner).Add 2–3 tablespoons olive oil to coat the bottom well.
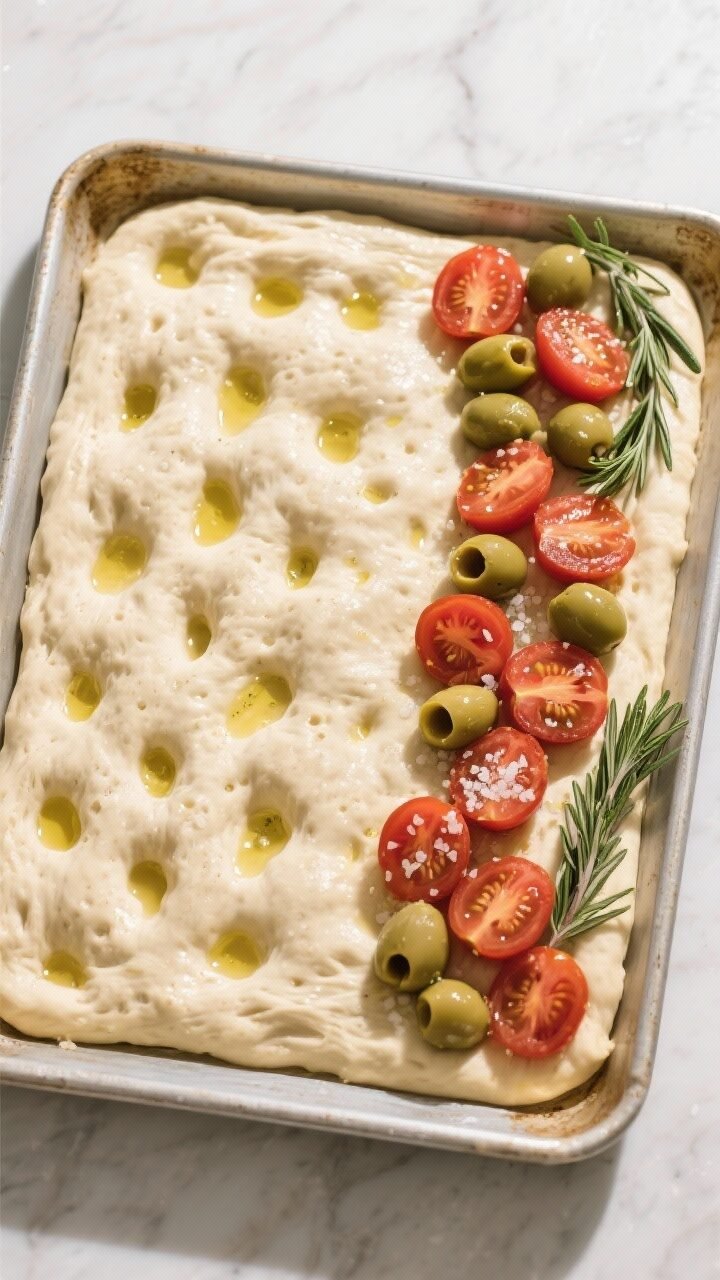
- First pan proof: Gently turn the dough into the pan. Drizzle the top with olive oil. With oiled fingertips, carefully press and coax the dough toward the corners.Don’t force it; if it springs back, rest 15 minutes and try again.
- Second rise: Cover and let the dough relax and puff for 45–90 minutes at room temp, or refrigerate overnight (8–16 hours) for deeper flavor. If chilled, let it warm 45–60 minutes before baking.
- Dimple and top: Heat oven to 450°F (232°C). With oiled hands, press your fingertips straight down into the dough to create deep dimples.Scatter rosemary, garlic, tomatoes, or olives if using. Finish with a generous drizzle of olive oil and a sprinkle of flaky salt.
- Bake: Bake 20–28 minutes until deeply golden, with crisp edges. Rotate the pan once for even color.For extra bottom crunch, bake on a preheated baking steel or the lowest rack.
- Finish and rest: Remove from the oven and brush or drizzle with a little more olive oil. Let cool in the pan 10 minutes, then transfer to a rack. Rest another 10–15 minutes before slicing to keep the crumb moist.
What Makes This Recipe So Good

- Big flavor from long fermentation: Sourdough naturally builds a complex, slightly tangy taste without commercial yeast.
- Dreamy texture: Expect a light, open crumb, crispy edges, and a tender interior that soaks up olive oil like a sponge.
- Forgiving method: No intense kneading. Gentle folds and time do most of the work.
- Endlessly customizable: Add rosemary, garlic, tomatoes, olives—whatever you like—without losing the classic feel.
- Better keeping quality: Sourdough typically stays fresh longer and reheats beautifully.
What You’ll Need
- Active sourdough starter (100% hydration): 150 g (about 3/4 cup)
- Bread flour: 500 g (about 4 cups), or a mix of 70% bread flour and 30% all-purpose
- Water: 375–400 g (about 1 2/3 cups), lukewarm
- Fine sea salt: 10–12 g (about 2 tsp)
- Extra-virgin olive oil: 60–80 ml (4–5 tbsp), plus more for finishing
- Fresh rosemary: a few sprigs, optional
- Flaky sea salt: for topping
- Garlic cloves: 1–2, thinly sliced, optional
- Cherry tomatoes or olives: optional toppings
Instructions
- Feed your starter: Make sure your starter is active and bubbly.It should double in size within 4–6 hours of feeding. Use it at peak or just before it starts to fall.
- Mix the dough (autolyse): In a large bowl, combine the flour and 350 g of the water until no dry bits remain. Cover and rest for 30–45 minutes.This jumpstarts gluten development.
- Add starter and salt: Add the active starter and 10–12 g salt. Mix by hand or with a dough hook on low until cohesive. If the dough feels stiff, add the remaining water a little at a time.The dough should be soft and slightly sticky.
- Bulk fermentation with folds: Drizzle a little olive oil into the bowl. Over the next 2–3 hours at room temperature (around 72°F/22°C), perform 3–4 sets of stretch-and-folds every 30 minutes. To do this, wet your hand, grab one edge of the dough, stretch it up, and fold it over itself.Rotate the bowl and repeat 3–4 times per set.
- Let it rise: After the last fold, cover and let the dough rise until puffy and roughly doubled. This can take 3–5 more hours depending on temperature and starter strength. Look for bubbles and a light, jiggly feel.
- Pan prep: Generously oil a rimmed sheet pan (about 9×13 inches for thicker focaccia, or a larger sheet for thinner).Add 2–3 tablespoons olive oil to coat the bottom well.
- First pan proof: Gently turn the dough into the pan. Drizzle the top with olive oil. With oiled fingertips, carefully press and coax the dough toward the corners.Don’t force it; if it springs back, rest 15 minutes and try again.
- Second rise: Cover and let the dough relax and puff for 45–90 minutes at room temp, or refrigerate overnight (8–16 hours) for deeper flavor. If chilled, let it warm 45–60 minutes before baking.
- Dimple and top: Heat oven to 450°F (232°C). With oiled hands, press your fingertips straight down into the dough to create deep dimples.Scatter rosemary, garlic, tomatoes, or olives if using. Finish with a generous drizzle of olive oil and a sprinkle of flaky salt.
- Bake: Bake 20–28 minutes until deeply golden, with crisp edges. Rotate the pan once for even color.For extra bottom crunch, bake on a preheated baking steel or the lowest rack.
- Finish and rest: Remove from the oven and brush or drizzle with a little more olive oil. Let cool in the pan 10 minutes, then transfer to a rack. Rest another 10–15 minutes before slicing to keep the crumb moist.
How to Store
- Room temperature: Keep in an airtight bag or wrapped in foil for up to 2 days.Re-crisp in a 350°F (175°C) oven for 8–10 minutes.
- Freezer: Slice and freeze in a zip-top bag for up to 2 months. Reheat from frozen at 350°F (175°C) for 12–15 minutes.
- Avoid the fridge: Refrigeration dries bread out quickly. Freeze instead if you won’t finish it soon.
Health Benefits
- Gentler on digestion: Sourdough fermentation can help break down gluten and phytic acid, making the bread easier to digest for some people.
- Better nutrient availability: The long rise improves mineral absorption from the grain.
- Lower glycemic impact: Sourdough may lead to a steadier blood sugar response compared to some quick-rise breads.
- Healthy fats: Extra-virgin olive oil contributes heart-healthy monounsaturated fats and polyphenols.
Pitfalls to Watch Out For
- Underactive starter: If your starter isn’t lively, the dough won’t rise well.Feed it consistently and use at peak activity.
- Too much flour: Sticky dough is normal. Resist adding extra flour during mixing; it can lead to a dense crumb.
- Rushing the rise: Watch the dough, not the clock. If your kitchen is cool, it will take longer.
- Skimping on oil: The oil creates flavor, a crisp bottom, and that classic focaccia texture.Don’t be shy.
- Overproofing: If the dough collapses when dimpled or looks deflated, it may be overproofed. Bake sooner next time.
Alternatives
- Flour swaps: Use 10–20% whole wheat for nuttiness. Add 2–3% vital wheat gluten if you want extra lift with heavier flours.
- No rosemary version: Keep it classic with just olive oil and flaky salt.Add cracked black pepper for a simple twist.
- Herb and veg variations: Try thinly sliced red onion, roasted garlic, grape tomatoes, olives, or thin zucchini rounds.
- Pan options: Bake in a well-oiled cast-iron skillet for a thicker, ultra-crispy bottom.
- Same-day shortcut: If you need to speed up, keep the dough warm (75–78°F/24–26°C) and skip the cold retard. Flavor will be milder but still delicious.
FAQ
How do I know my starter is ready to use?
It should at least double in volume after feeding, look bubbly, and pass a float test in water. Timing varies by temperature and feeding schedule, but most ready starters peak 4–8 hours after feeding.
Can I use all-purpose flour instead of bread flour?
Yes.
All-purpose will give a slightly softer crumb with less chew, but it still works. If the dough feels too slack, reduce the water by 10–20 g.
What if my dough is too sticky to handle?
Sticky is normal for focaccia. Oil your hands instead of adding flour, and use a bowl scraper.
Resting the dough and doing gentle folds will strengthen it.
Do I have to cold-proof the dough?
No, but an overnight rest in the fridge improves flavor and makes the dough easier to handle. If skipping, make sure the dough is fully puffy before baking.
Why didn’t I get big bubbles?
Large alveoli come from strong fermentation, proper hydration, and gentle handling. Check that your starter is active, don’t deflate the dough during shaping, and allow enough proofing time.
Can I make it gluten-free?
Traditional sourdough focaccia relies on gluten for structure.
For gluten-free, use a tested gluten-free sourdough focaccia recipe with a blend designed for bread and a psyllium binder.
How do I keep the bottom from getting soggy?
Generously oil the pan, avoid watery toppings, and bake on a preheated steel or lower rack. Let it cool on a wire rack so steam can escape.
What’s the best way to reheat leftovers?
Warm slices in a 350°F (175°C) oven for 8–10 minutes. A quick hit in a hot skillet with a little oil also brings back crisp edges.
Final Thoughts
Traditional sourdough focaccia is all about patience, good olive oil, and a lively starter.
Once you master the timing, it becomes an easy, go-to bread for weeknights, gatherings, and everything in between. Keep the method simple, treat the dough gently, and let the oven do the rest. The result is a pan full of golden, fragrant bread that always feels special.